
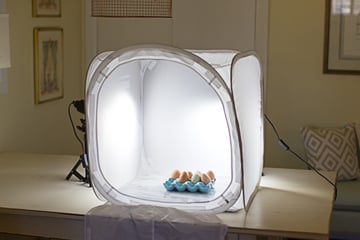
It’s common to think of a light cube (also known as a light tent or photo cube), as simply a tool for shooting products to sell for eBay. Many light cubes come packaged with complete "studios," suggesting they might only be helpful to amateurs. However, light cubes can be an essential piece of kit used to produce a wide variety of looks.
It can be argued that light cubes produce the softest light possible. You're completely surrounding your subject with diffusion panels and reflectors. The downside is that light cubes are typically small, so the types of items you can photograph are rather limited. In this tutorial, we'll take a look at three different ways to utilize a light cube to produce professional results.
Using Two Side Lights
The most common way to use a light cube is to put a light on either side of the cube facing just a bit back to fill in the front of the subject. This setup draws attention to your object and provides even lighting. It's nice for photographing three dimensional objects, so it's often used for product photos.
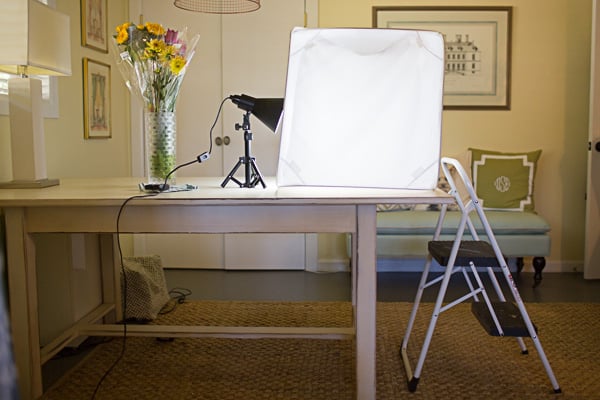
Setting Up the Lights


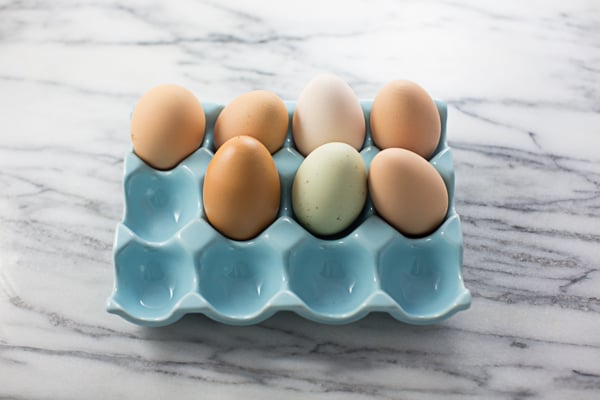
A light on either side minimizes the shadows. I placed my my item on a white backdrop and draped it over the top for a seamless background. This is perfect, quick setup for online auction product listings.


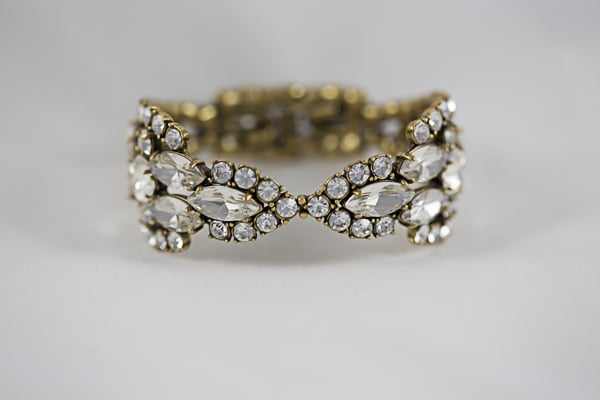
Photo cubes have a side with a slit to pop your camera through. It helps bounce more white light around. It’s optional to use this feature. It’s great for shooting reflective objects because it minimizes any reflections of you and the outside environment. It also works to fill in the front of your object. I used the slit for the following shots.
The Original Image
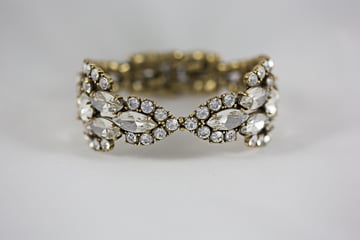
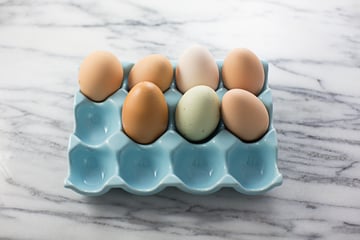
Final Image After Post-Production

I decided not to go overboard on making the image perfectly white. Just a few adjustments to eliminate shadows, increase the highlights, clarity and an increase in contrast, and we're ready to go.
Creating Classical, Dramatic Lighting
I picked up some flowers from my local grocery and thought this image would be great framed wall art or cards. By shooting from overhead, and positioning one light off at a 45 degree angle, I was able to create classic, but soft, Rembrandt lighting.

I used one light, and a two-step ladder so I could shoot from above. I wanted a bird’s eye view for this specific shot.
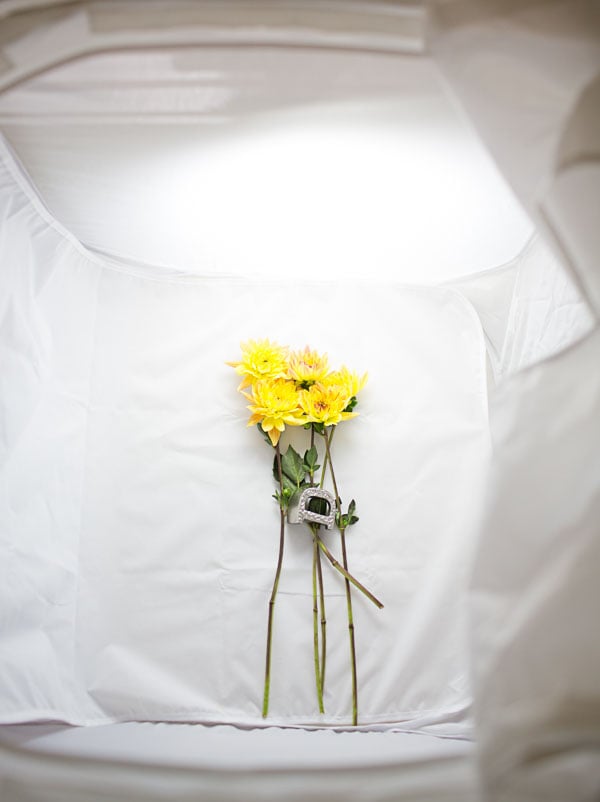

I used a paperweight to keep the flower stems in place. I strategically placed the good ones on top of certain flowers with discoloration or holes in petals. I love dahlia flowers because they actually don’t face up, but rather, sideways which is perfect for this type of shot.
The flowers were on top of a white velvet sheet. Velvet is great for creating a pure white without reflective highlights. This backdrop was included with the light cube kit.
You'll also notice that I left the "front" of the cube open, which eliminated a reflective surface and made the shadows deeper.
The Original Image


Final Images After Post-Production

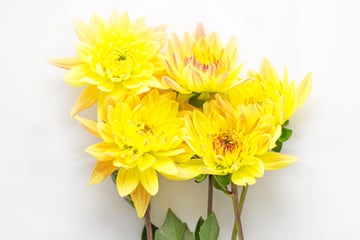
In Lightroom, I increased the exposure, eliminated shadows and brightened up the whites before I finally cropped the image. In Photoshop, I eliminated remaining shadows with the clone tool at 70% opacity. I wanted to focus to be on the flowers so I cropped the image again, and fixed the holes in the flower petals with the clone tool.

Backlighting Food with Two Lights

I set one light directly behind the object for a backlighting effect. I chose not to use a backdrop so I could get as much light as possible coming into the cube. The backlighting helped eliminate the seam in the back of the cube, so the backdrop wasn't really necessary anyway.
I used the second light off to the side for fill light. You could also turn this light off if you want an airy look, or move it around to the front, but further away, to fill in the front shadows.
The Original Image
Final Images After Post-Production


I minimized shadows, increased the clarity and brightened the whites in Lightroom. I opened up the image in Photoshop and adjusted the exposure and increased the saturation.
When backlighting with food, traditionally you'll want to shoot at the same level as the food.

Thinking Outside the Cube
By thinking outside the box with two simple lights and changing their position, you can use a light cube for several different purposes. You could also add colorful filters to your lights! The material allows light to be diffused and bounced around to create endless creative results.
 By
By


