
Why Stack?
Stacks are all about tidying up your view in Adobe Lightroom. When you have a series of images that are really similar, it often makes sense to combine them into a single stack.
Think of stacking images as taking all of the playing cards on a table, and neatly stacking them into a deck. Stacking images doesn't alter the original files—it only changes the way that they display in Lightroom. We can stack lots of images onto a single tile so that our Lightroom catalog is much neater.


How to Stack Images
To stack images, we'll be working in the Library module of Adobe Lightroom. Let's create our first stack by selecting the images to stack.
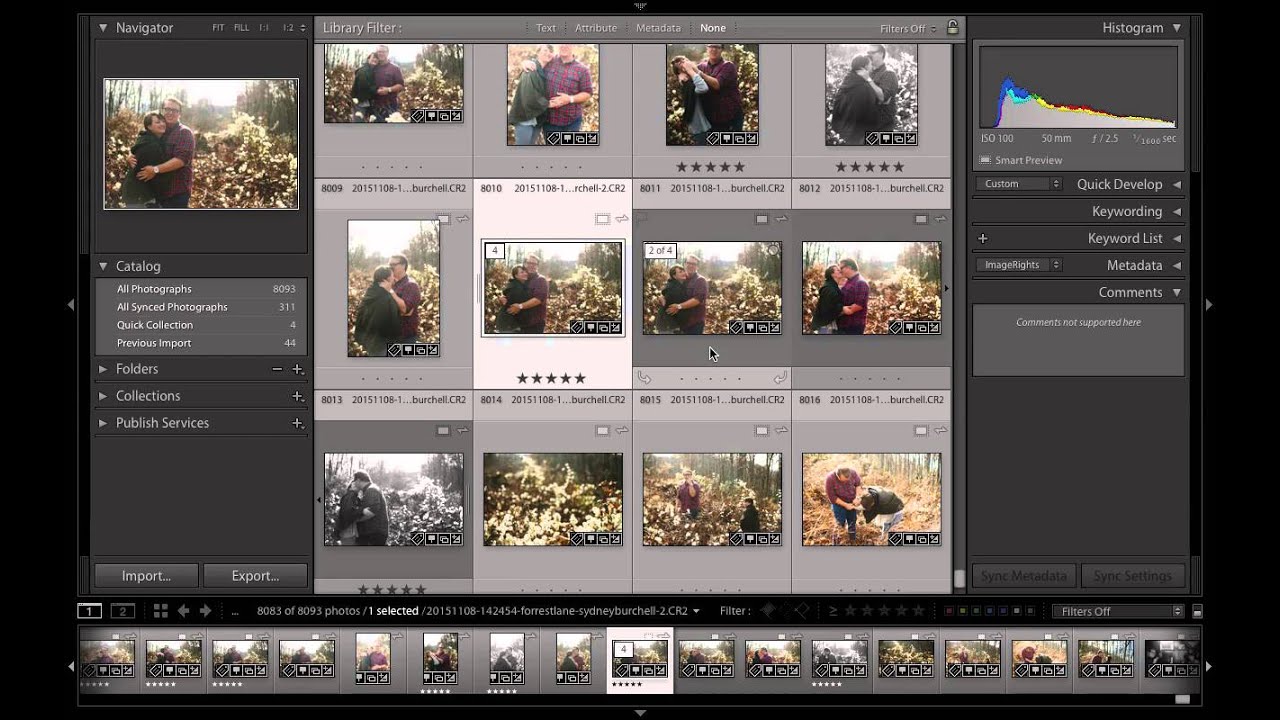
One great way to do this is to hold Command (⌘) on Mac (Control on Windows) and click on several different images that we want to stack. You can do this either in the center panel of Lightroom, or on the filmstrip at the bottom of the application.


After we've selected the images to stack, we just need to go to the Photo > Stacking > Group into Stack menu option to combine our images. Once we do that, our images will be stacked.


Expanding and Collapsing Stacks
Once your images are in stacks, you might want to view the individual images that comprise it. To do that, we need to expand the stack. Expanding a stack doesn't remove the grouping —it just makes each of the images visible.
When images are in a stack, select the stack and press the letter S on your keyboard to expand that stack. Once you do this, all of the images in a stack are individually visible. We can collapse the stack by pressing S again.


We can also expand stacks by going to the Photo > Stacking > Expand / Collapse options (depending upon the current status of the stack).


If you're a major user of image stacks, you might want to expand and collapse all of them at the same time. To do that, check out the Photo > Stacking > Collapse all Stacks and Expand All Stacks option to expand and collapse your entire library.
Unstacking Images
Expanding and collapsing stacks of images doesn't remove the grouping; it just changes the way that images are displayed. If we want to permanently ungroup images, we'll need to use the unstacking option.
To unstack images, select an image stack and go to the Photo > Stacking > Unstack menu option. The images will be split back into individual images.


Auto-Stack Photos in Lightroom
So far, we've been manually selecting images and combining them into stacks. What if we could speed up this process? We can use Lightroom's auto-stack feature to do that.
First, let's select the part of our library that we want to stack. This might be your entire Lightroom catalog, or just the images in a single folder. Now, let's go to the Photo > Stack > Auto-Stack by Capture Time menu option.


The auto-stack by capture time window allows for us to stack images based the time that they were captured. We can auto-stack images that were shot at very similar times. The default setting is to group images with a 1-second capture variance, but you can tweak that using the window.
Once you've set that interval, just press stack and images will automatically be grouped into stacks using the capture time attached to the image!
Recap & Keep Learning
Stacking is a simple feature that's crucial for keeping your Lightroom catalog organized. When you've got a huge group of similar images, it just makes sense to put them in a stack. These tips are especially useful for sports and other burst shooters.
To keep learning more about Lightroom organization, check out these great tutorials:

 How to Use Smart Collections in Lightroom Classic (Saved Searches)


 Total Creative Control: How to Use Virtual Copies to Fork and Stack Images in Lightroom

 Using a Controlled Vocabulary to Organize Digital Photographs

 By
By


