
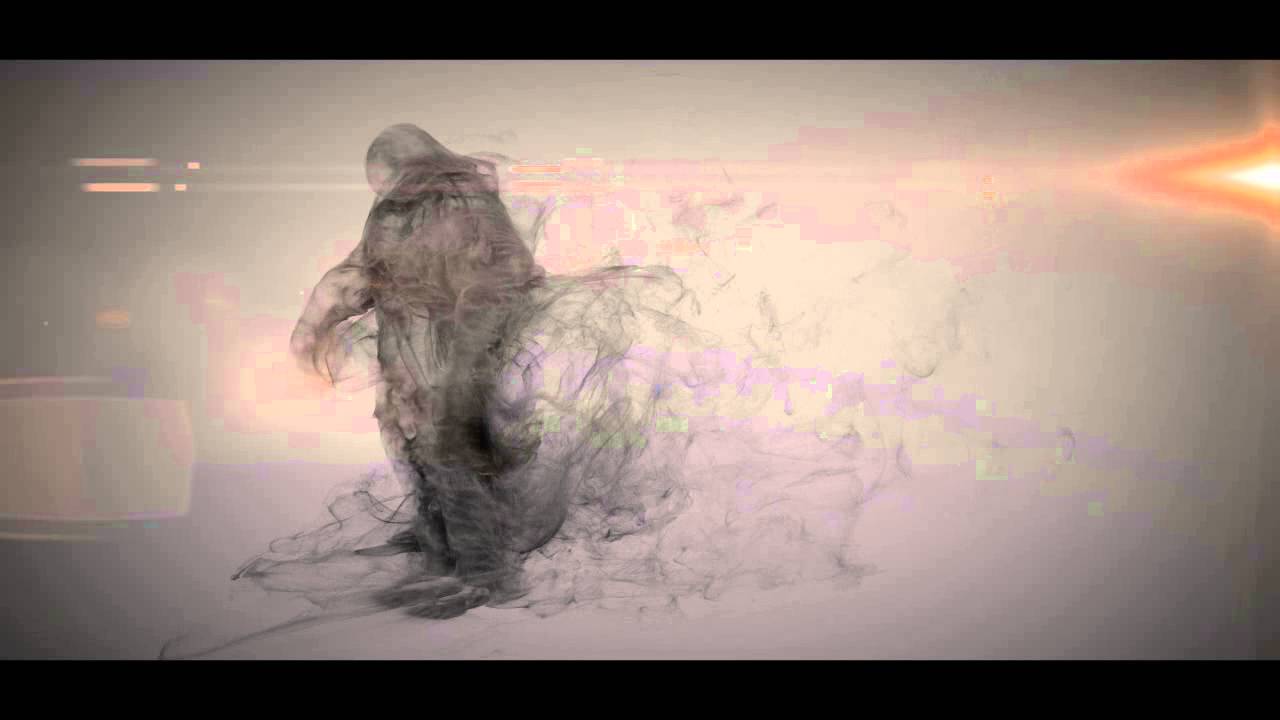
Hi everyone, this is Vikrant and I’m going to show you "how to make effects". This is a very tough job, so that's why I've tried to make this tutorial as simple as I can. Before I start the tutorial, I want to show you some reference videos, so you can understand where you can use this type of effect.
I can't teach you about the entire FumeFX plugin or each and every parameter in this tutorial, as it's a very big plugin. But I will teach you how to make a beautiful effect using minimum parameters. In this tutorial, I'll show you how I created the Smoke Man character with the help of 3ds Max, FumeFX and the Krakatoa Plugin.


1. Create Geometry or a Character Model
This effect is best when you use a character model. An animated model works, but I'll be using a static model for this example. Create your model and place it in center of the grid, or use the 3ds Max file with my character which I have included.

2. Generate the FumeFX System
We are going to use three important things from the FumeFX System and one Space Warp (Wind) to create our effect.- FumeFX Container
- FFX Object Source
- FFX Gravity Vector
- Wind
Step 1: The FumeFX Container
To create the FumeFX container follow these steps:Go to the Create Panel > Geometry tab, click on the drop-down menu and select FumeFX. Click on the FumeFX button and generate the container in the viewport by left-clicking and dragging. Rename the container from FumeFX01 to SM-Container.
In the viewport, position the SM-Container at these coordinates: X : 0.0 | Y : 95.0 | Z : 0.0. You can do this by right-clicking on the Move tool to open the Move Transform Type-in dialog and entering the values.
Step 2: The FFX Object Source
To create the FFX Object Source, follow these steps:Go to the Create Panel > Helpers, click on the drop-down menu and select FumeFX. Click on the Object Src Button and generate it in the viewport by left-clicking. Now rename the FFX Object Src001 to SM-Src.
Step 3: The FFX Gravity Vector
To create the FFX Gravity Vector, follow these steps:Go to the Create Panel > Helpers, click on the drop-down menu and select FumeFX. Click on the Gravity Vector button and generate it in the viewport by left-clicking. The Gravity Vector will change the gravity's direction according to the icon's arrow.
Change the rotation of the FFX Gravity Vector01 to the following rotation: X : 145.0 | Y : 0.0 | Z : 0.0. You can do this by right-clicking on the Rotate tool to open the Rotate Transform Type-in dialog and entering the values.
Step 4: Adding Wind
To create the Wind follow these steps :Go to the Create Panel > Space Warps, click on the drop-down menu and select Forces. Click on the Wind button and generate it in the viewport by Left Clicking and dragging. The wind will change the direction of the smoke according to it's icon Arrow.
Change the rotation of the Wind to the following rotation: X : 60.0 | Y : 0.0 | Z : 0.0.
Set the Wind parameters as follows:
- Strength: 2.5
- Turbulence: 10.0
- Scale: 25.0.


3. Edit the FumeFX System
The FumeFX Container (SM-Container)
There are three important sections of FumeFX which we are going to modify.- Gen: General
- Sim: Simulation
- Obj/Src: Objects & Sources
Step 1: The Gen Tab (General)
In the General Parameters section, adjust the values as follows:- Spacing: 1.0
- Width: 188.38
- Length: 301.834
- Height: 120.371
- Adaptive: On.

- Start: 0
- End Frame: 260
- Exporting Channels: Smoke, Velocity.
Output Path: Click on small ... button next to the Default output path, make a new folder on your storage drive and Save your cache file (.fxd) as SM_test_ in that Folder.
Tip: Don’t save the cache file in the C: Drive, as it sometimes can contain more than 100GB of space, so there is a possibility that you may face some problems.

- Play From: 0
- Play to: 260
- Start Frame: 0

Step 2: The Sim Tab (Simulation)
Under the Simulation section, adjust the values as follows:- Quality: 5
- Maximum Iteration: 100
- CFL Conditions: 5.0
- Maximum Simulation Steps: 1
- Advection Stride: 0.5
- Time Scale: 1.0

System:
- Gravity: 0.75
- Vorticity: 0.1
- X Turbulence: 0.3

Turbulence Noise:
- Scale: 15.0
- Frame: 10.0
- Detail: 1.0

Blocking Sides:
X : None | Y : None | Z : Both
Fuel:
Turn off the Fuel Section.
Smoke:
- Dissipation Min Dens: 0.5
- Dissipation Strength: 3.0

4. Obj/Src: Objects & Sources
This is the final step before you hit the Simulation button. Add the FFX Object Src (SM-Src) and FFX Gravity Vector to the Objects tab. When you select the FFX Object Src in the Objects/Sources/SpaceWarps list, another section will appear below called Object Source Parameters. Now add the object (or model) you are using into the Objects list.- Fuel Amount: 100.0
- Temperature Amount: 300.0
- Smoke: 7.5

5. Start the Simulation
Hit the Simulation button. It will take around one to two hours for the simulation to finish. At this point take a break. After all that work, you need some rest!
6. Create the Particle Flow System
We are going to use particles to achieve this effect. Because we are not rendering smoke, we’ll render a huge amount of particle with the help of the Krakatoa renderer. Follow these steps to create the Particle Flow System. There are two ways to open the Particle Flow window:- Keyboard Shortcut: Press 6
- Click on Graph Editors and then Particle View.
Right click in the center of the Particle Flow window and go to New > Particle System > Standard Flow. Now you’ll see the PF Source 01 flow appear in the window, so it’s time to edit the System.


7. Edit the Particle Flow System
Rename PF Source 01 to SM Emitter 01. After this, you can remove the Speed, Shape and Rotation operators from Event 01, and add an Age Test operator.Now create a new event with a FumeFX Follow and a Delete operator. Then select the SM Emitter 01 and make the following changes in the parameters, which are shown in the image below.


8. Copy the Particle Flow System
After you have finished one Particle Flow system, copy and paste it, so you’ll have two particle systems. This means we’ve doubled the amount of particles. Now, make one small change in the second PF Source. Go to the Position Object 02 operator and change the Seed value under Uniqueness to a different number.Tip: Every particle system has a particle amount limitation, as per the computer's hardware. So what we can do is keep the maximum amount of particles in one system, and then copy and paste it. This way, we can increase the maximum particle count.
Always remember, after copying and pasting, you have to change the Seed for the Position. If you don’t change it, the particles will be placed on top of the main particles, which means if we were to render the scene, the particles will overlap each other and we won't be able to see the additional particles. So to see the huge amount of particles, we have to change the position of the second particle system.


9. Lighting
Before we start working on the render setup, we have to add and place a light in the scene. We are going to use one standard Omni light. Add an Omni light by going to Create > Lights > Standard Lights > Omni.Position it at the following coordinates: X : 175.677 | Y : -115.41 | Z : 170.269 and turn On Shadows.


10. Rendering
Go to the Render Setup by pressing F10. Now click on Assign Renderer and select the Krakatoa renderer. In the Renderer section, you’ll find the OPEN KRAKATOA GUI button. Click on it, and another window will appear.


11. Compositing
Open After Effects and load the rendered image sequence. Add a new Solid layer in the background with the following RGB values: R : 121 | G : 121 | B : 121 and render the final animation.

Conclusion
The most important thing when creating this type of effect is to always try different parameters, again and again. First, try this tutorial and then try your own ideas. Use an animated character, change the parameters and see what happens.When you finish this tutorial, I'd love to see your own variations of this effect. Good luck and keep working!
 By
By


