
Adobe Premiere Pro is a powerful and versatile video editing app. With it, you can add an array of dramatic effects to any footage. One stunning and popular effect is slow motion. This creates a cinematic, eye-catching visual from any motion.
In this tutorial, you'll learn how to slow down a clip in Premiere Pro. It's an amazingly easy process, and it only takes a few moments. In no time, you'll be adding dramatic slow-mo effects to your favorite videos in Premiere.
Let's get started!
What Is Premiere Pro Slow Motion?
So what is Premiere Pro slow-mo? It pays to understand how slow-motion video works. Your best bet is to plan for slow motion when you film a video.
Slow motion is created when the video playback frame rate is lower than the recording frame rate. For example, if you’re playing a video at 30 frames per second, you can create slow-motion effects by shooting at 60 frames per second. This gives you the best results in post-production.
But what if your footage doesn’t have a high recorded frame rate? Can you still create slow-motion effects in Premiere Pro? Absolutely. Let’s learn how.
How to Do Slow Motion in Premiere Pro (Step by Step)
Slow-motion effects in Premiere Pro can be added to any clip. For best results, you’ll want to use a clip with visible and reasonably quick motion.
For this example, we’ll use stock footage of joggers from Envato Elements. It’s a great demonstration of how to slow down video in Premiere. Download the clip here if you want to follow along.
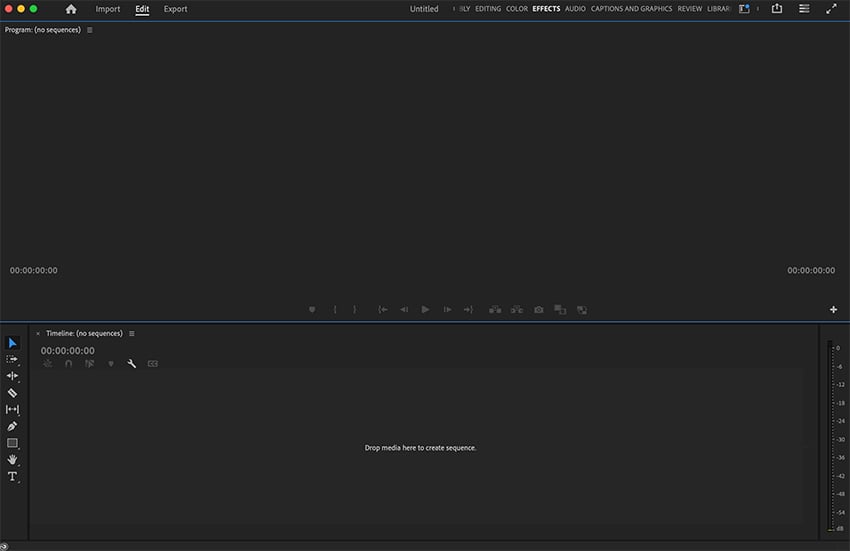
1. Add a Clip to the Timeline
To learn how to do slow motion in Premiere Pro, you’ll first want to add a clip to your Timeline. When you have Premiere Pro open, the Timeline is found in the lower center of your screen.


Think of the Timeline as the control center for editing in Premiere Pro. It’s here that video, audio, text, and other clips and layers come together. You use the Timeline to control sequence, interactions, and timing.


To add a video to your Timeline, browse to a stored clip on your computer. Click and drag it over a video track in the Timeline. These are labeled V1, V2, and so on. Drop it into place, and Premiere Pro will import your video. You’ll see it previewed in the upper center, in the Program Monitor panel.
2. Launch the Clip Speed/Duration Menu
To see how to slow down video in Premiere, you’ll next need to launch the Clip Speed/Duration menu. This lets you adjust the playback speed of any video clip. With it, you can add slow-motion effects to your footage.


Begin by choosing your video clip in the Timeline. Then, right-click on the clip itself. You’ll see a menu appear with an array of options on it. From this list, click Speed/Duration, and the Clip Speed/Duration menu will launch on your screen.
3. Slow Your Video Clip
With the Clip Speed/Duration menu open, we can now see how to slow down video in Premiere. Notice the Speed section at the top. By default, the value shown here will be 100%. This is telling you that the video will play back exactly at its recorded speed. In other words, the playback speed will equal the original duration.


To do slow motion in Premiere, you’ll want to choose a speed that is less than 100%. For example, if you want your footage slowed by 25%, enter a value of 75%. To play at half-speed in slow motion, choose 50%. As you adjust these values, the duration will update accordingly. Of course, adding slow motion effects will lengthen your playback time.


As you work, you can preview your results in the Program Monitor. And remember, you can always adjust the speed to tailor the slow motion in Premiere Pro to your own needs.
That’s it. You just learned how to slow down a clip in Premiere Pro. As you can see, it’s quick and easy. Try it today to add spectacular visual effects of your own.
The Top Source for the Best Adobe Premiere Pro Templates (With Unlimited Downloads)
The best way to make amazing edits in Premiere Pro is with premium video templates. The ultimate source for these templates is Envato Elements. For a flat monthly rate, you can download and use as many premium Adobe Premiere templates as you want! There are thousands of amazing designs on offer, with more added daily.


And that’s not all. Elements includes over 17 million digital assets (and counting!) Among these are stock videos, music, fonts, and so much more. You’ll find everything you need to build amazing creative projects of your own, quickly. Each and every piece of Elements content is included in the unlimited downloads offer.


Now, Elements makes it easier than ever to source the top content for any video project. With our new AI-powered search tool, exploring the vast library is a breeze. Simply describe your project needs in a few words. Then, let the tool go to work. In moments, you’ll receive a curated list of the perfect content from our library. It’s that easy.
What are you waiting for? Join Envato Elements today and get started!
Start Using Premiere Pro Slow-Mo Effects Today
In this tutorial, you learned how to do slow-mo in Premiere Pro. We saw that the best way is to capture footage at a higher frame rate than your intended playback. But this isn’t always an option.
Premiere Pro makes it easy to add slow-motion effects to any video. All you have to do is use the Clip Speed/Duration tools to slow down your playback speed. In mere seconds, you can create cool slow-motion visuals on any video clip. Don’t hesitate! Choose a compelling Premiere Pro template from Envato Elements. Then, add slow motion to your favorite videos. When you do, you’ll be ready to wow your audience.
 By
By


