
In my course on Automatic Color Correction With DaVinci Resolve, I walked you through the full process of color correcting your video.
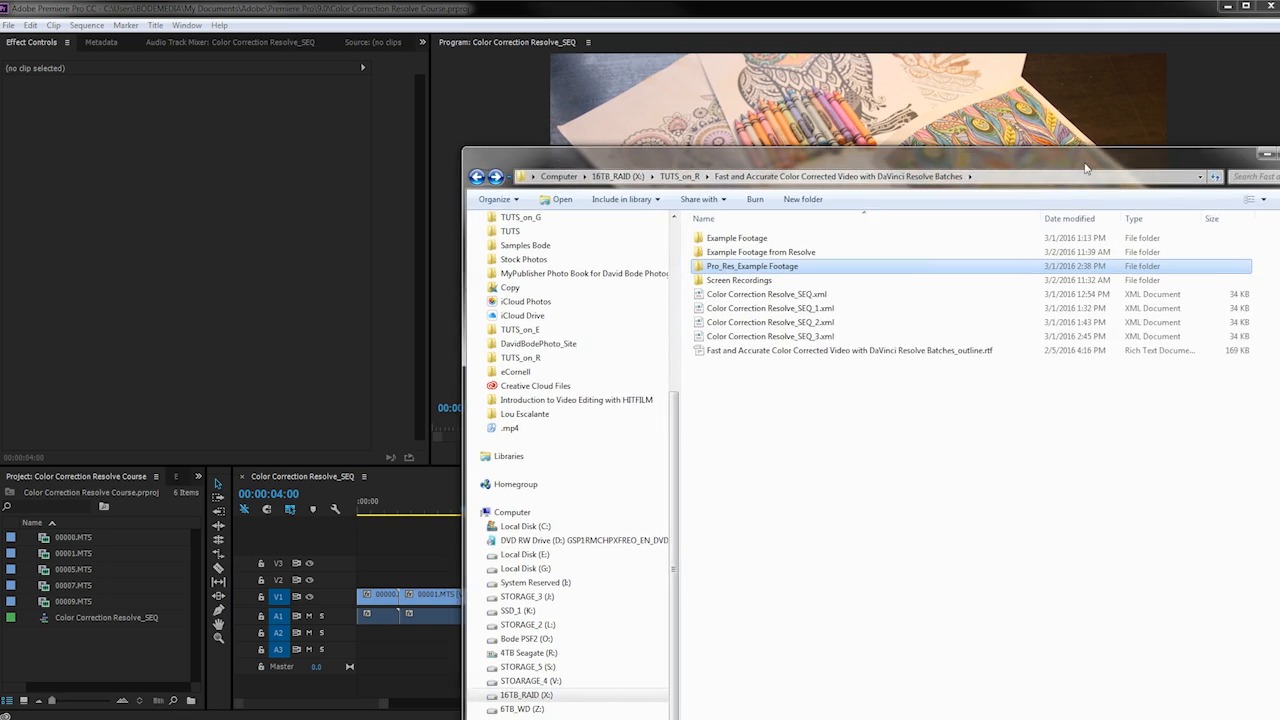
But when you've finished, you still need to export your clips so they can be relinked in your editor. You'll find out exactly how to do that, with explanations of all the important settings to choose, in this short video.


Watch the Full Course
The full course, Automatic Color Correction With DaVinci Resolve, takes you through the full process of color correcting your video footage. You'll see how to save time by using one of your clips as a reference and then applying the correction to all the other clips that were shot under the same lighting conditions.
You can take this course straight away with a subscription to Envato Elements. For a single low monthly fee, you get access not only to this course, but also to our growing library of over 1,000 video courses and industry-leading eBooks on Envato Tuts+.
Plus you now get unlimited downloads from the huge Envato Elements library of 200,000+ photos and 26,000+ design assets and templates. Create with unique fonts, photos, graphics and templates, and deliver better projects faster.
If you're looking for mor DaVinci Resolve resources, check out Mixkit's new collection of free DaVinci Resolve templates and start downloading now!
 By
By


