

In recent tutorials on the video-editing software DaVinci Resolve, we've looked at working with scopes, matching colors between video clips, and applying adjustments to multiple clips.
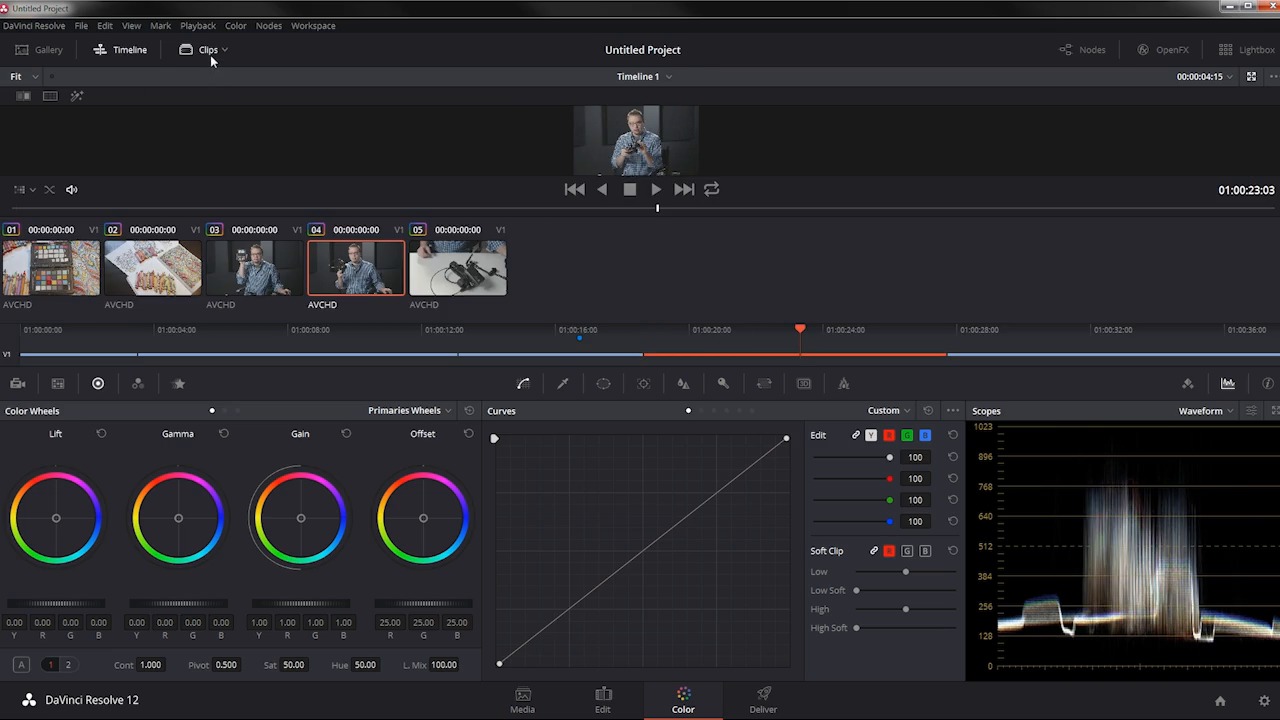
But sometimes, you just need to make minor color adjustments to your clips. In this video tutorial from my course Automatic Color Correction With DaVinci Resolve, you will learn how it’s done! We'll look at how to tweak your clips using the Lift, Gamma, and Gain color wheels, as well as making other adjustments.


Watch the Full Course
This was just one of the 12 videos in my course, Automatic Color Correction With DaVinci Resolve. In the full course, you'll learn about many more aspects of this feature-rich video-editing software suite.
You will learn the full process of color correcting your video using an inexpensive color reference target and this powerful software. The skills you learn in this course will take a lot of the hassle out of color correction and give you more time for editing your project!
If you need stock footage, motion graphics, or other useful resources for your video project, you can find plenty of them over on VideoHive.
 By
By


