


In this lesson, you are going to learn the basics of the powerful Masks feature in Adobe After Effects. Follow along by opening up the Masks.aep file.

If you want to use a Mask on this to only to show part of the layer, you can do that by activating the Rectangle Tool, and then using the mouse to click and drag across the area, putting a Mask on this layer.


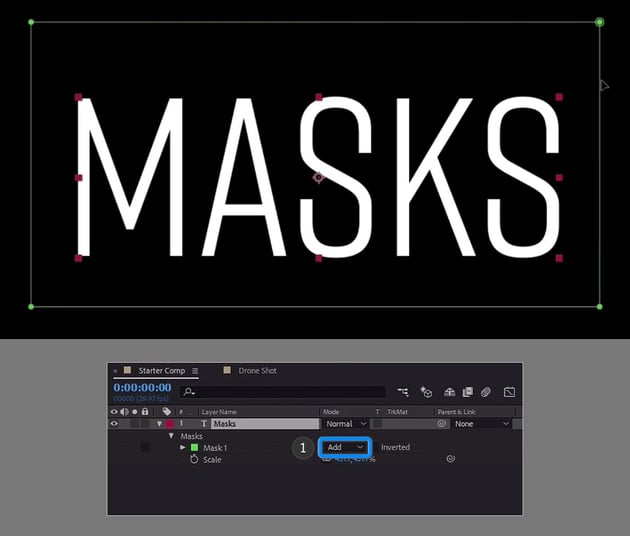
How to Use Add and Subtract Using Masks
Now right now the mask is set to Add. That means you can see everything within the bounding box of the layer.


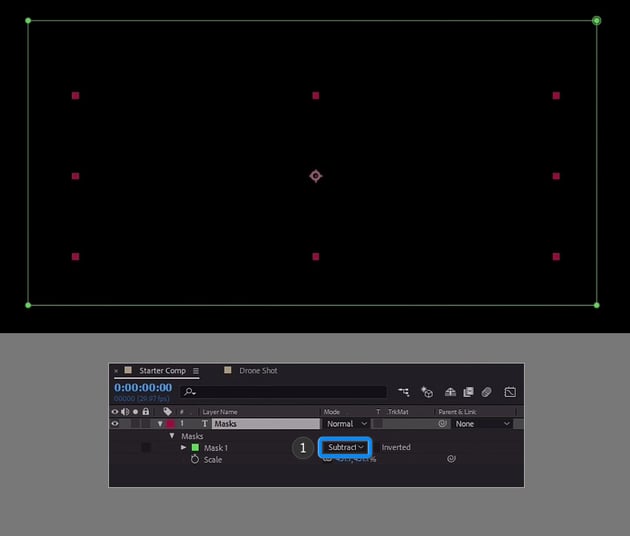
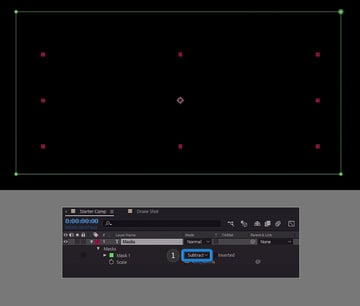
If I change the Masks mode to Subtract, it does the opposite of Add. Meaning if 'add' is adding the things inside the mask, 'subtract' is doing the exact opposite.

How to Create a Basic Text Transition Using Masks
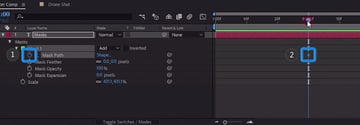
So once you've created your mask, you can adjust it however you want to. For example you can do something like create a basic text transition using a little bit of animation.
You can move the Current Time Indicator (CTI) to one second and then in the Mask properties, toggle on the key frame for Mask Path.


Then bring the CTI back to the beginning of the comp.


And then you can double-click on the Mask and just squish it to the left.

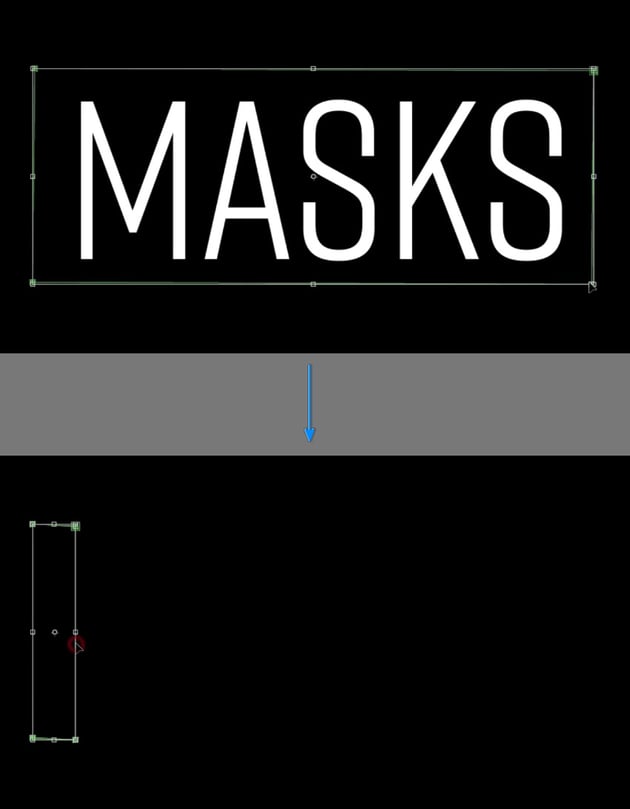

Then if you play this, you'll see you have this kind of horizontal wipe. Which is pretty cool!


Now there's lots of other ways to do this. But that's just a really simple example of using a Mask.
How To Use Different Mask Modes
Let me show you another example. Create a new composition and call it 'Solid Masks', and then use the HDTV108024 preset.
Set it to 5 seconds long and click OK.


Create a new solid by going to Layer > New > Solid (Control - Y).


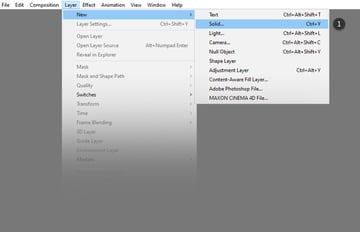
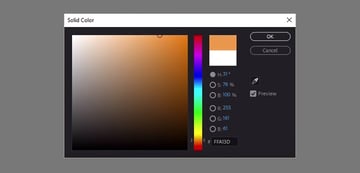
Pick a color here, we are going to use orange for this example.


Create a Mask with the Pen Tool and draw four different shapes.


Now that you have four different shapes on this solid, hit M on the keyboard to bring up to bring out the options for your masks.

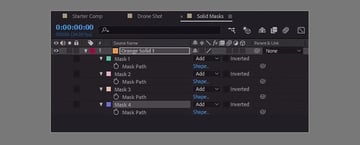
You can then toggle down the properties for each individual mask. This can also be done by pressing M twice on your keyboard.

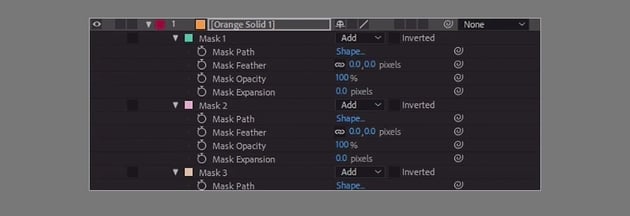
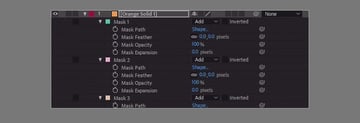
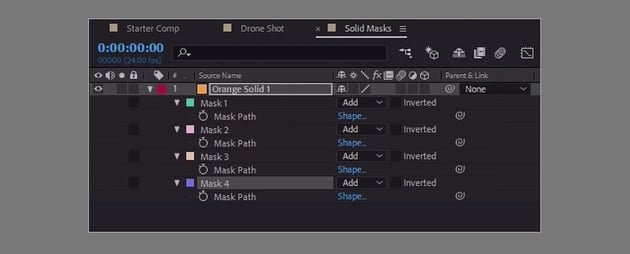
Now by default, when you create a new mask, it is set to Add. Now let's see what happens when you change the mode.
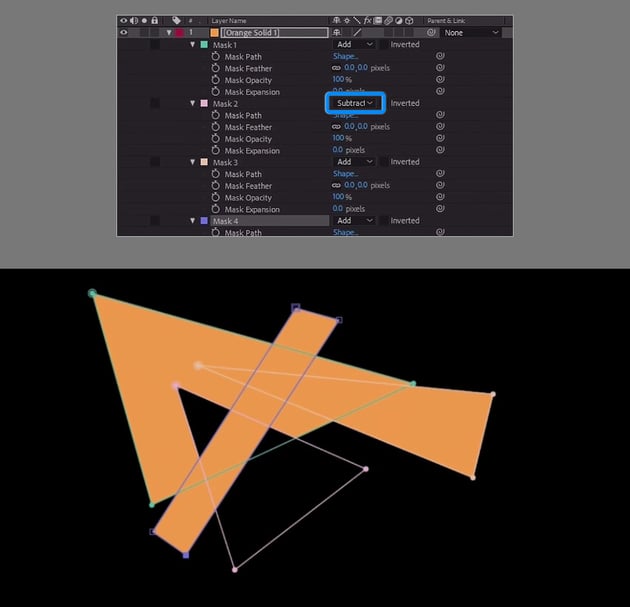
So let's set the second one to Subtract.


And the third one to Intersect.

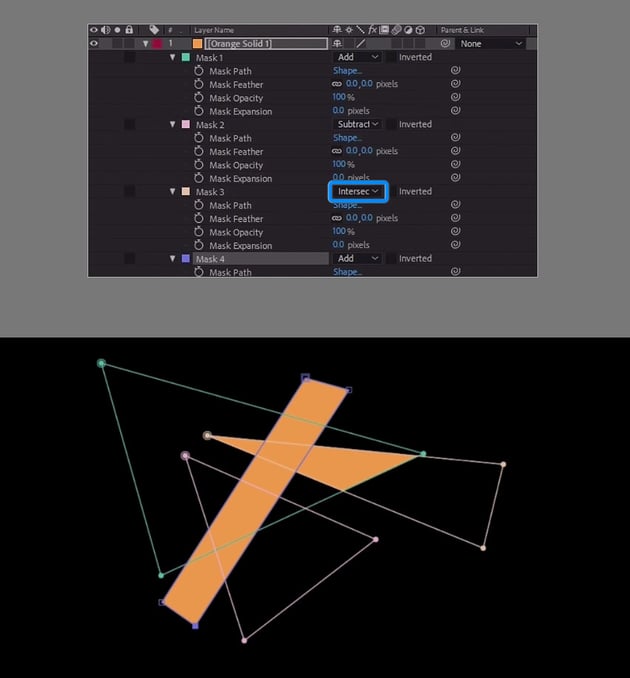

And the fourth one to Difference.


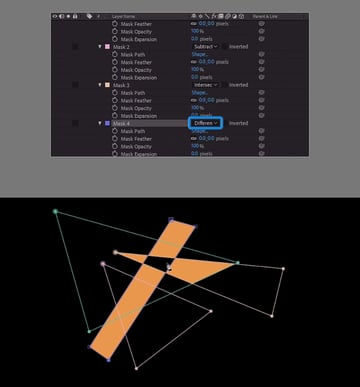
You can see, you can take that same basic set of shapes and you can get a lot of different looks and variations just by changing the different modes. This is also dependent on their stacking order.
So if you change the stacking order here, you're going to see that the effect is different because the way these masks work is they affect things that are above them in the stack.


And for more information on this, Adobe has a great Help Page for After Effects where you could checkout some more detailed examples of how all of these Mask modes interact with each other.
How to Create a Vignette Using Masks
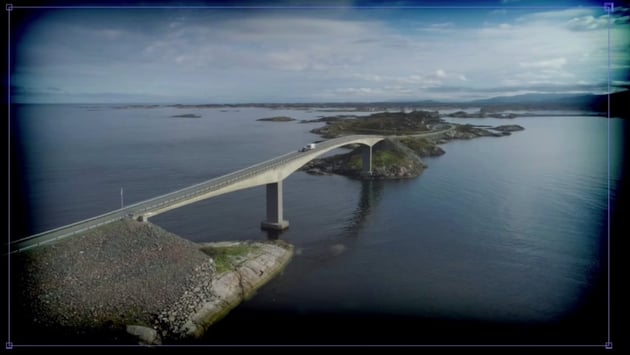
Now let's jump over to this drone footage comp and show you a few more examples of how you might use masks in actual projects. If you don't have a drone clip of your own, download one from Envato Elements.
So let's say, for example, you wanted to enhance this composition with a little bit of color and a vignette. We can do this using masks.


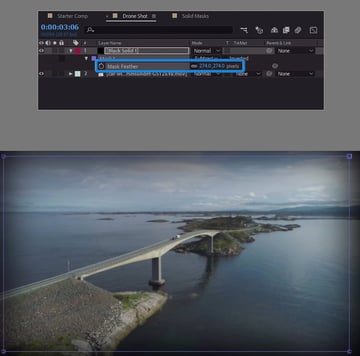
Create black solid by going to Layer > New > Solid (Control - Y).
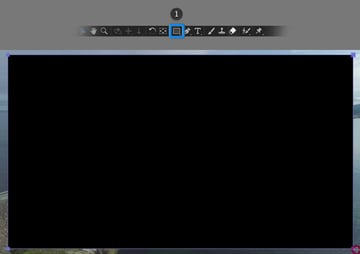
Use the Rectangle Tool to draw a rough rectangle shape within your composition.


Then select Subtract to create a rough vignette.


Press F on the keyboard. This will bring up the Mask Feather options. Then I can feather this out.


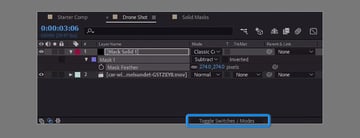
I can also change the transfer mode or the blending mode to something like Classic Color Burn.


If you don't seethe transfer control pane, you can hit this Toggle Switches/Mode button located near the bottom or use F4 on the keyboard.


Hit T on the keyboard to adjust the opacity and just wind that down a little bit, because it's just a little heavy handed.


How to Add More Color to Your Project Using Masks
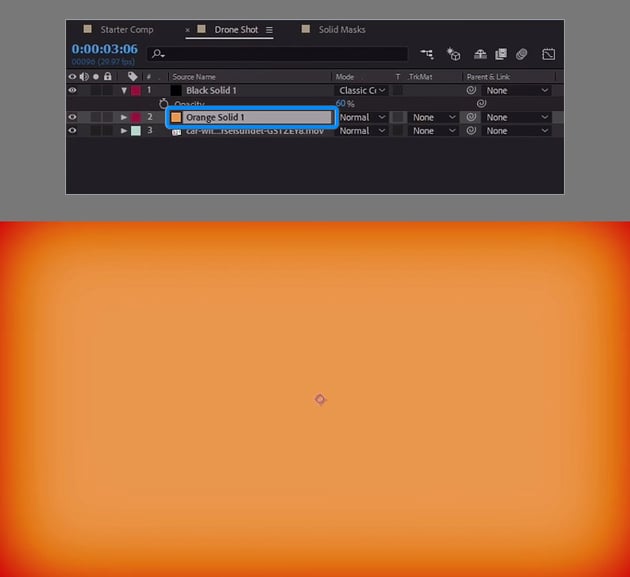
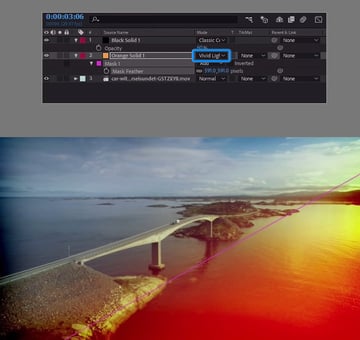
Now I can also give this a nice color punch here by creating an orange solid and placing below the black solid.


Grab the Pen Tool, and make a giant triangle.


Hit F again on the keyboard to bring up the Feather Options and just feather it out.


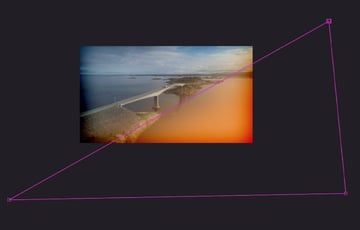
Change the blending mode to something like, Soft Light or Vivid Light.


Hit T on the keyboard to bring up the Opacity Options and maybe dial that effect back just a hair.


Now let's create a new purple solid and place below the black solid. Grab the Pen Tool, and make a giant triangle again, this time on the opposite corner.


Hit F again on the keyboard to bring up the Feather Options and just feather it out.


Change the blending mode to Add.


Hit T on the keyboard to bring up the Opacity Options and maybe dial that effect back a little bit like before. You can then adjust the size of your masks to increase or decrease the area.


Congratulations
Congratulations! And that's how you can use Masks Adobe After Effects for animation and to improve the look of your projects. Now that you've learned the basics, check out some of the other tutorials we have on Adobe After Effects below.
I hope you've found this tutorial useful and I'll see you next time on Envato Tuts+!
More Adobe After Effects Tutorials

 How to Create Cinematic Lighting in an Animation Scene With After Effects


 How to Add Special Effects to Cartoon Animation Using After Effects

 How to Add Motion Blur Effects to Cartoon Animation Using After Effects

 3 Ways to Colour Grade Cartoon Animation Using After Effects

 How to Add Soft Lighting to Cartoon Animation in After Effects

 How to Make a Talking Avatar With Cartoon Animator and After Effects
 By
By


