
Have ever tried to hide imperfections in skin or remove some dust or dirt from your image? Of course you have, but if you haven't been using the Healing Brush in Lightroom Classic, then this tutorial for retouching photos is perfect for you.
The Healing Brush in Lightroom going to save you a ton of time when you do some photo retouching, and the results will speak for themselves.
What You'll Learn
- what the Healing Brush is in Lightroom
- how to use the Healing Brush in Lightroom to retouch photos
- how to use the Healing Brush tool for editing portrait photos in Lightroom
What Is the Healing Brush?
The Healing Brush in Lightroom Classic is a highly effective tool that seamlessly removes information and replaces it with information from a chosen area. Put simply, it can remove unwanted details in your image seamlessly by using a powerful built-in algorithm. If you're learning how to retouch photos, you'll need to know how to use this tool.
How to Use the Healing Brush in Lightroom
First things first: let's locate the Healing Brush tool. Lightroom makes this very easy with a shortcut in the Develop module, just below the Histogram. The shortcut appears as a band-aid symbol. Click on the band-aid, and select Heal in the Brush options before you start retouching photos.


You'll notice there are three sliders associated with the Healing Brush: Size, Feather, and Opacity. The settings you choose for these will vary when editing photos in Lightroom, but here's a general guide to begin with:
- Size: choose a size slightly bigger than the detail you want to remove during photo retouching.
- Feather: choose a higher number for a softer edit or lower numbers for a more precise edit.
- Opacity: this is generally always left at 100; reduce it if you want a percentage of the detail to remain.
Select the Healing Brush, and then Zoom In on the detail that you want to get rid of. In my example, I'd like to remove some crumbs from the lower left corner of this image.


I've chosen a Brush Size of 78 to cover this little cluster of crumbs while retouching the photo. I've reduced the Feather to 34 so that the crumbs are contained in the inner circle of the brush. The Opacity remains at 100 as I want the crumbs to disappear entirely. Click to select the area you want to be healed in this photo retouch.
Upon clicking, a second circle will appear. This is the Source Selection for your healing brush adjustment. Make a selection to show what you want the Lightroom Healing Brush to use as the new information that will replace your original selection during this process of retouching photos.


Lightroom will now work its magic with the Healing Brush. Through its algorithm, it will seamlessly blend in the detail of the source selection with our original selection. Let's see how this photo retouching technique works in practice.


And just like that, those crumbs are gone, without any trace of any of the editing we did to our photo in Lightroom. That's the power and simplicity of the Lightroom Healing Brush.
How to Use the Healing Brush on a Portrait
The subject of this photo doesn't love the little freckle on his upper lip and requested we retouch the photo to remove it in post-production. The Healing Brush in Lightroom is the perfect tool for this job.


I resized the Brush Size to 61, so that it fits just the freckle and the lip, being careful not to select the teeth because that's not the part of the photo we're retouching. The Feather is at 69 to create a soft falloff, and the Opacity is 100.


I've chosen my source selection to be a section of the lip without any freckles.


And just like that, the freckle is gone, and our edit has been blended seamlessly by Lightroom. So now you know how to use the Healing Brush tool in Lightroom!
Start Editing Photos in Lightroom Today
There are so many uses for the Lightroom Healing Brush, and I hope you'll take what you've learned in this tutorial and apply it the next time you need to remove something in a photo edit.
If you spend time retouching photos, you'll want to check out this wonderful video course from Abbey Esparza, an Envato Tuts+ instructor. It's on our YouTube channel, along with thousands of hours of useful guides, tutorials, and courses.
You can also check out our written articles right here on Envato Tuts+. Get started on your skills journey with these photo retouching guides and tutorials so you can start editing photos in Lightroom like a pro.

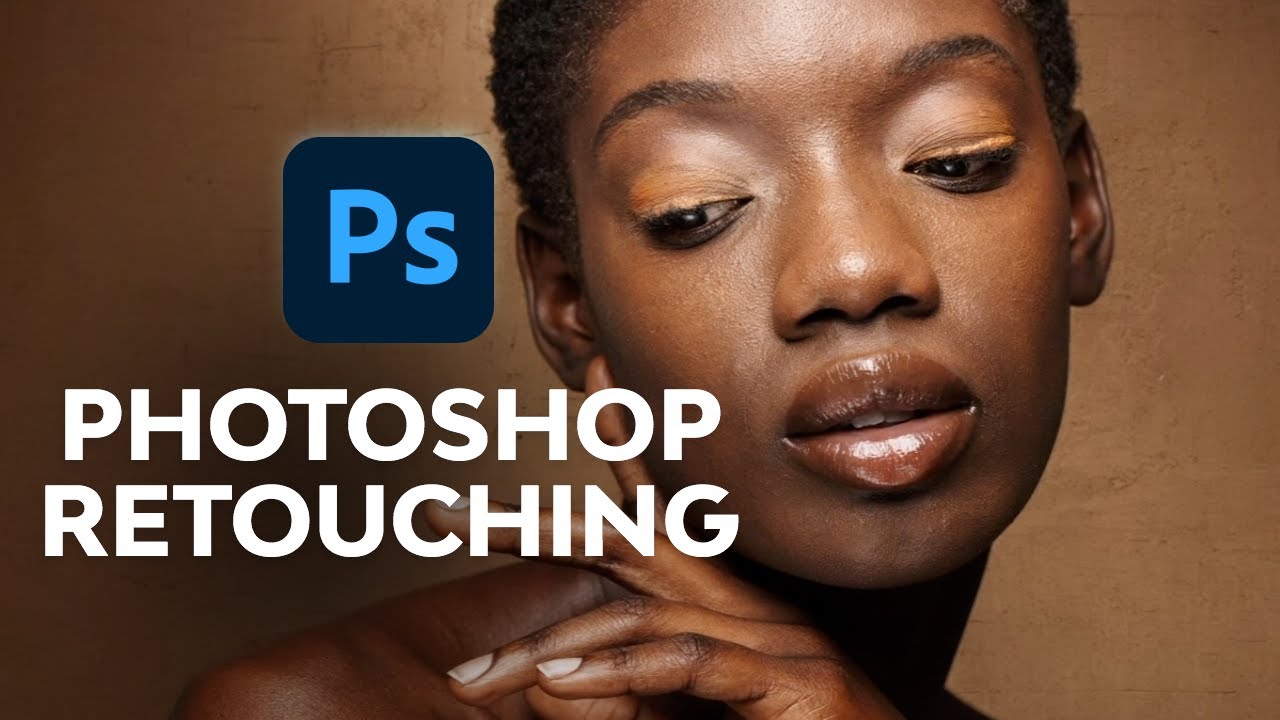
 Photoshop Retouching for Beginners


 The A-Z of Adobe Lightroom Classic for Photography


 How to Retouch Portrait Photos Using Dodge and Burn


 How to Retouch a Portrait in Acorn Photo Editor for macOS (Photoshop Alternative)

 How to Retouch Fly-Away Hair in Portrait Photos

 How to Retouch Skin in Portraits Using Frequency Separation


 How to Retouch Makeup in Portrait Photos

-
How to Retouch Portrait Photos Using Dodge and Burn

 By
By


