How to Make a Christmas Card Using Your Own Photograph


Personalising the Christmas cards you send can be an extra special touch for family and friends, or a great marketing opportunity if you’re in business. Making your own might card might sound like a chore, but it’s easier than you think. Once you’ve got your template, you can update quickly and easily year after year.
Choosing Your Picture
Hopefully, you’ll have a bank of wintery, Christmassy or family themed shots. If not, now is the time to take one!
When you decide on your picture, think about the orientation your card will be and how the image will fill the space. Will there be enough empty space for your message? If you're shooting something new, think about the composition accordingly. Sky, water or snow can be particularly useful 'empty' spaces on which to place text.
What You'll Need
- An Image.
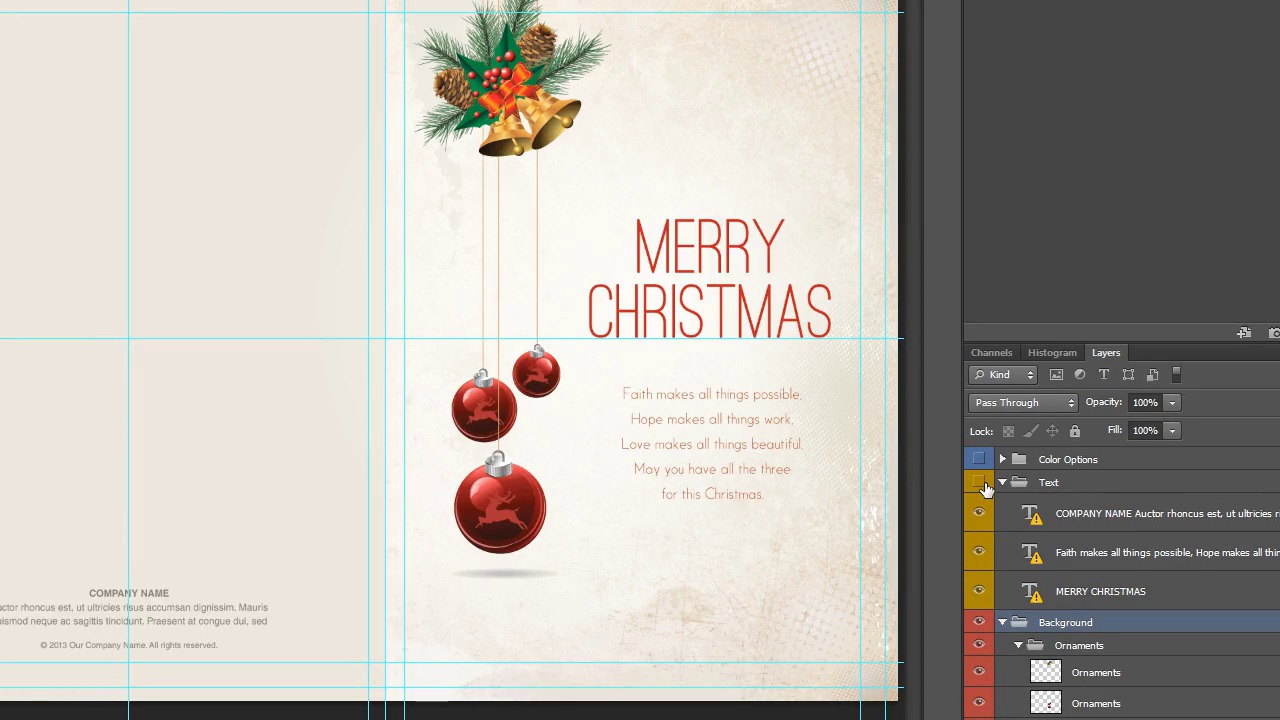
- A Photoshop template: I'm using Merry Christmas Greeting Card Template by loswl
- Some snow brushes: I'm using Snow and Rain Brushes by nada-images
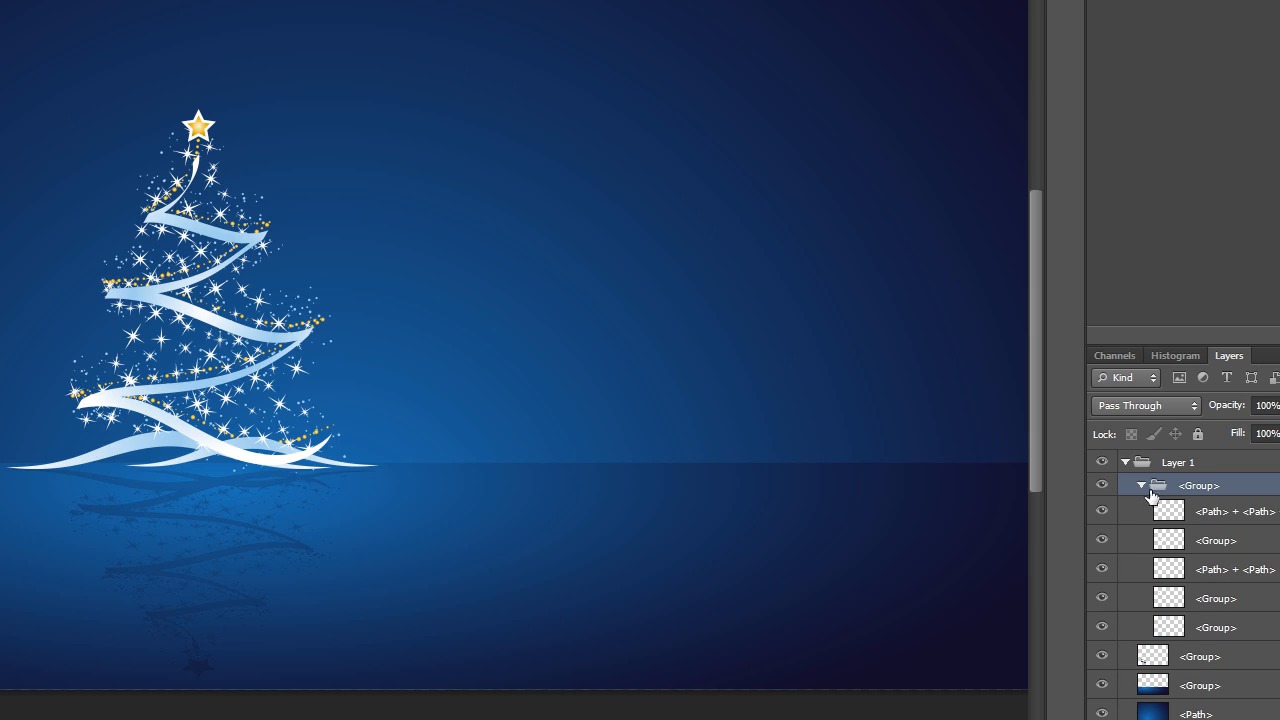
- A Christmas themed image, like Christmas Tree by VVaD
- An appropriately jolly font: I chose Snowed In Font by mrikhokon
1. Create the Outside of the Card
Insert Your Image
Open the template and hide any layers you don't want to keep.

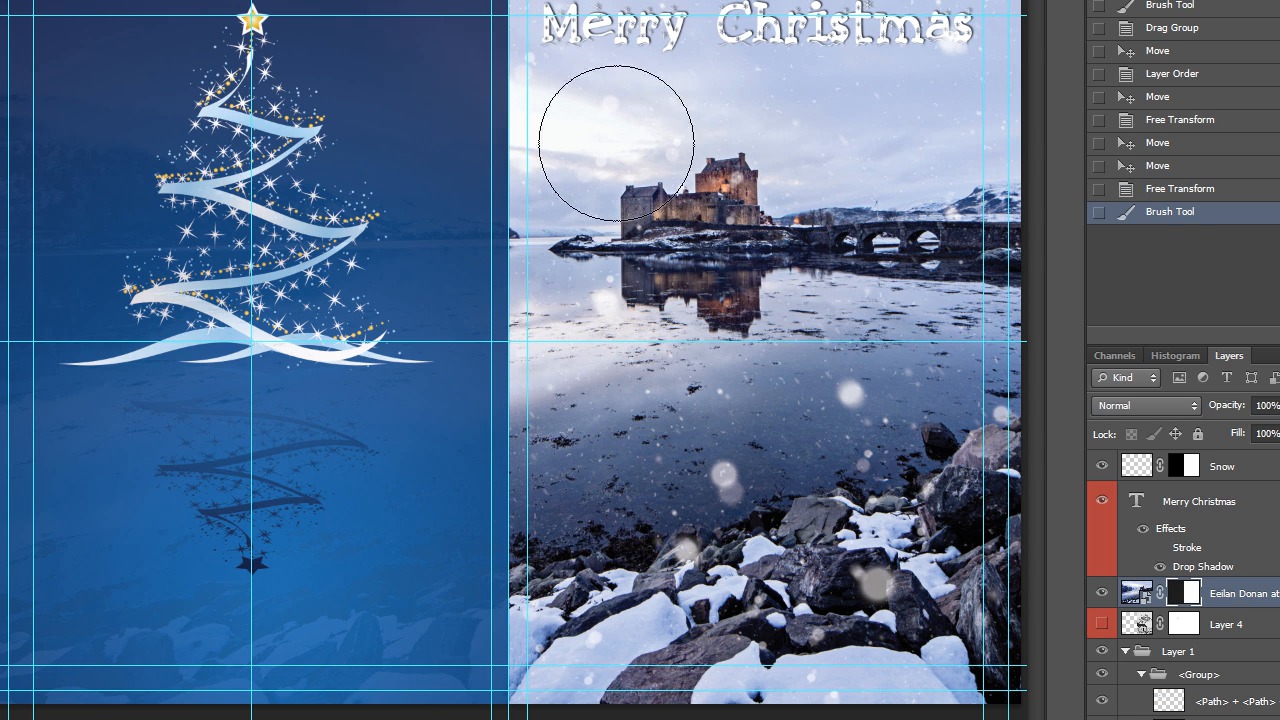
Insert your image as a Smart Object, place it appropriately, then create a layer mask to hide the half of the photo that would be over the back of the card.


Remember to leave room for your text.
2. Place Your Text
Install your font and add some text to the image, making sure that it stands out against the background.


The font is supposed to represent snow, so it made sense for it to be quite. I added a drop shadow to help it pop against the pale sky.
3. Let There be Snow
Install your brushes and then create a new layer. Using a few brushes, for variety, create a a snow effect on top of your image. Make use of a layer mask again to leave the back of your card unaffected.


Use the rounded snow brushes for a softer effect and remember that usually, less is more.
4. Add Your Christmas Tree
Open up the Christmas tree image and drag it over into your current workspace. You'll see that it's broken down into a number of layers

Position the image in the middle at the back and then drag the bottom <Path> layer so that it covers the card. Hide the first <Group> Layer, you don’t need it.


Next, using a soft brush at about 8% opacity, go back to your original image layer and brush over the layer mask to blend the tree.

5. Let There be (More) Snow
Create a new layer and using the same brushes as before, add more snow on the back of your card.


You can just duplicate your other layer and drag it over if you don’t mind the snow being in the same position.
Go back to the template layer(s) and add some text to the back of your card.


If you’re a professional photographer, this is a good place to pop your company name. If this is a card for friends and family, then think of something cute or funny to write here.
I’ve hidden the front verse and merry Christmas layers and written in my own message.
6. The Finished Outside


7. Create the Inside of the Card
Change the Colour and Text
Make the colour of the inside of the card a paler version of outside. Use the colour dropper to select an appropriate colour, create a new layer and fill it with that colour.


Change the text if desired. I've removed the verse and written my own message, then increased the font size to suit.
Add Interest to the Inside
Remove the ornaments if they're not to your taste and use the snow brushes to add some interest to the inside of your card. Remember to leave yourself room to write in your card.


Add the Christmas Tree Again
Drag in the Christmas tree again and hide each of the <group> and <path> layers until just the Christmas tree remains.


Resize to suit and change the blend mode of the tree layer to lighten. This will blend it better with the colour of your background. If it doesn’t stand out enough, try adding a drop shadow.
8. The Finished Inside


9. Print and Send


Making a card from one of your own images can be very satisfying, and it's a nice, personal touch for those who know you and what you do. Printing your own cards can become expensive, so you may want to limit yourself to a small number—which will make whoever receives one feel all the more special!
Initially, creating your card will take a little time and effort, but once you have your template, you can simply update the picture or refresh the text each year, which is a much faster process.
We hope you enjoy making your greetings card and that you have a great time over the holidays.


 How to Create a Winter Landscape Photo Manipulation With Adobe Photoshop

 Jenny Le03 Feb 2016

 How to Get the Best Results From Online Photo Printers

 Dawn Oosterhoff30 Oct 2015

 Printing Your Photographs Professionally for the First Time: 10 Things To Know

 Grace Fussell12 Sep 2016

 How to Pick the Best Way to Print Your Photos

 Grace Fussell26 Sep 2016


