
In this tutorial you'll learn how to use Adobe Rush to add transitions to your film footage, a basic skill in video editing.
What is Adobe Rush?
Adobe Premiere Rush is a new app-based video editing programme, part of Adobe’s Creative Cloud suite, scaled down to make it easy for you to shoot, edit and share to social media while on the go. You can shoot pro-quality video on your mobile device, edit the footage, including colour grading, adding motion graphics and much more, and then upload straight to your social channels.
Rush is available as a single app plan via subscription, or you can try it for free—accessing all its features but are limited to three video exports.
Why Not Just Use Premiere Pro?
For your regular PC or Mac editing, we recommend you still use your regular editing suite; Adobe Rush is designed to complement, rather than replace your existing software. Rush takes the principal elements of Premiere Pro and Audition so that you can edit your video and audio quickly but still achieve professional results. If you prefer to stick with Premiere Pro, try our new course on creating video transitions with the Dope Transitions template.
What Are Transitions?
How you move from one piece of footage to another is called a transition. Usually, you don’t want these to disrupt the flow of your film and so you’d aim to use a transition that fit the style and pace of your piece. If it’s at the start or end of your footage, you can use transitions to book-end them nicely, so you get a more gradual in and out.
Types of Transitions
There are almost as many types of transition as you can conjure up in your imagination, but some of the most commonly used video transitions are:
- Dissolve: where one clip fades into another
- Wipe (various): one clip replaces the other quickly in a distinct way
- Cutaway: a hard cut, or jump to the next clip
- Fade: the clip fades in (or out) to (or from) black
- Zoom: one clip quickly morphing into another
Choosing a Transition
The way you segue between clips is usually determined by style and tempo, so you’ll make a choice of transition based on the look and feel of your film. Transitions need to be chosen carefully, as they can jar your audience out of the film—great if that’s your intention, but not so much if it’s accidental.
How to Add Transitions in Adobe Rush
If you’re using the mobile app (as opposed to desktop app) you can’t add in your own transitions to Rush, and if you think about it, it’s logical. Why would you want to use process-heavy templates which would choke your mobile device? Video templates are much better suited to your desktop editing suite or app.
The idea of Rush is to scale everything back and keep your processing light and speedy. That said, you have three transition types to choose from with Rush, and they are: Cross Dissolve, Dip to Black (fade), and Dip to White (fade).
For this demonstration, I'm using Adobe Rush for Android.
1. Open Rush
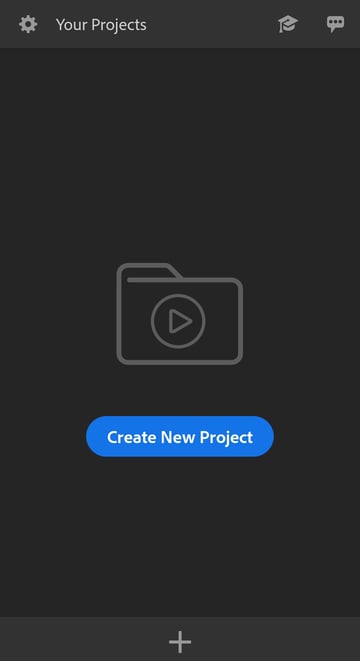
Open Rush, if it’s the first time you’ve used it, it’ll say ‘Create New Project’—if you have a project loaded up already, then you’ll need to select that or click the plus sign (+) at the bottom to create a new one.


2. Add Footage
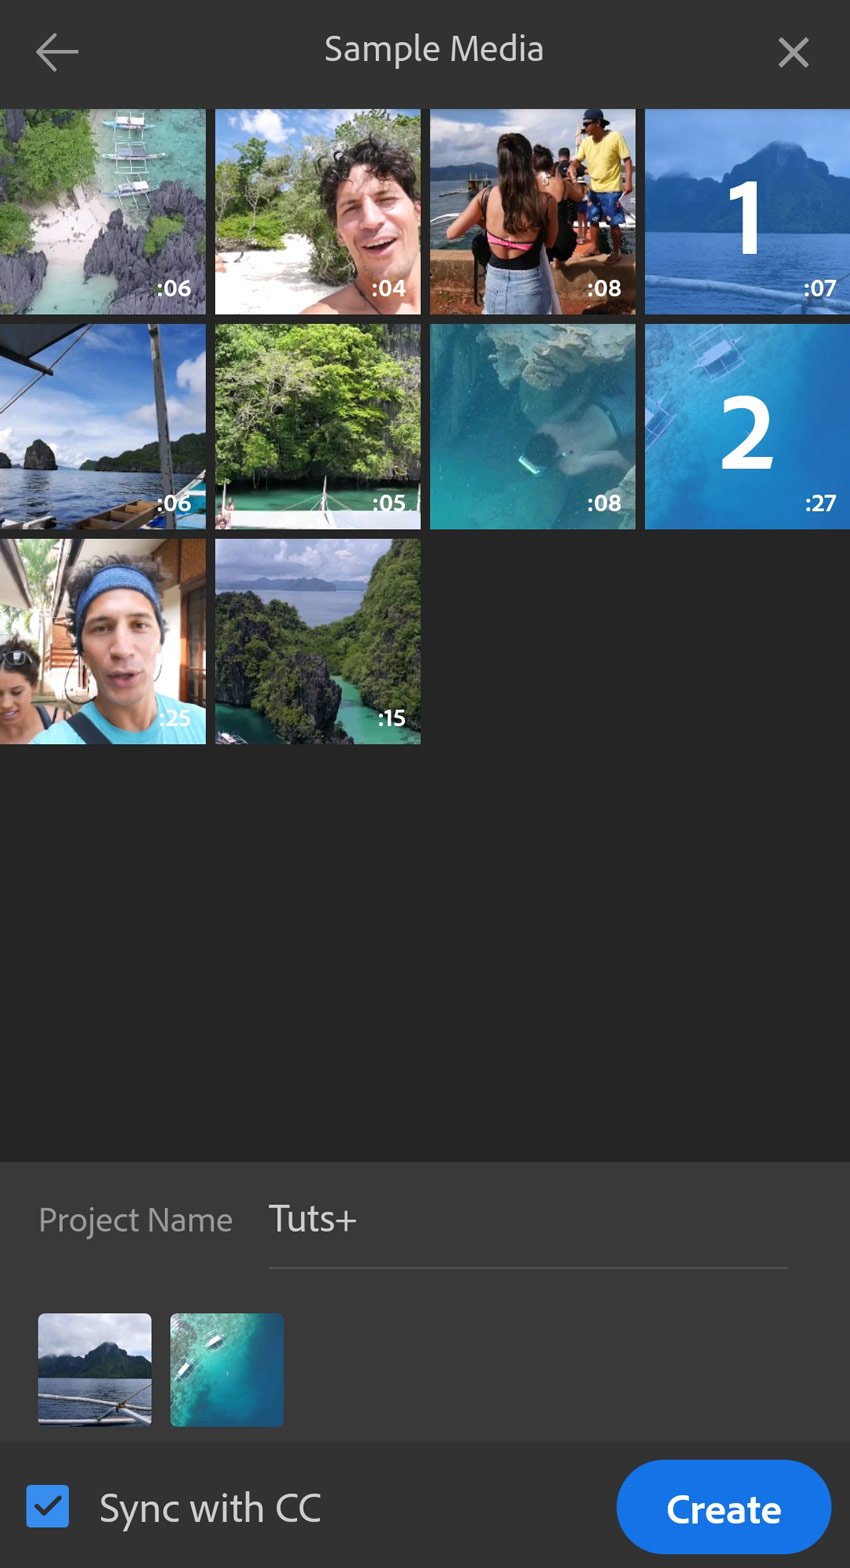
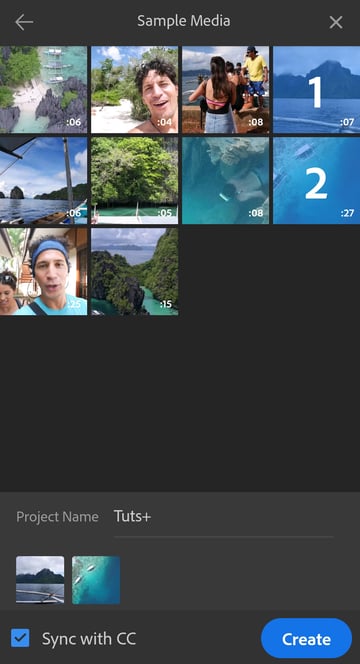
Add your footage and name your project—I’ve called the project Tuts+ and added two pieces of video from the sample footage provided on the app.
Hit Create.

3. Choose a Transition
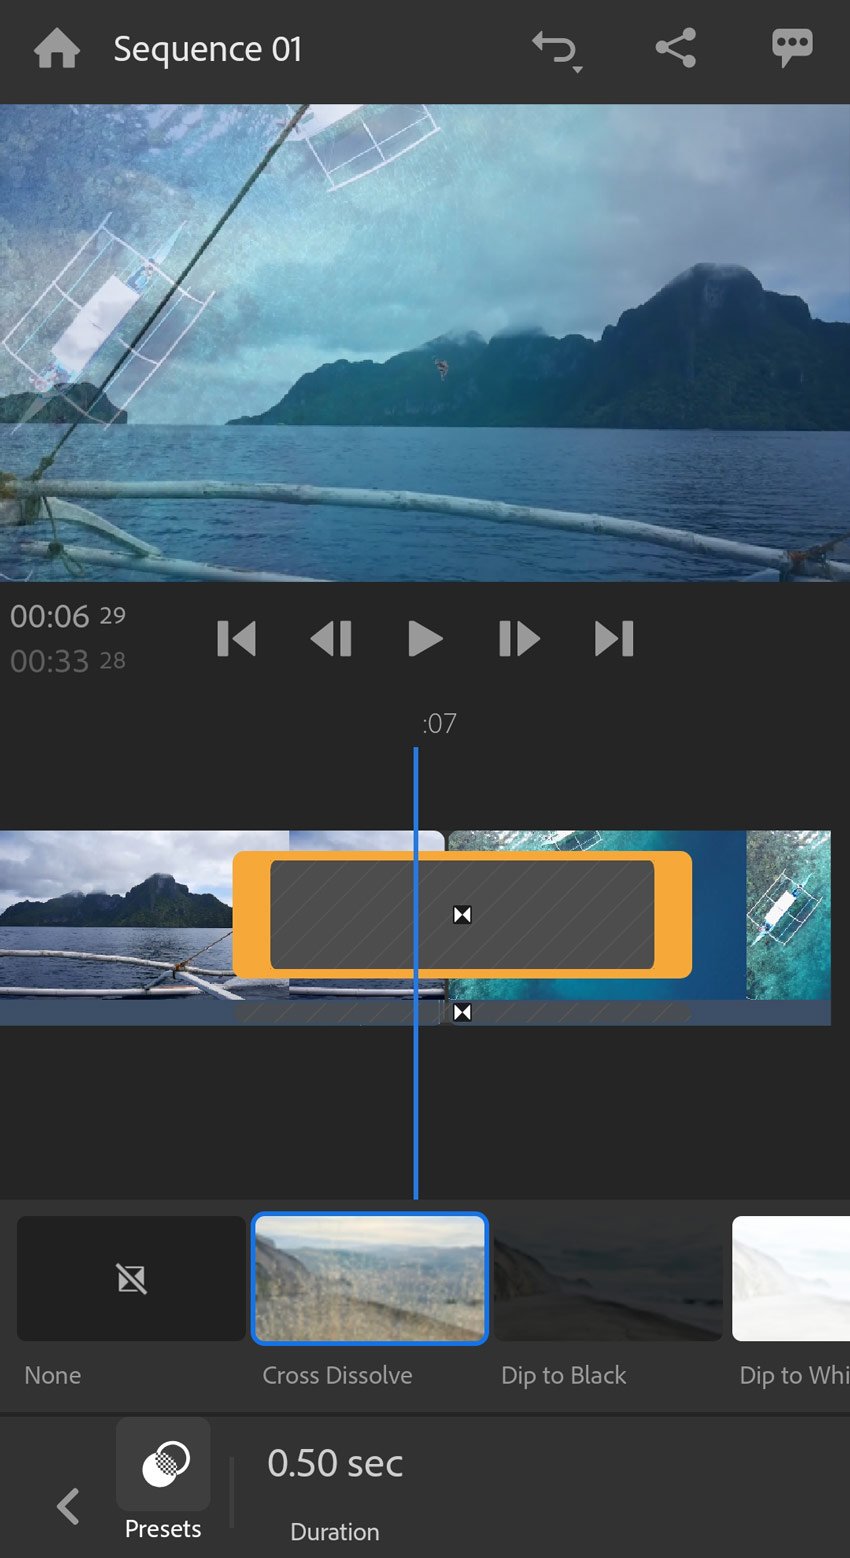
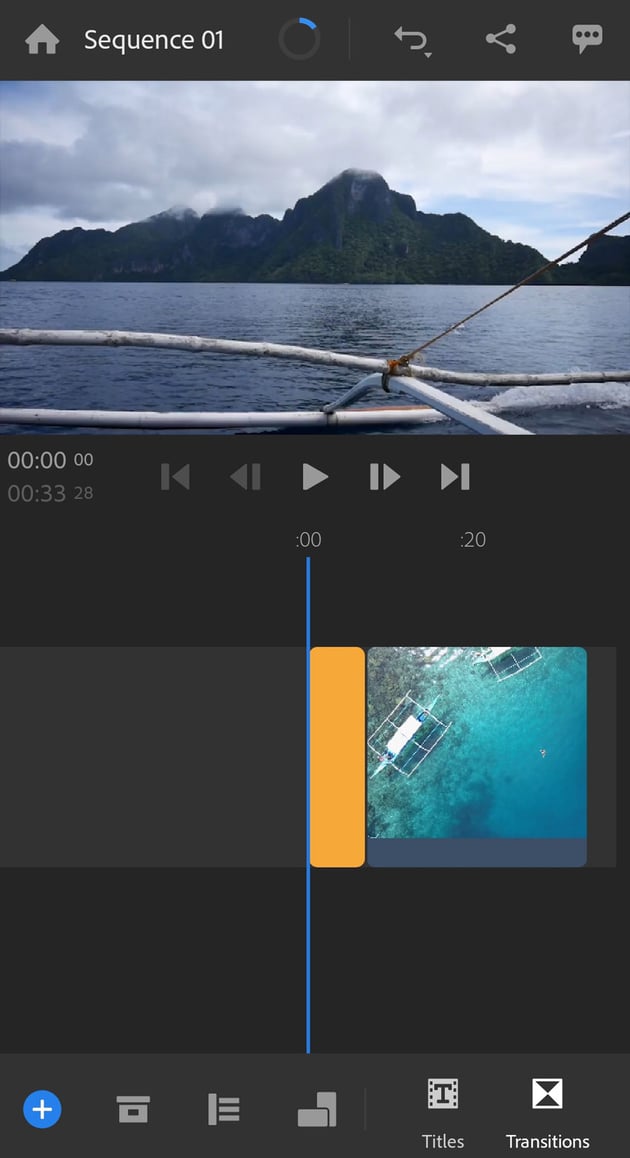
Your timeline will appear with the selected footage in it and you'll see a transitions option at the bottom right of the screen.
To add a transition, click and drag it across your timeline to where the two pieces of footage meet.
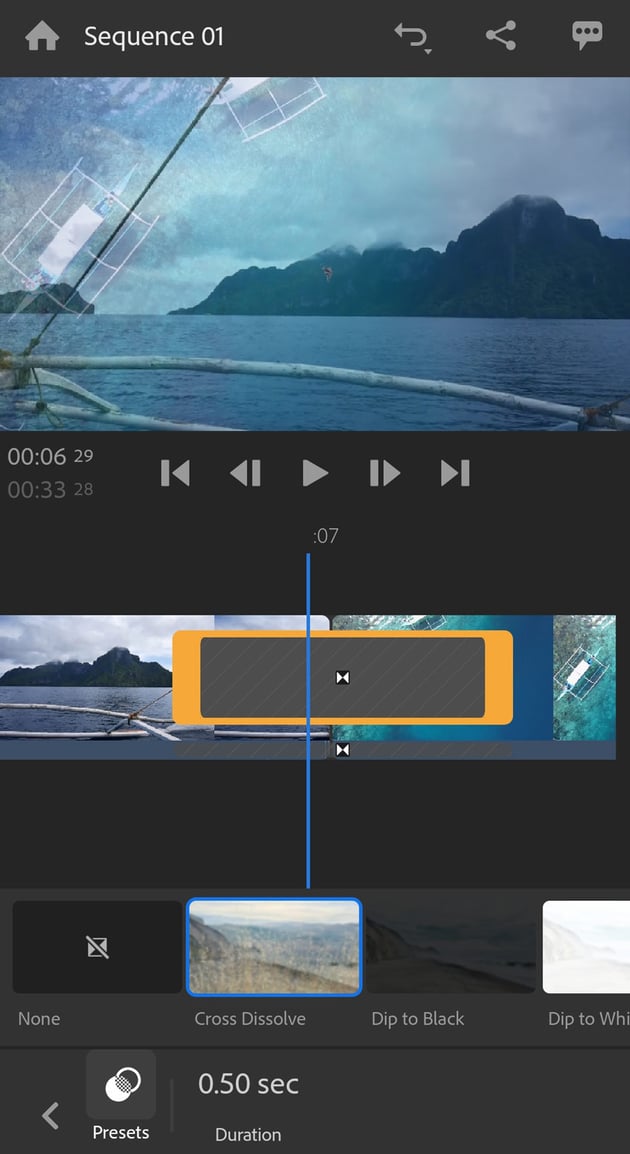
Click Transitions and choose one (I've picked Cross Dissolve) and you’ll see a greyed out box with an arrow on it appear.
4. Choose the Length of Your Transition
If you pinch to zoom in, you’ll get a better look at the box and have more control over it. Press on the grey box and it’ll get an orange outline around it, you can then adjust the length of the transition—the cross dissolve in this case—by pinching in and out.

5. Start and Finish
It's good practice to pop a transition at the start and end of your footage, so that it's all smooth. Rush automatically adds a fade in at the start, but you'll need to insert a Dip to Black at the end.


5. Export and Share
When you're done, click the Share symbol (the three dots connected by lines) and Ready to Export will appear. Export you're video, and you're done!


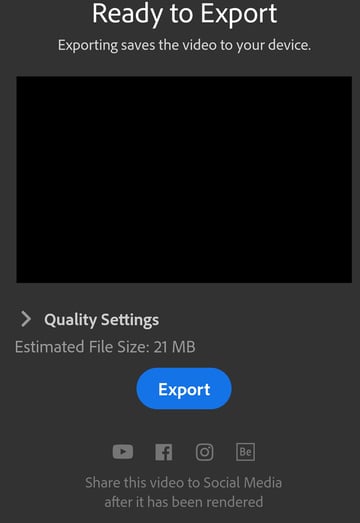
There are a number of options including saving to your device or, as you can see at the bottom of the screenshot, the ability to share straight to your social media channels.
More Video Articles For Your Next Project


 By
By


