Get great results on the first take with our helpful video production and recording tutorials. Master composition, lighting, audio recording, and more.
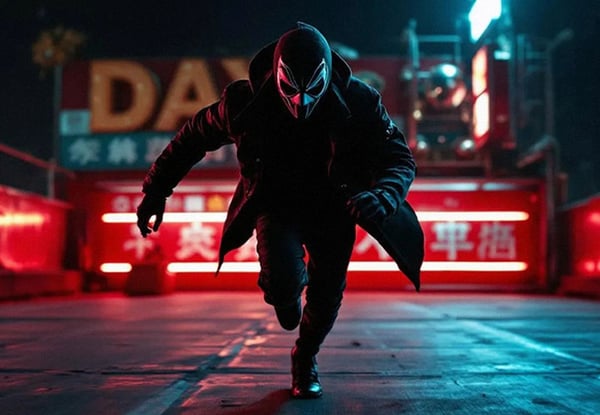
How to get cinematic results with Envato's AI video generator, now with Veo 3
Tutorial•Beginner
Learn how to use Envato's AI video generator to craft dramatic, movie style scenes, covering everything from prompt structure and camera angles to lighting...