

Learn how to use Adobe After Effects with this free course that's perfect for beginners.
Jump to content in this section:


What You'll Learn
- How to understand the After Effects interface and tools
- How to modify and customize After Effects templates
- How to create your own After Effects resources from scratch
- How to use masks
- How to precompose

About Your Instructor
David Bode
I'm an expert on video and audio production in the upstate NY area. I've worked as a camera operator, editor, recording engineer, and studio musician, as well as producing content for VH1 and the Discovery Networks.
1. Introduction
1.1 Welcome to the Course
Here, I'll set out what you'll learn in the next four and a half hours. You'll get to grips with the After Effects interface, tools, workflow, keyframing, compositions, precomposing and much more. This course includes a pack of asset files, so you can follow along with me, I'll let you know which one you need to open in the appropriate lesson.
"If you're new to After Effects, or you've never used it before, this is the course for you!"
2. After Effects Basics
2.1 What is After Effects?
Watch video lesson (10 mins) ↗
We'll start with a quick tour of the After Effects interface and learn how to customize it to fit your needs. If you're following along with the lessons in the course, you can import my settings into your After Effects with the file in the Asset Pack you downloaded from the top of the page.


2.2 Main Panels
Watch video lesson (10 mins) ↗
There are three main panels that you'll use a lot of the time, they contain some of the most important AE tools: Project, Composition, and Timeline. I'll go through each one with you so you know what they're used for and how to set them up properly. You'll need to understand these panels and tools in order to start using After Effects effectively.


2.3 Settings
In this lesson we'll take a quick dive into some settings that you'll need in order to make future projects. I'll show you how to set up some Preferences to make your life a little easier, including adding some Grids and Guides.


2.4 After Effects Tools
After Effects has... a lot of tools! Far too many to cover in one lesson. That's okay though, you don't need to know everything at once, so in this lesson we'll look at the tools that you'll need the most, ones that will help you control and modify media in your project.
Useful After Effects Shortcuts
Selection Tool
This is the 'default' tool, you can use it to select and modify your layers. The shortcut for the Selection tool is V.
Zoom Tool
Use the scroll wheel as a quick zoom tool. By default it'll scroll up and down, if you hold ALT, though, you can use the wheel to scroll side to side instead.
Rotation Tool
The shortcut for Rotation is R. You can hold a left-click to then rotate your selected element. If you hold Shift, it'll snap to rounded degrees like 90 and 180.
2.5 More AE Tools
I did say After Effects has a lot of tools! In this second lesson to feature them, we'll pick up where we left off in the previous video, looking at Shape tools and how you can use them creatively, as well as using them as masks. We'll cover the Pen tool, and Type too.


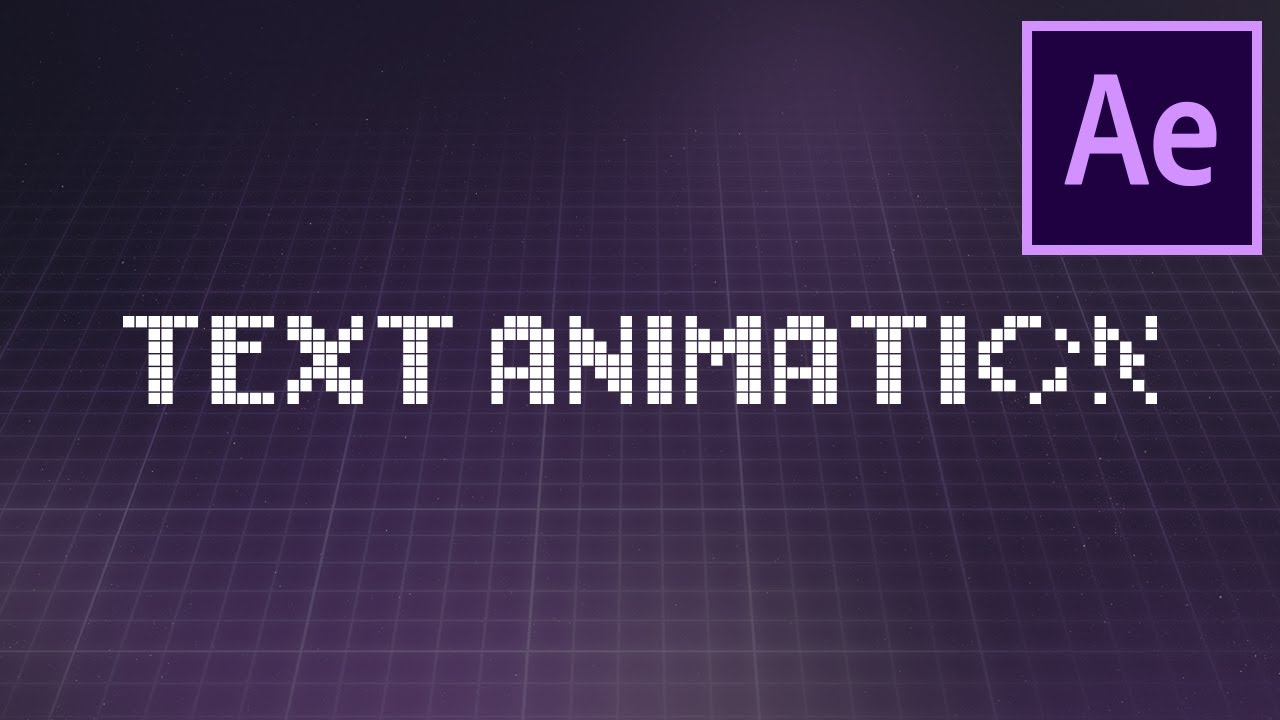
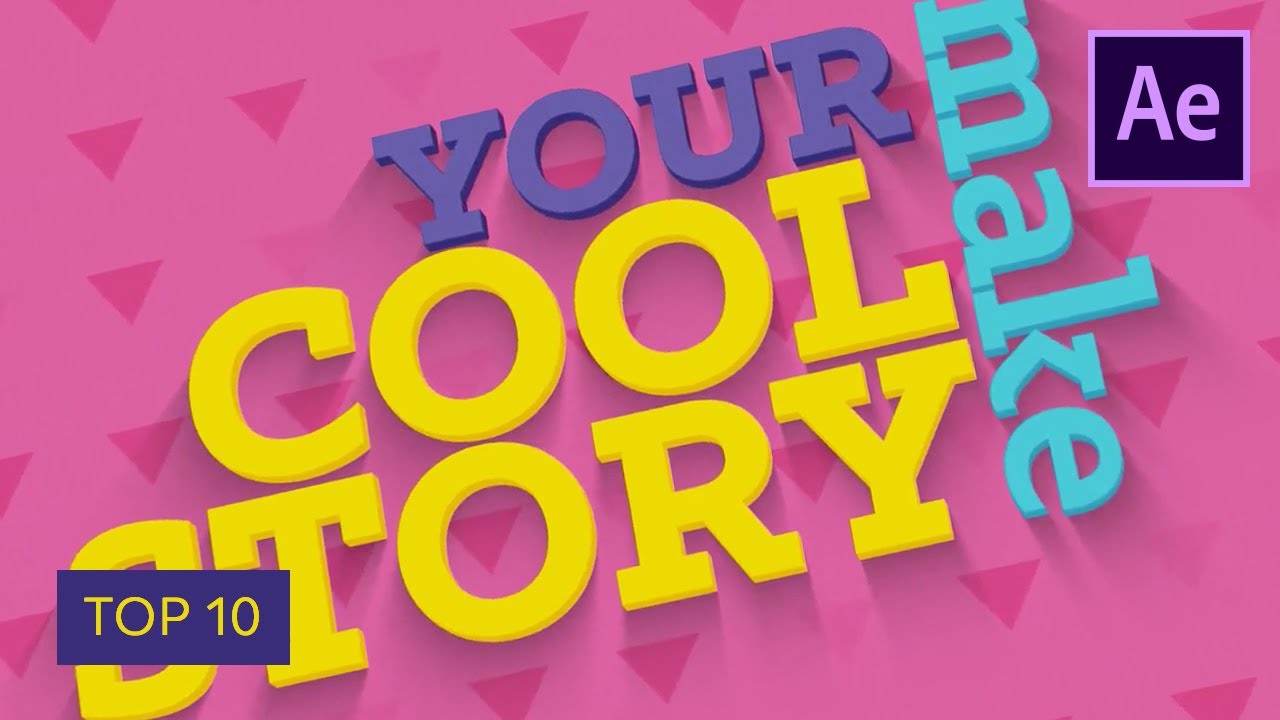
Learn After Effects Text Animation with a Template
Learn how to edit and customize an After Effects template to help make any video project look polished, in this free After Effects tutorial.
3. Compositions and Layers
3.1 After Effects Composition
Here we'll take a look at the basics of compositions in After Effects. A composition is the framework for your video, each has its own timeline and includes multiple layers that represent components. There are lots of ways you can arrange these to determine which parts show through the layers stacked above them.


3.2 Precomposing
If you have something you need to use multiple times, rather than duplicating it, you can precompose it. Say you had text you wanted to use again, precomposing will let you duplicate it but then also change the source, without having to retype each instance, as you'd have to if you simply copied it.


3.3 After Effects Layer Properties
This lesson is all about Layer Properties. I've set up several layers so you can see what properties are associated with each layer. We'll go through the different types so you can see exactly what they do. Some are obvious, some not so much!


A to Z of After Effects: Tips, Tricks, and Hacks
Really get to grips with After Effects in another one of our beginner After Effects tutorials, where you'll learn some rapid-fire tips and tricks. It's as easy as A, B, C!

4. Keyframes
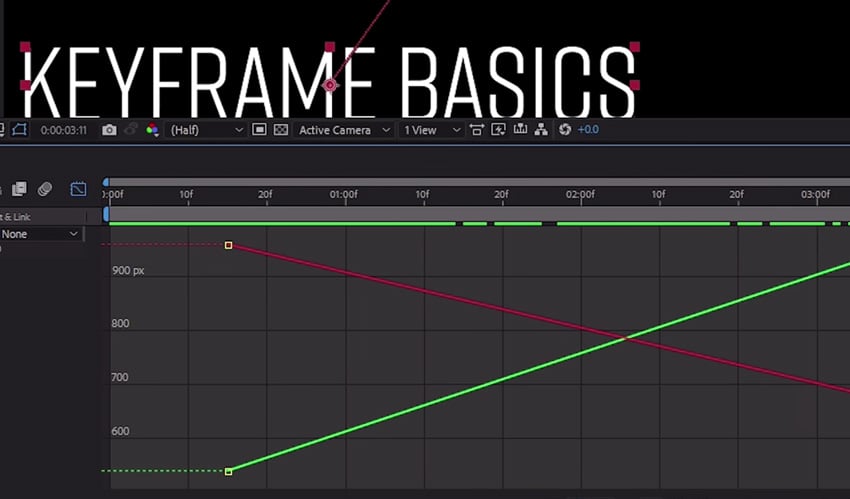
4.1 After Effects Keyframe Basics
Keyframes are essential to your work in After Effects, they're at the heart of animation. What I mean by animation is anything that changes over a period of time, be that shape, position, color and so on. The main thing to understand is that at one point it's one thing, and then at a later point it's changed in some way.


4.2 After Effects Keyframe Easing
Watch video lesson (10 mins) ↗
In this lesson you'll learn how to smooth out your animations by easing your keyframes. You can use the Keyframe Assistant to choose from a number of options, which I'll guide you through.


4.3 Spatial Interpolation
This lesson will pick right up from the last lesson. You'll see the dots along your text animation, which represent frames, with the start and end keyframes represented at either end. If the dots are in a straight line then the path that it's taking is Linear Spatial Interpolation. If you wanted your text to go in a direction other than straight, you'd need to make some changes using the Keyframe Interpolation tool.


"Keyframes are at the heart of a tremendous amount of animation."
5. Masks, Shape, Layers, and Text
5.1 How to Mask in After Effects
Masks are used to reveal and hide things. In this lesson I'll take you through how to create masks in After Effects and then how you can use those to say, create a text transition with animation for example.
5.2 After Effects Shape Layers: Part 1
Shape layers can be powerful tools to create graphics in After Effects. The good news is, you don't need a lot to be able to see what shape layers do, you don't need footage or anything complicated - After Effects generates shape layers all on its own! We'll come up with some wild and fantastic shapes in this lesson.


5.3 After Effects Shape Layers: Part 2
Watch video lesson (10 mins) ↗
We can't get enough of those shapes! In this lesson we'll pick up where we left off previously and I'll show you more about what shape layers can do. We'll look at some of your options when it comes to shape layers, like Trim Paths, which you can use to add animation. You can really have some fun with things like Wiggle Paths too, which I won't spoil for you but is pretty descriptive.


5.4 Text in After Effects
Your video project will likely contain text, so it's one of the most important lessons in this course. We'll start by creating an empty Text layer and then I'll show you some of the essential changes you can make: color, size, position and so on.


5.5 Text Animation and More
Watch video lesson (10 mins) ↗
Now you know how to create text layers in After Effects, I'll show you how to animate it, in a number of different ways. You might treat your layer as one whole unit and animate it, or you may want to break it up into parts and then animate those separate sections. We'll look at how to add some extra effects too, like a blur.


6. 2.5D
6.1 What is 2.5D
You've no doubt heard of 2D and 3D, but how about 2.5D? 2.5D is, essentially, creating a 3D environment out of objects that only have two dimensions. That's achieved by cutting out layers that can be separated, and then when you add movement - like parallax - it looks like video footage. I'll take you through how to make a really quick example of a 2.5D composition.


6.2 More 2.5D
Now you know what 2.5D is and how to create your own composition, so let's find out how to do some depth of field effects and do a basic camera animation.


7. Motion Tracking
7.1 Motion Tracking, Camera Tracking, and 3D Text
In this lesson, you'll learn how to do some basic motion tracking so that you can add text to a shot. Using stock footage, I'll show you how to use the Tracker panel to work on an individual layer, independent from the composition.
7.2 More Motion Tracking
This lesson picks up from the previous one. You'll learn how to apply the motion tracking data to an object and then how to attach some text to it so that it follows along with it. After Effects will actually give you a percentage of 'confidence' of how well it thinks it's managed to track your object.
7.3 Camera Tracking in After Effects
Here, you'll learn the basics of camera tracking. You'll use the Tracker panel to analyze your footage, which means AE extracts the camera motion and the 3D scene data, which allows us to composite 3D elements over 2D footage, in addition to adding 2D elements to the 3D environment.
7.4 3D Text in After Effects
Watch video lesson (11 mins) ↗
Now you've got some great motion tracking skills, this lesson will focus on converting 2D text into native 3D text without using any third-party plugins. I'll take you through Composition Settings, to help you choose more advanced options in the 3D Renderer, in particular, I'll focus on Cinema 4D.


10 Best Kinetic Typography (Animated Text) Templates for After Effects
You might be amazed by just how much you can do with text and motion graphics alone. Typographic videos frequently trend and go viral, and with the help of a template for After Effects, you can create them too.
8. Mattes and Cool Effects
8.1 Mattes
Watch video lesson (11 mins) ↗
In this lesson you'll learn about Alpha and Luma Mattes and see an example of how each are used. A matte is something used to create variable transparency for other layers, this could be a shape, text, an image - anything at all really!


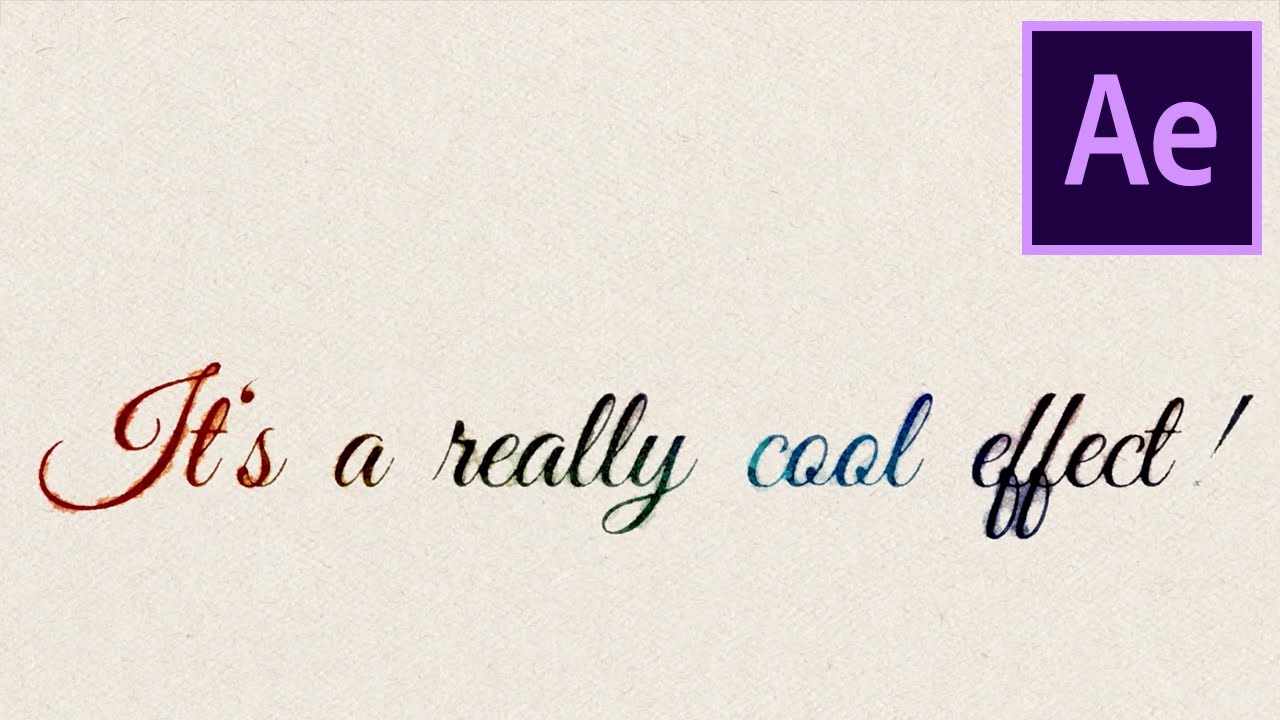
8.2 Effects!
Watch video lesson (11 mins) ↗
There are some great effects built into After Effects, so this lesson will take you through some of those. A particularly useful one of these is the Warp Stabilization effect, which can help to correct otherwise unusable jerky footage by smoothing it out. I'll also show you some different color correction and blur effects.


8.3 More Effects!
Watch video lesson (11 mins) ↗
We love effects, so this lesson is another one to show you some more really useful things you might want to use in your video. This time we'll look at green screen effects, fractal noise, gradients, and grids.


8.4 Mind-Blowing Third-Party Effects
Watch video lesson (11 mins) ↗
You guessed it, more effects! This time though, we'll take a look at some of the best third-party effects that you can utilize in After Effects with your project. Sometimes, the time it would take you to create a great looking effect would cost a lot more than if you paid for some professionally made presets, so it's worth checking out.


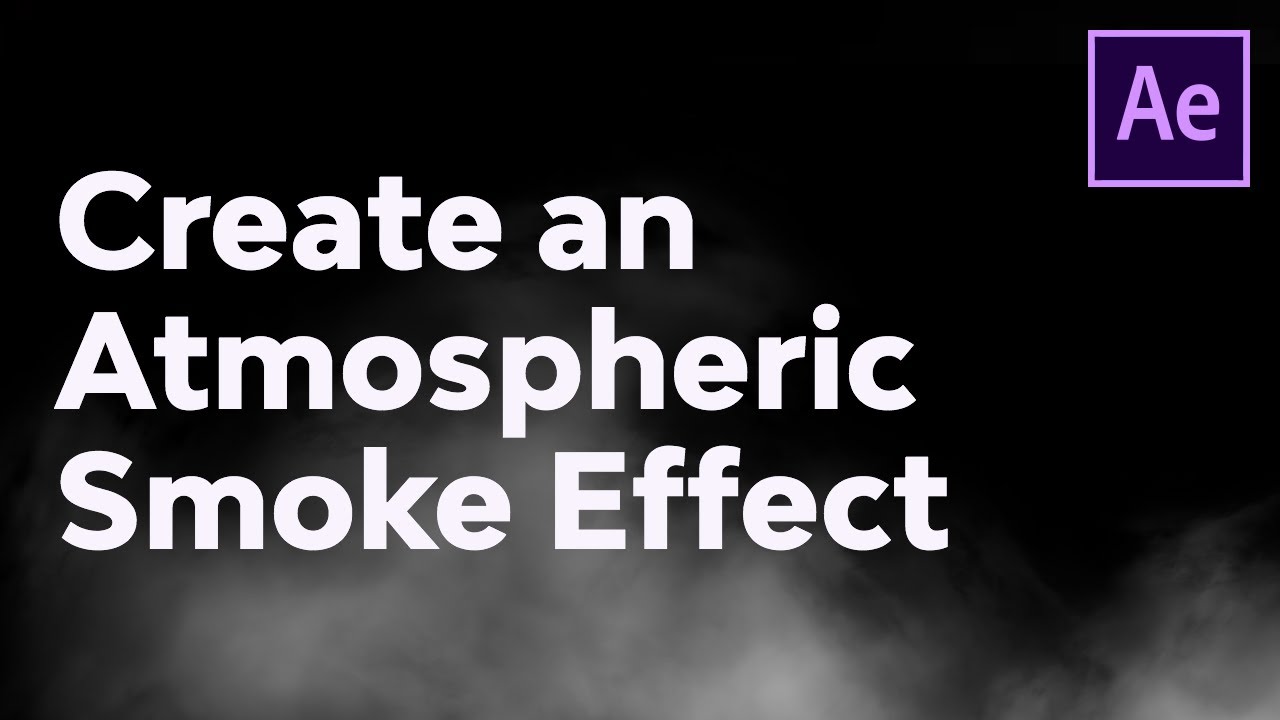
Create an Atmospheric Smoke Effect in Adobe After Effects
If the effects in the previous lessons have whetted your appetite, then try learning how to add drama and movement to a scene with an animated smoke effects created in After Effects.
9. Build a Lower Third
9.1 How to Make a Lower Third in After Effects
Watch video lesson (11 mins) ↗
In this lesson, you'll put all the skills you've learned so far to the test, by building your own simple lower third. First, I'll show you how to make the right side - where the most information goes - of a lower third. The next lesson will pick up from this one, and we'll build the other side.


9.2 Final Touches on the Lower Third
Watch video lesson (11 mins) ↗
Now you have the right side of your lower third, we're going to look at making the left side - typically where a person's name would go. Always keep in mind you might want to reuse these across other projects, so we'll make it bigger than we need. You'll practice the skills you've learned by adding mattes and animation to the lower third.


10. Exporting
10.1 Exporting From After Effects
Now you have a finished project, you'll need to know how to export it so that you can use it in something, and there are multiple ways to do that. You'll need to know the if it's going to need a 'final delivery' codec - is the project going to place where it will be displayed, like YouTube, a client and so on? Or, are you rendering an element from AE to use it in another video editor, like Premiere Pro, or Resolve - that would require a different codec. It can sound complex, but don't worry, I'll explain everything you need to know.
11. Conclusion
11.1 Recap
Congratulations, if you've followed along through this whole course then you've learned a ton of new After Effects skills, and now you can use those to create something amazing, like an animated text treatment, a lower thirds pack. Maybe you want to make some great footage effects with your tracking and SFX knowledge. Keep practicing, and watch this final lesson for a recap of everything you've learned!
Learn More About After Effects
If you'd like to improve your After Effects skills, check out some of our best free video tutorials and courses!


Or if you prefer to follow along with something written to help you learn, we've got a huge library of free Adobe After Effects tutorials. As well as some After Effects basics that will teach you how to use Adobe After Effects, there are more advanced step-by-step projects you can try. Here are some great examples of our After Effects tutorials and resources.

 20 Best Motion Graphics Templates for After Effects


 8 Top Transition Preset Packs for After Effects

 Essential After Effects Keyboard Shortcuts: Quick Guide

 11 Top Animated Logo Sting Templates for After Effects


 How to Animate Strokes and Glow Effects in After Effects


 How to Animate Inertial Bounce Expressions in After Effects

 By
By


