

What is Cavalry?
Are you an After Effects user creating motion graphics? If so, you may have heard whispers of a challenger emerging: Cavalry. But what is Cavalry, and how does it compare? Is it time to get excited?
Simple answer: yes, it is definitely time to get excited!
"Cavalry is a procedural animation tool for 2D motion design. It's been around for a few years, but with version 2.3, Cavalry has taken a big step towards becoming a true After Effects replacement for many motion designers."


Now, to be clear, no one app is going to do it all. However, Cavalry is now at a point where it can feasibly replace After Effects for a large chunk of motion design work. And yes, I am talking about the completely free version. In this course, I'll give you an overview of Cavalry and show you how to use it for motion design.
This course is brought to you by Envado, the unlimited creative subscription. Get the broadest range of categories, with everything that you need to make great videos.
Differences between Cavalry and After Effects
So where does Cavalry differ from After Effects? Well, it's node-based, but not in the way that you think. It's not like building a node tree in something like Fusion in DaVinci Resolve. It's more akin to how you parent something in After Effects with the pick whip.


Most parameters or attributes in Cavalry can be linked to each other in dynamic ways, meaning you can begin to automate how different parts of your scenes animate. It's also built in a really efficient way, which means you get close to real-time rendering in the viewport, no matter how complex your scene is, which is not something we can say about After Effects.
Overview of the Cavalry app layout
I'll give you a bit of an overview of the layout of Cavalry in this video and how it compares to After Effects, and then we'll get into creating some basic animations together, like some fun kinetic typography and some reactive shape animations.
In the top left is the Assets area, which is pretty self-explanatory: this is where you store compositions and external assets you might bring in, like logos, photos, videos, etc.
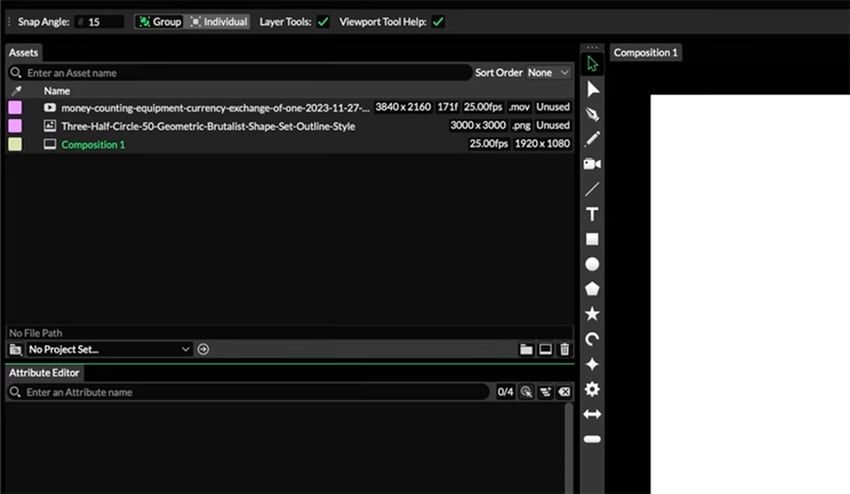
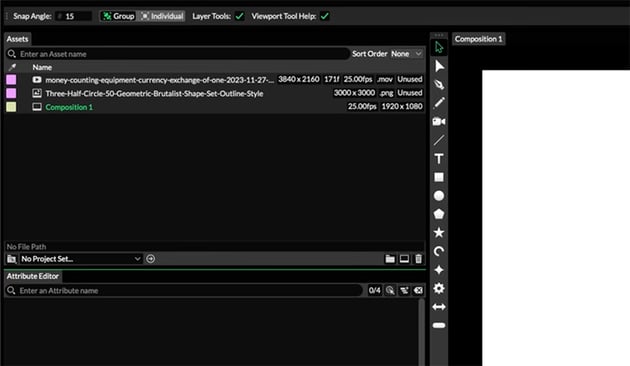
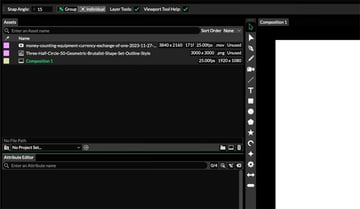
When you create a new composition, it will default to 1920 by 1080 at 25 frames per second. If you want to change that, you can click on Composition in the top menu and select Composition Settings.
Cavalry is different from After Effects in that the duration of your composition is by default measured by frames and not by time. Down in the Scene window at the bottom, you can click on F or T to switch between viewing in frames and time.
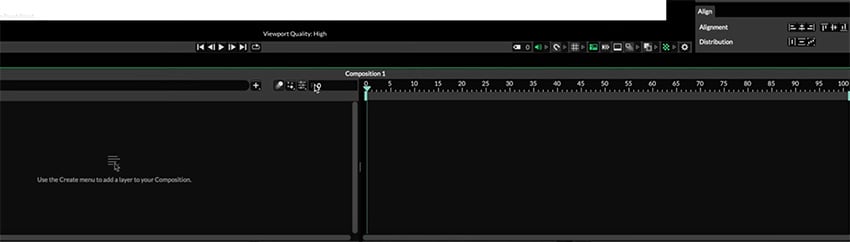
Moving across now, we have the composition window, which just shows you what you're creating. Just to the left of this is the toolbar, which has some familiar icons and tools, including Select, which allows you to do the old click and drag, the Edit Shape Tool, the Pen Tool, which allows you to create shapes with bezier handles, and the Pencil Tool, which allows you to draw freehand.


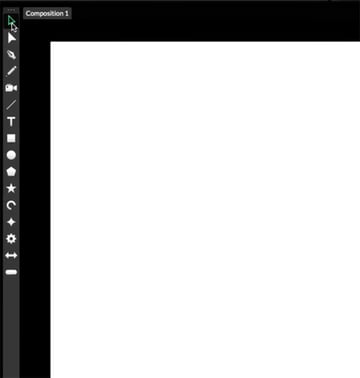
You then have other tools like the Text Tool and other general shape tools. All of these are continuously editable shapes. When you have one of these shape tools selected, simply click and drag in the composition window to draw them.
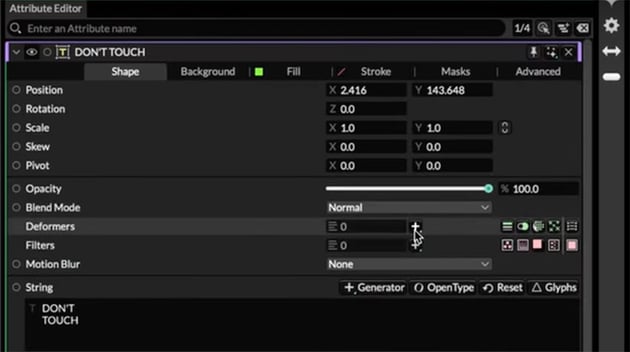
As you create shapes, you'll see new layers created in the Scene window and new attributes offered up in the Attribute Editor.
The scene window and timeline are by default below your composition window and act in similar ways to their equivalents in After Effects. The scene window displays your layers, and in the timeline, you can scrub through with the playhead and manage keyframes.
In the top right, you have the Color and Add Layers tabs. The Color tab is self-explanatory, but also refreshingly intuitive. If you have a shape in your timeline, you can then just click on the color wheel to select a new color.

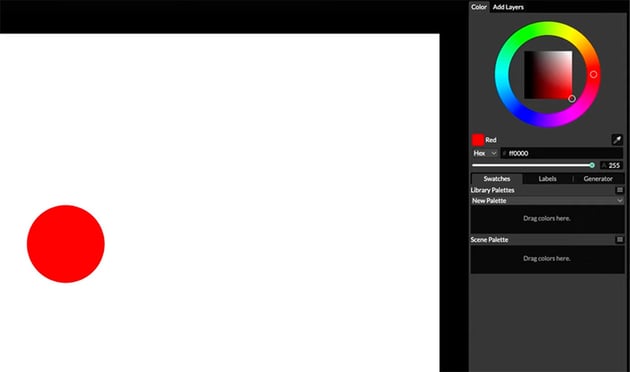

You can easily create your own color palettes too. Just select a color in the wheel or by entering its text code or RGB value, and then drag the swatch down into your palette. Keep doing this for all your key brand colors.


The Add Layers tab is akin to your effects and presets in After Effects, with a wealth of settings and effects you can apply to your animations.
Creating basic shape animations
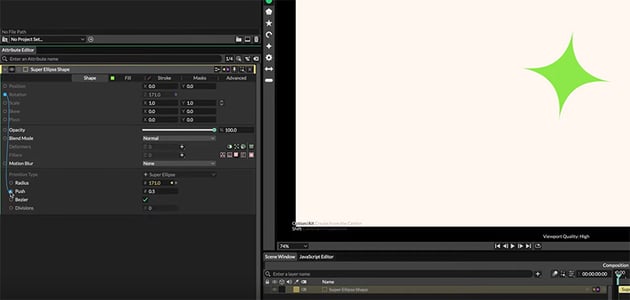
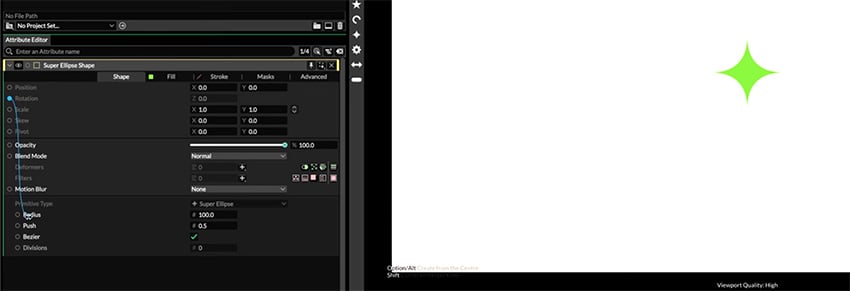
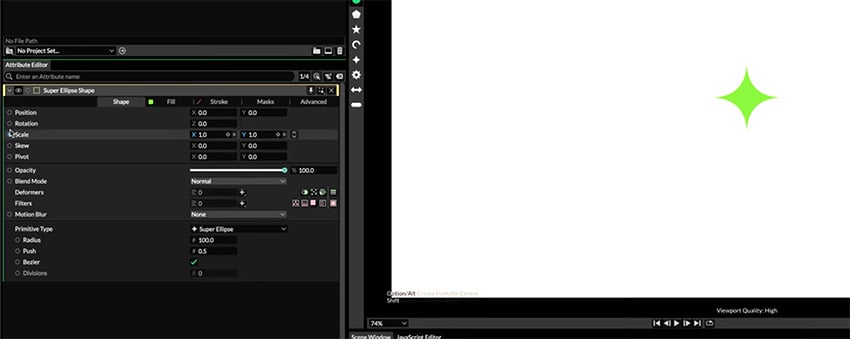
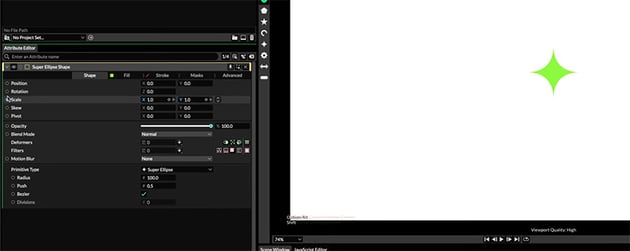
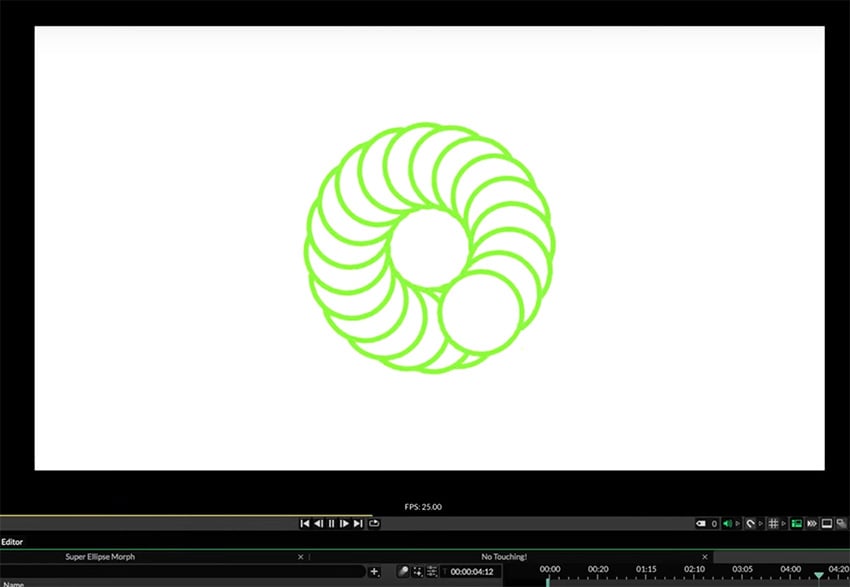
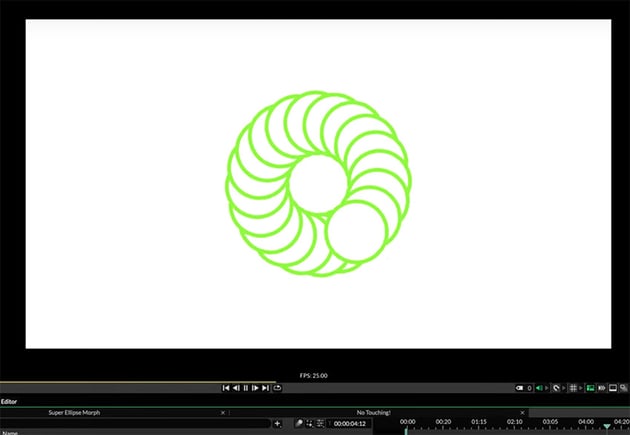
Now, let's get into actually creating a few things here in Cavalry, and we'll see the app in action. Let's add a Super Ellipse to demonstrate how you can easily link multiple parameters together to animate them all with a single set of keyframes.
In the Attribute Editor, you can see that anything with a circle at the front can be linked to something else. Now, once you grab that link, it'll gray out anything that can't be linked, and it will just leave you with those attributes that you can link to. So let's take the Rotation parameter of the shape and link it with the Radius of the Primitive Type.

Now, as I increase the rotation property simply by clicking and dragging or by inputting precise numbers, the shape will get bigger as it rotates.
Now, let's double down, though, and link the Rotation and Push attributes as well. Much like After Effects, Cavalry lets you add expressions to these attributes to control them further. So we'll right-click on the Push attribute and select Add Expression. And we're just going to multiply it by 0.01 to slow down the push versus the radius.
How to add keyframes in Cavalry
Anything with the little keyframe symbol on it when you mouse over it can be keyframed. You can also right-click on the attribute and select Set Keyframe.

We'll first make sure our playhead is at the start of our timeline, and we'll select our Rotation attribute, set it to zero, and hit Create Keyframe. You'll see that reflected in both our layer stack and our timeline. Now let's move forward in time, drag our Rotation attribute to the desired amount, and create another keyframe. Then we can add more keyframes in the same way.

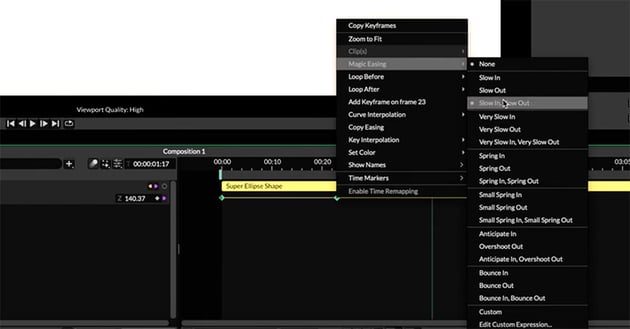
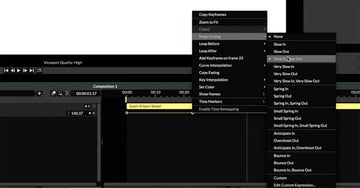
If you want to loop your animation, it's also simple. Select all of your keyframes, right-click, and select Loop After > Looping.
Creating reactive text animations
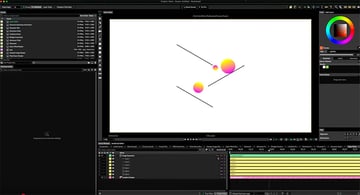
Next, let's create a reactive text layer that avoids a hand trying to poke it.
We'll first create a text layer, and then add a quick fill from our color palette. With our text layer selected, you want to find the Deformer section and click the + button to add a deformer. We're going to add something called a Submesh.

Double-click on the submesh layer and, in the Position attribute, we're going to right-click and add another behavior called Get Vector. Now the target can be anything, really. In this case, we'll add a photo of a human hand.
Now you can drag it from the Assets panel into the composition window and scale it down to the desired size, making sure to link the X and Y of the scale attributes together for uniform scaling. Rotate it how you see fit.
If you need to change the anchor point, that is called the pivot here in Cavalry. And you can do so by first making sure that you're in the Select variable, which is V on your keyboard, and then you can shift your pivot point using the values in the Attribute Editor.
Then you can drag that into the target box of the Get Vector behavior and bump the strength up to, say, 1000. You'll see that as we move the hand around, it's shifting the letters away from it, but not nearly enough. So on the Sub-Mesh attribute, right-click on Position, and add an expression, this time to accentuate what we've already linked up. We'll multiply by 30 on both the X and Y values.
Now we can simply animate the position of the hand how we see fit, and all the linking and behavior modifying will take care of the rest. We can even add a little motion blur in both the hand layer and the text layer.
"Just like that, we have a reactive, responsive, and really cool little animation. And I don't even think it even took five minutes to create it."
With the power of the duplicator
Now, one other section of the UI that you might have noticed is the toolbar at the top containing a bunch of funky-looking icons. Most of these are in the paid version of Cavalry, but one useful tool available in the free version is the Duplicator.


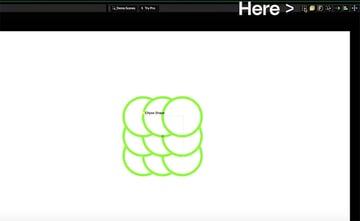
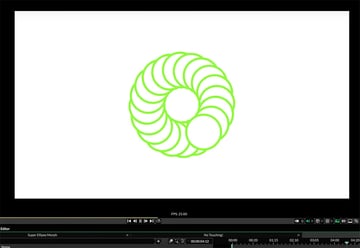
Let's see how to use the duplicator in Cavalry. We'll first create a basic circle and set it to have a stroke, and the fill will be the same color as our background. Then, with that layer selected, we'll add our duplicator.
Over in the Attribute Editor, we'll change the distribution from grid to circle, and we'll connect our rotation attribute to our radius under the distribution.
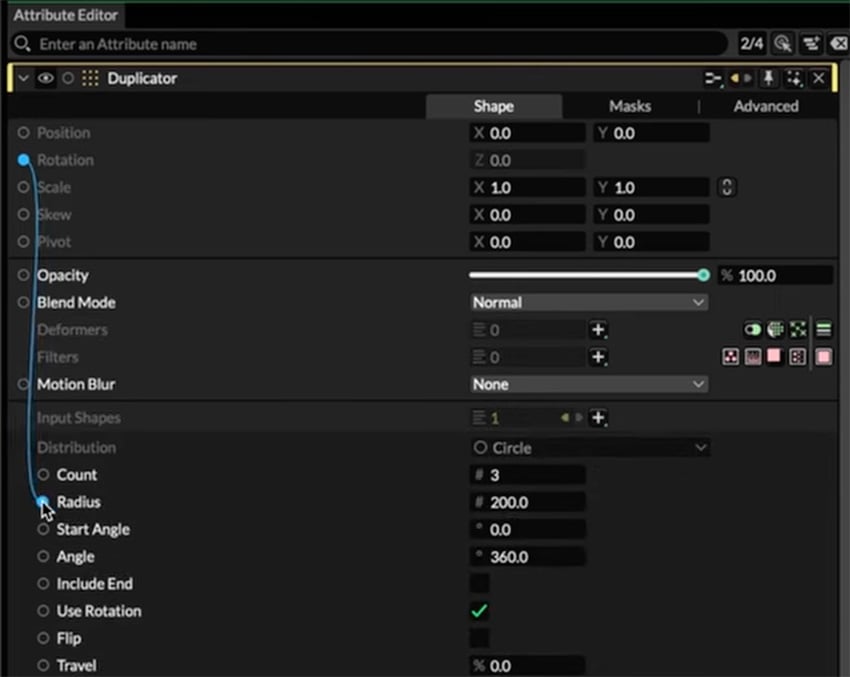
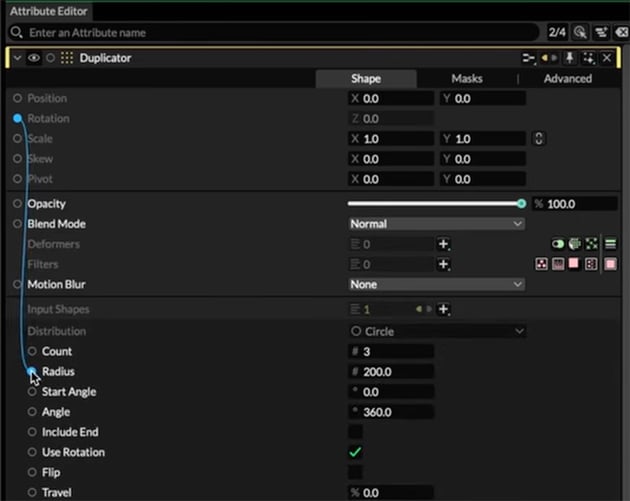
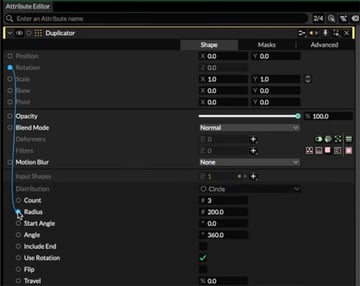
Let's also bump up our Count to something like 20. We'll then keyframe the rotation parameter, and we quickly get a tidy little animation that looks way more intense to set up than it was in reality. That would have taken a lot longer to do in After Effects, and it was just a couple of clicks in Cavalry.
We've only scratched the surface of Cavalry in this course, but I hope you can see its potential. I'm excited about Cavalry and can see why it's getting so much hype as a potential After Effects replacement.
We'll have more Cavalry courses coming soon, but in the meantime, check out our free motion design tutorials on Envato Tuts+.


 On-trend stretchy text with After Effects


 Motion Design for Beginners

 How to Quickly Create 3D Text Animations in After Effects


 20 Best Motion Graphics Templates for After Effects

 How to Add Texture to Animations in After Effects


 Master Motion Design: Dynamic Character Animation in After Effects
And watch these YouTube video courses to expand your skill set.


