

Introduction
Are you new to creating animations in Procreate Dreams? Join me and learn everything you need to know in this complete Procreate Dreams tutorial. I'm a professional illustrator and motion designer, and today, we're going to learn how to create a cool mixed media animation in Procreate Dreams.

It's easy to get going in Dreams, and I'll cover all of the basics so you can start making beautiful-looking animations of your own. We'll combine frame-by-frame animation with video footage, and I'll walk you through the whole process, from how to choose the perfect piece of footage to designing characters that we can then bring to life with motion. You'll pick up lots of handy tips that will take your animations to the next level.
Finding Footage
The first thing that we need to do is search for some footage. So head over to Envato and search for "inside bus static". What I mean by static is footage that's filmed on a tripod and doesn't have much movement, so it will be easier for us to animate.
This footage of an empty bus will work well. We've got the empty seats, we've got a relatively static shot, and we've got a little bit of movement to keep it realistic. And I really like the colors in this. When I'm looking for footage, I'm looking for something with a nice color grade. We can obviously fix lots of things in post-production and make things pop more, but something that I really like about Envato is that it provides lots of very good raw pieces of footage to work with, so we don't have to fuss around with fixing things up—they're good to go. So let's download this one.
Having an all-inclusive subscription with footage, music, graphics, and more means you have a one-stop shop to create something really professional. You can jump back and forth while you work on a project, and Envato becomes almost like your own creative collaborator.
Getting Started in Procreate Dreams
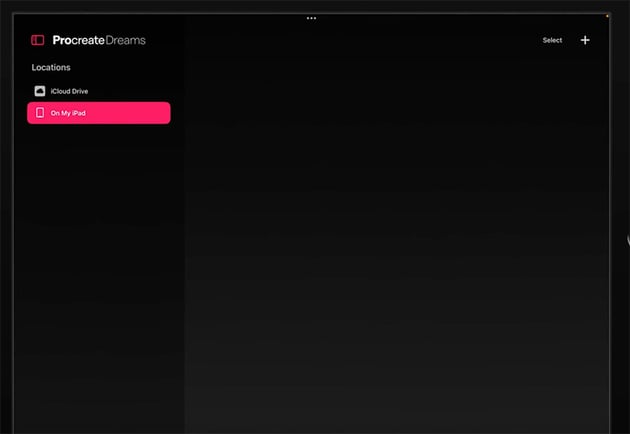
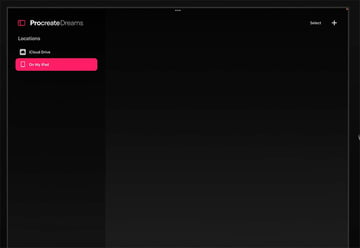
Let's go through a quick overview of the interface in Procreate Dreams. When you open the app, you start with this fairly blank home page.

Click the little plus button up at the top to create a new movie. You'll see some different presets, which are handy for quickly choosing from all the different kinds of outputs that you might need. We'll stick with HD widescreen. If you click the little three dots at the top, you can change the frame rate or the duration.

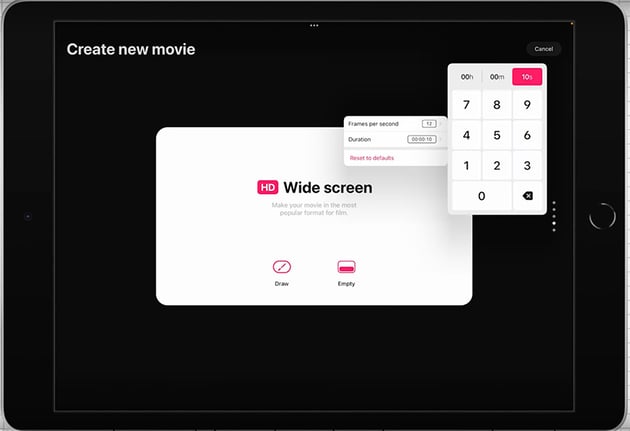

I think these look pretty good for now. Let's change the Duration to 5 seconds instead of 10. Then click Draw, which will open up our new Dream with our first drawing frame.

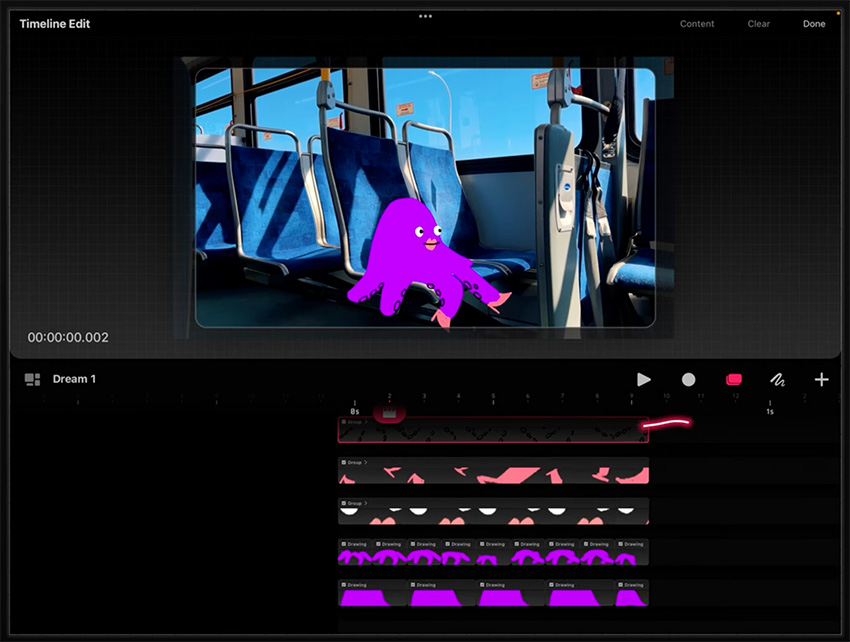
You'll see a timeline at the bottom where you can drag things in and out. Then there's a toolbar in the top right-hand corner where you can change settings, pick brushes, and use the color picker wheel that you might be used to from Procreate. We'll explore all these tools throughout this tutorial.
Importing Media
Now, let's import our footage. Just click the plus button on the right, and select the video that we downloaded earlier. Once you've imported it, the video will appear in the timeline.


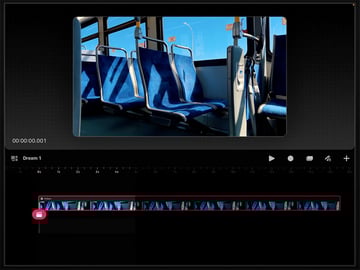
If you want to change which part of the footage you work with, you can click and hold and then drag to the section of footage that you want to use. And if you tap on the footage itself, you get little handles that you can use to scale in the footage or move it to change the framing a bit.
Sketching Out Ideas
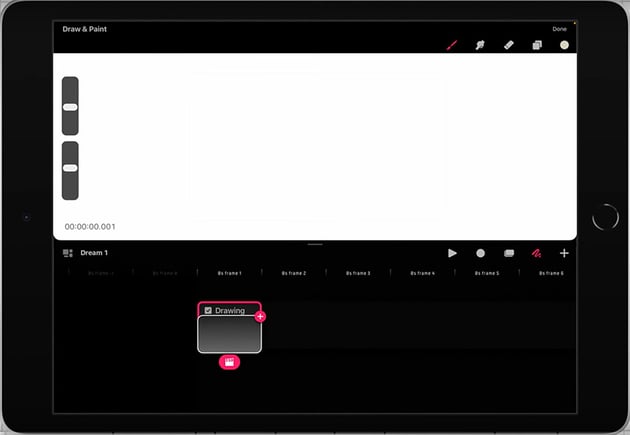
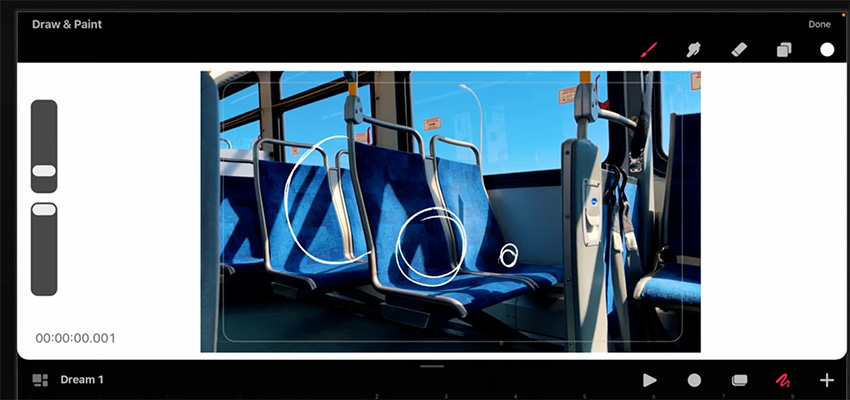
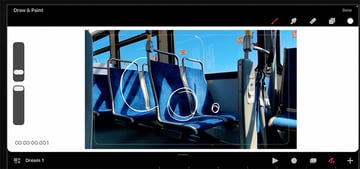
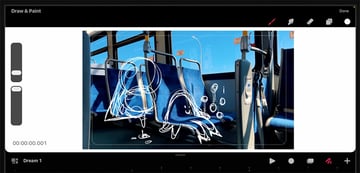
Next, we'll sketch out some ideas for the characters we want to animate. Click the plus button to create a new track, which is like a new layer, so that we're not drawing directly on the footage—we're drawing above it. Then click the little drawing button to get into draw mode. You can choose a brush to draw with just like in Procreate, and you can even import custom brushes from Procreate just by dragging them into Procreate Dreams.
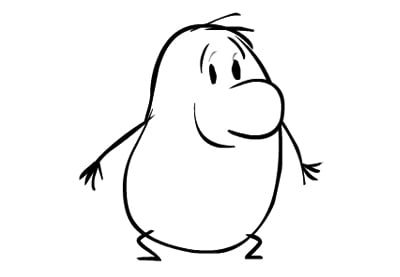
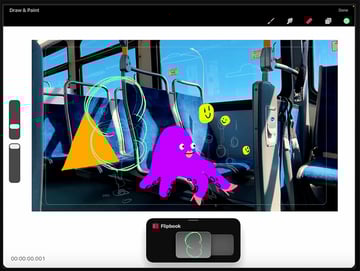
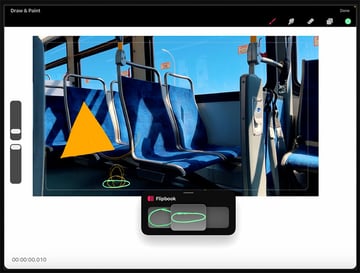
I think it could be nice to play with scale here to create a fantastical, imaginary vibe. So I'll create basic shapes for the characters: one large, one small, and one medium-sized.

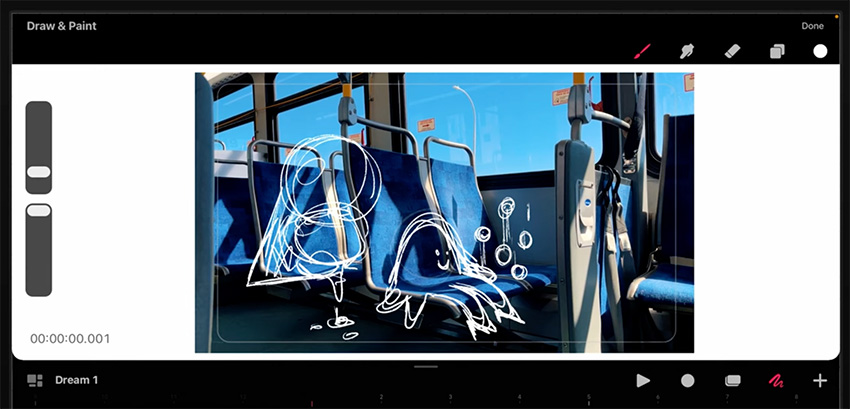
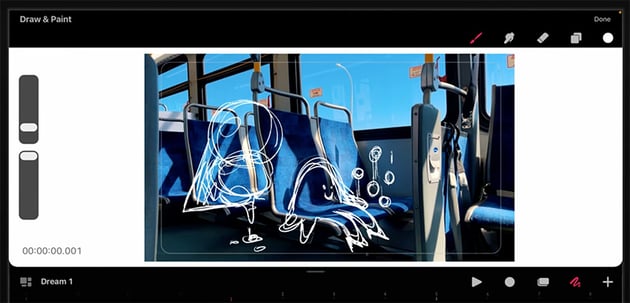
Now we can add a new track just to keep things clean. Now if you hover over the first sketch layer, you'll see a little clapperboard icon underneath, which you can use to bring down the opacity so it's easier to work with. Then you can go over to the new track we created and start sketching the characters on top.
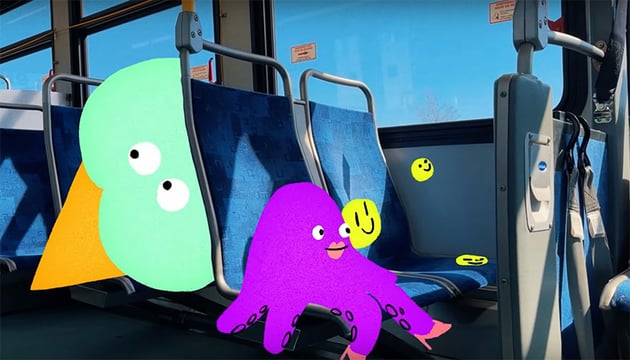
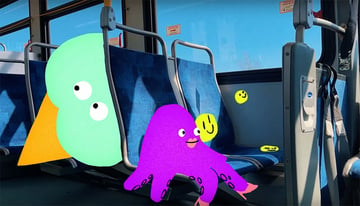
I'm going with an octopus on one seat, some bouncing balls on another, and a giant ice cream in the back.
"It's great when you take a piece of footage and go a bit wild with creating whatever kind of world you want to make, especially when you're animating on top of a real-life scene. Just go with whatever is in your head at the moment."
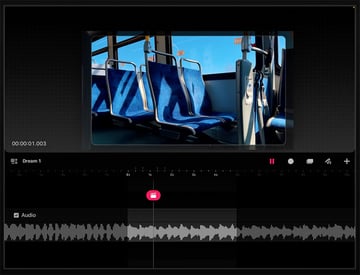
Next, we'll go back to Envato and find a music track to add to this animation.
Envato offers a full library of music to choose from, so you can make this bus scene feel however you want it to feel. I found the Upbeat Retro Hipster track, which I think will give us the perfect vibe. It's got a quirky feeling to it, and there's a horn section in the middle that I think sounds a bit like a bus horn, so this will work well.
So download that track and import it into the project in Dreams using the same process as with the video file. Remember that you can click and drag to find the right section of music, in this case the horns.


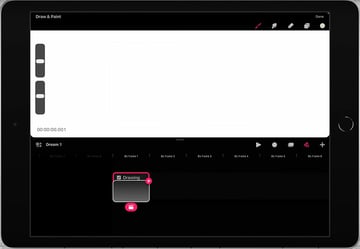
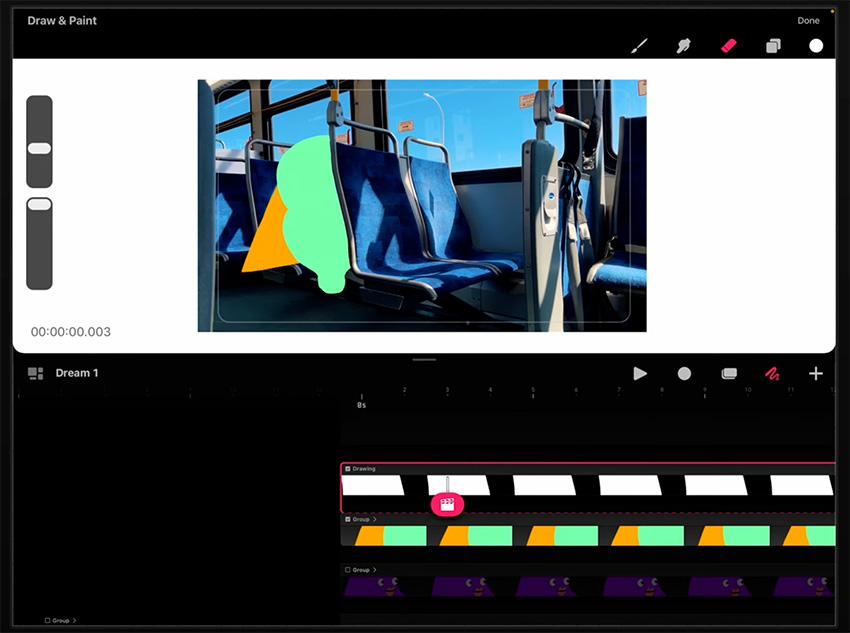
While we're looking at our tracks, you can see that the drawing file is only appearing for one frame. So what we can do is click and hold on it and we can choose Fill duration, which will make it appear for the whole duration of the animation.
We can also now delete our initial rough sketch layer. You can click and hold on the drawing and delete just the drawing frame, or you can click and hold next to it to delete the entire track. In this case, let's just delete the whole track because we don't need it.
Creating Our First Character
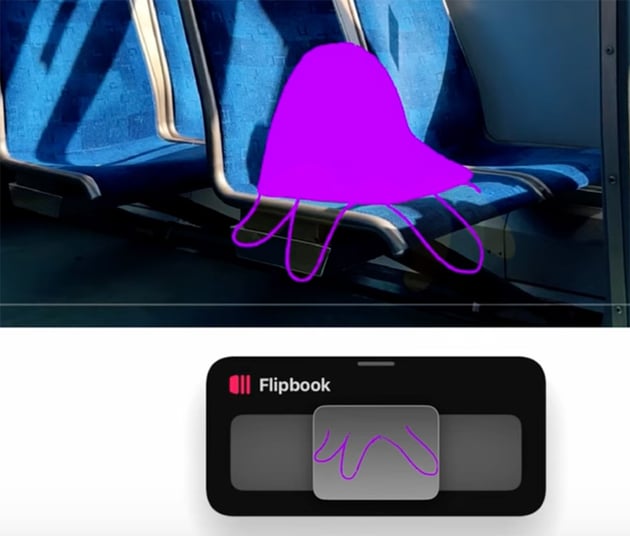
Now let's start animating. We can go into flipbook mode by pulling down on the timeline. This will give us a nice clean place to draw in a traditional frame-by-frame animation mode.
Here's the process of animating our first character:
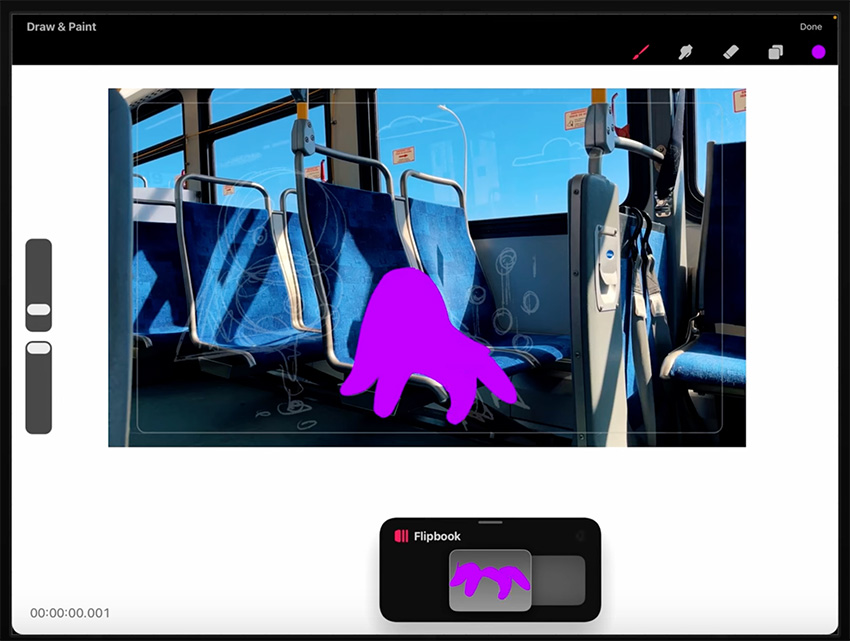


Draw the octopus character using a nice bright purple. We can still be a bit messy at this stage. Create the body and the legs on separate layers because we're mostly just going to be animating the legs.
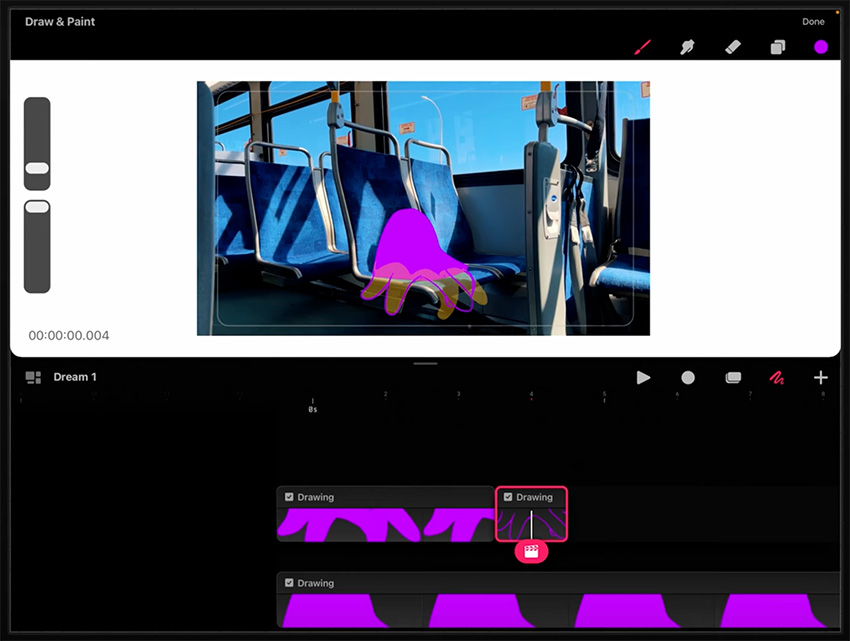


Draw the legs swinging by creating the extremes of the pose and then filling in the blanks. Just move across the timeline to create new drawings showing different poses.


Keep drawing the legs in different poses. You can swipe across the mini-timeline under the drawing to pan through the animation without having to go back to the timeline view.


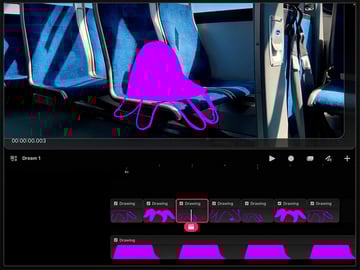
When you've finished, you should have a whole timeline of different drawings showing the legs swinging back and forth. Duplicate the first few frames and put them at the end so that you get a nice looping effect.
Refining the Motion
An important step in any frame-by-frame animation is to refine the motion so that it looks smooth and natural. For example, we can extend the frames at each end of the animation to create a bit of anticipation, so that the legs seem to pause briefly before swinging back. You can do that by tapping on the frame and pulling out the handle on the edge to make it longer.
A lot of what you do at this stage is about trying things out and seeing what works. So just keep experimenting until it feels right—we'll know it when we see it.
Adding Character Details
Next, we need to make our octopus character come alive by adding some details.


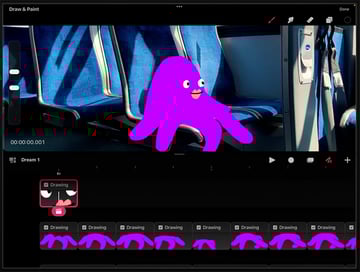
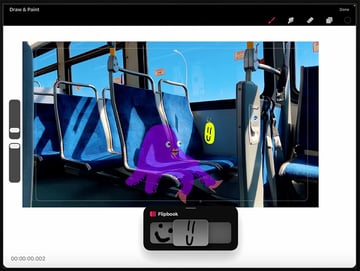
Draw the eyes and mouth using simple shapes, as shown here. Then create a slightly different version, group them, and duplicate the frames throughout the animation. This will create an effect of subtle motion.


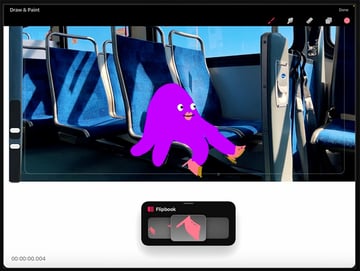
Draw some shoes for the ends of the tentacles. Then go through each of the frames to make sure that the shoes are moving with the feet.

Now draw some suckers on the tentacles, again making sure that they move frame by frame as the legs are moving. It's quite time-consuming, but the repetition means that it gets easier the more you do it, and soon it becomes second nature.
New Character, New Techniques
Now, bring down the opacity of the octopus, and let's work on the bouncing balls on the next seat over. What we want to do with this character is use a "squash and stretch" animation technique.
Learn more in this tutorial:

So I'm going to draw the ball coming down, and then flatten it out when it hits the seat—I'm really exaggerating that squashed shape, as you can see.


Then elongate the ball as it goes back up.


Now go through frame by frame and create the bouncing animation from start to finish. You can watch the video to see my full workflow.
Working Smarter, Not Harder
Next, I want to create a few of these little bouncing ball characters. I could go through and use these same techniques to create more characters, but it's quicker just to duplicate this animation and make some changes to each copy.
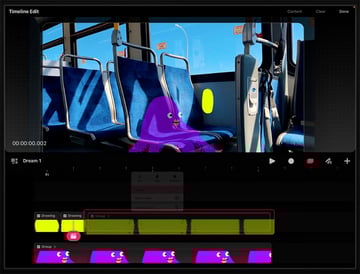
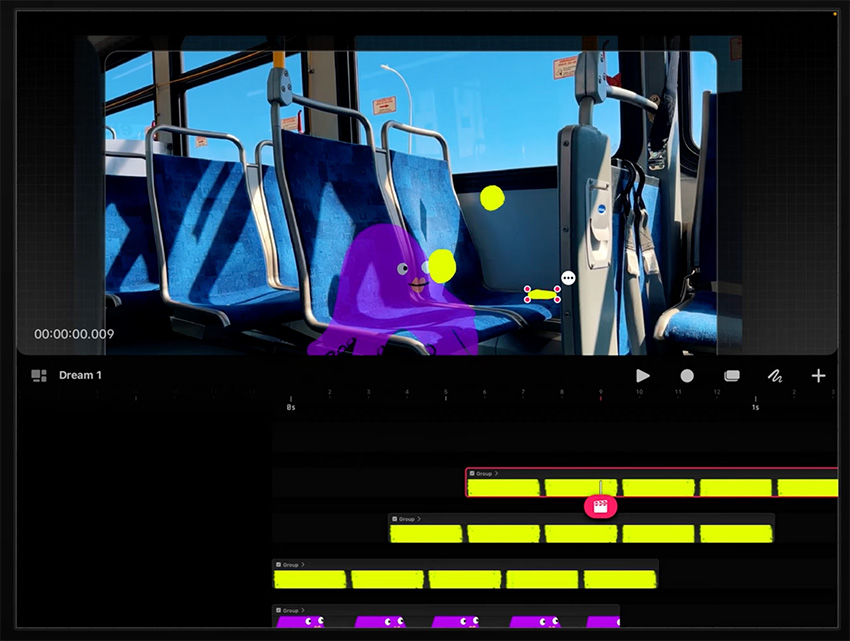
So let's group everything we have and duplicate it to create three separate copies. Then offset them on the timeline so that they're not all bouncing together—it's more interesting that way. And change the scale of each one to make them look unique.


I also want to add some details to differentiate them. So let's start with this first one, and click the plus button to add a track above it. Then add a little smiley face that rotates and squashes and stretches in the same motion as the ball.


Then do the same for the other two balls, drawing individual faces to make them slightly different from each other.
Finally, duplicate all of these bouncing balls and make sure that they're looping through the entire timeline.
The Next Character!
Now let's get to our third character, the ice cream. So create a new track, and go back into draw and paint mode and back into the flipbook view so that we can start sketching what we want this character to do.
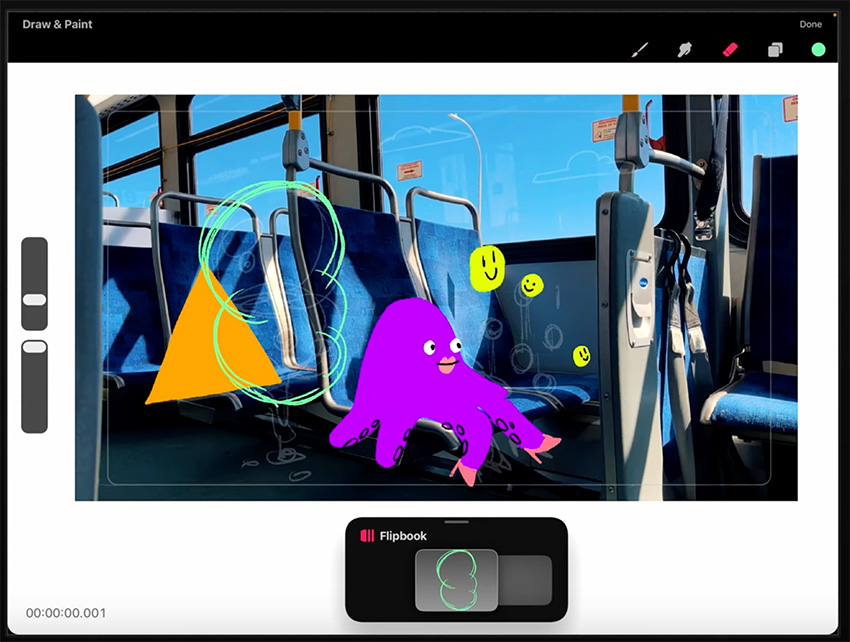

Start by drawing the ice-cream cone and the rough outline of the ice cream itself, using orange for the cone and nice minty green for the ice cream.
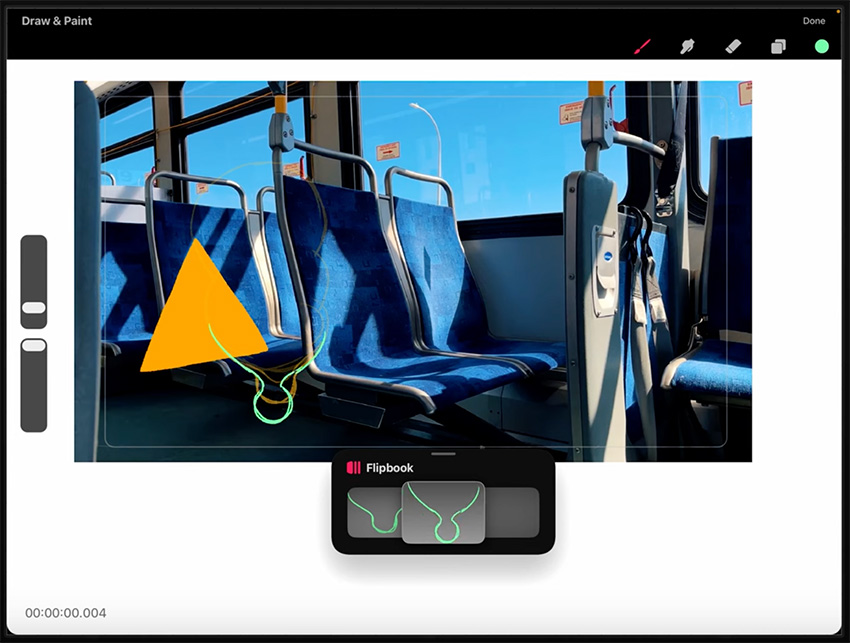


We want the ice cream to be dripping onto the floor, so start creating new frames to show the dripping effect. Use more frames here for a slower animation.
Create a "splat" effect as it hits the floor. We're using a similar technique here to the bouncing ball, with the ice cream elongating first and then squashing as it hits the floor.

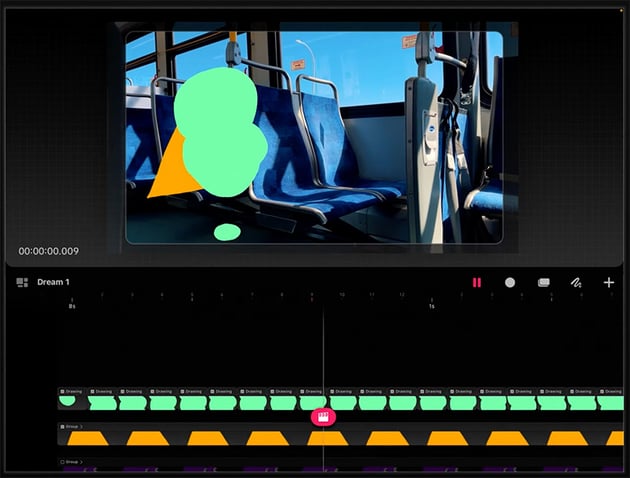

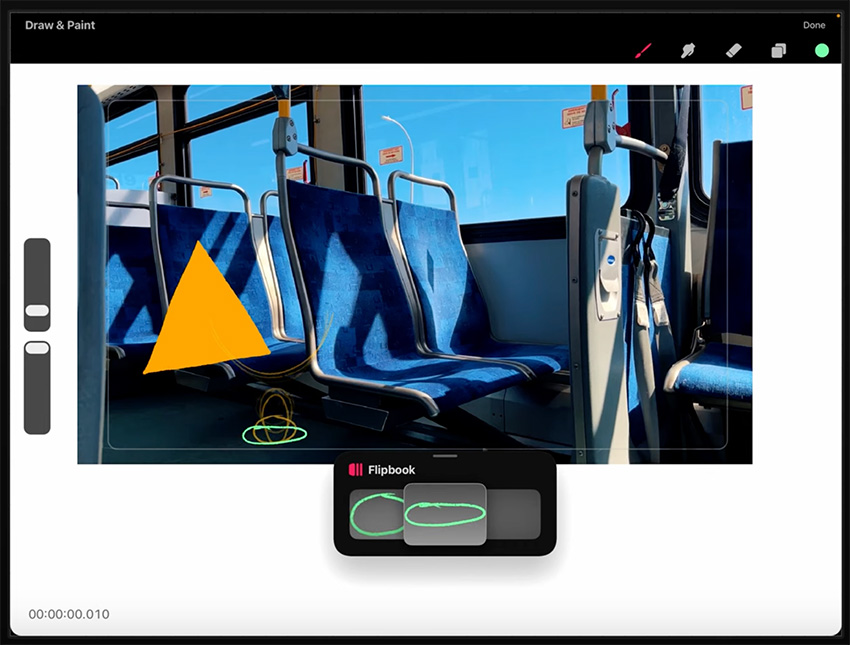
Make sure the animation loops properly, and then stretch it across the timeline and fill in the shapes with color. Here's how it should look in the end.
Masking Techniques
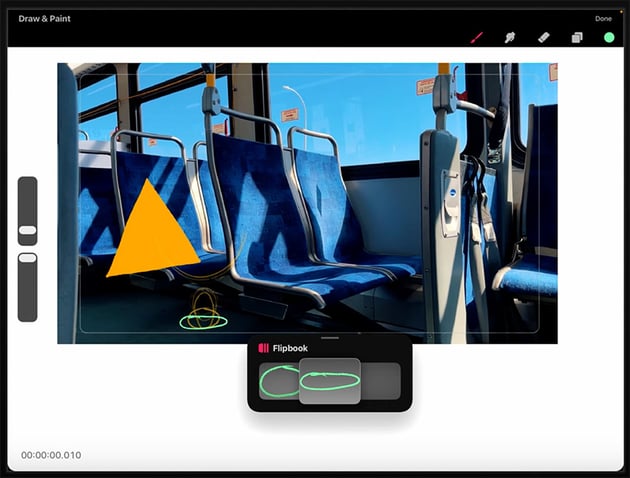
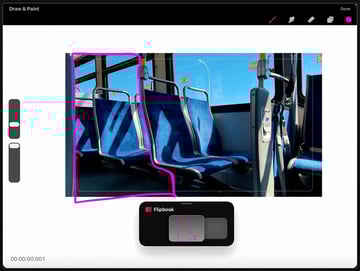
Now, we need to create a mask to hide part of the ice cream behind the bus seat. Start by drawing a rough shape around the area of the ice cream that you want to be shown, following the edge of the bus seat in front.


Next, fill in the mask.

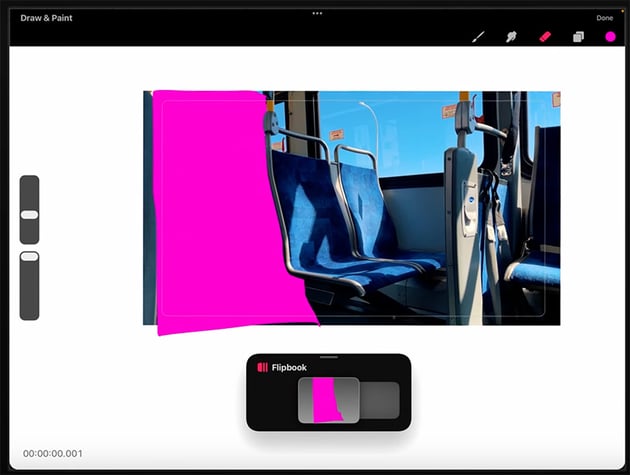

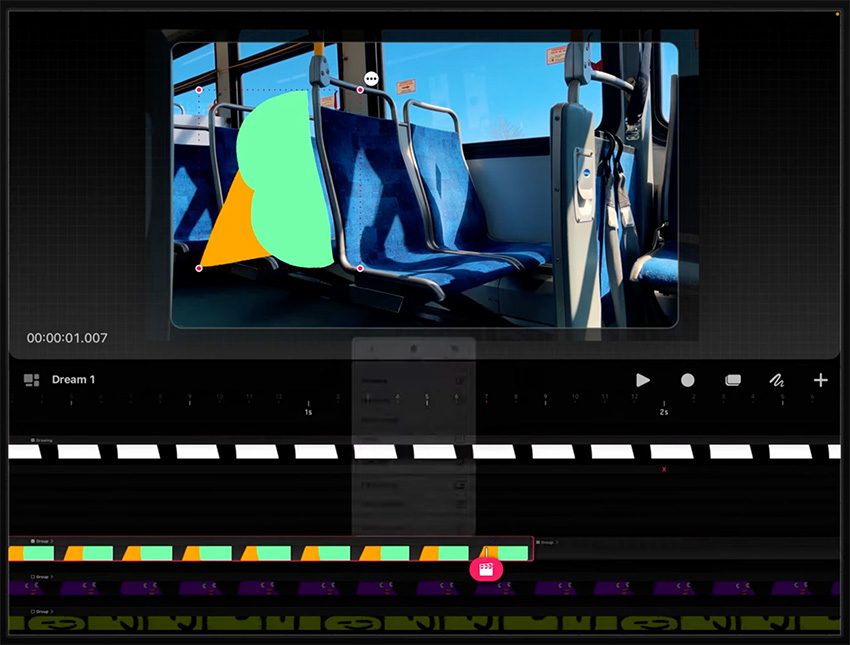
Make sure that the mask layer fills the entire duration, and then click on the clapperboard icon and choose Mask > Layer Mask. That will ensure that the ice cream animation will only play within that shape that we've just created.

The only problem is that because this footage isn't completely static, the mask gets slightly out of position as the bus moves.


We can fix that by going through the frames and moving that mask slightly to match the footage as much as we can.
Animating With Performance Mode
In this section, we'll add some eyes to the ice cream to make it come alive, and I'll show you a different animation technique called Performance Mode.
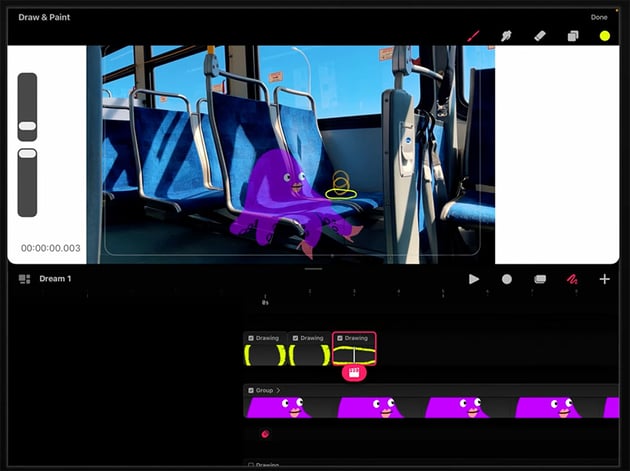
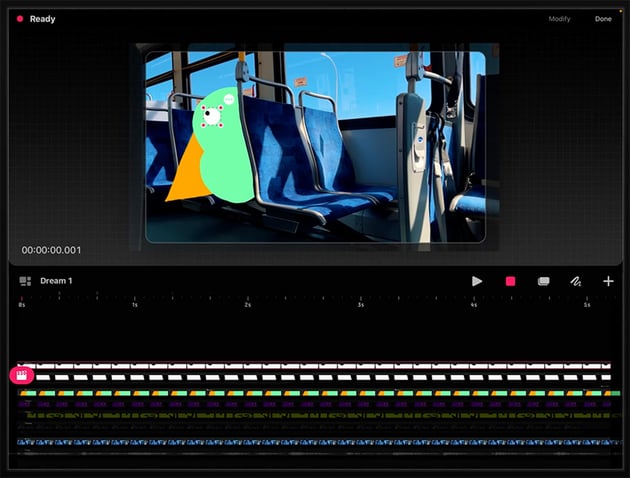
First, go back into Flipbook mode and draw a little eyeball. Now go right to the beginning of your animation here and tap Performance Mode. You'll see a recording button appear at the top with Ready next to it, indicating that Procreate Dreams is ready to record your actions.


Now tap the record button, and as soon as you make any movement with the pencil, it will start recording those movements and creating keyframes. I want to have the eye slowly melting down to the bottom of the ice cream. So I'll just drag it slowly down to the bottom, and Procreate Dreams will record that for me and create the animation in the timeline.
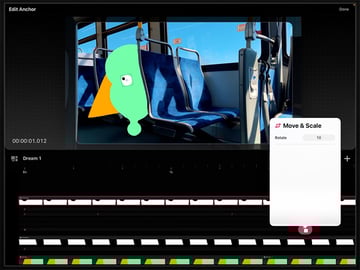
You can then adjust the keyframes in any way you want. For example, I want to rotate the eye slightly as it moves, so I'll use the Move & Scale feature as shown below.


Now duplicate this eyeball and create a slightly different kind of movement for the second eye. They should both melt to the bottom, but along slightly different tracks.
Remember that the eyeballs also need to stay behind the bus seat, so you may need to move the layer mask above the eyeballs so that it hides the parts that should be behind the seat.
Adding Texture to Finish It Off
Now that we have this complete character animation, we'll add some texture, which is going to be the cherry on top.
Start with the ice cream character that we just made, so hide the octopus and bouncing balls for now. And then ungroup the ice cream layers so that we can see all the different sections.
Make a copy of the cone layer and put it on top of the original cone layer on a different track. Now we're going to add some effects to this cone layer to create some texture.
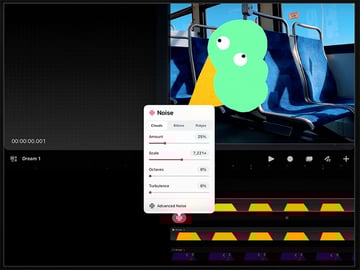
So click the little clapperboard, click on Filter, and add some Noise as shown below.


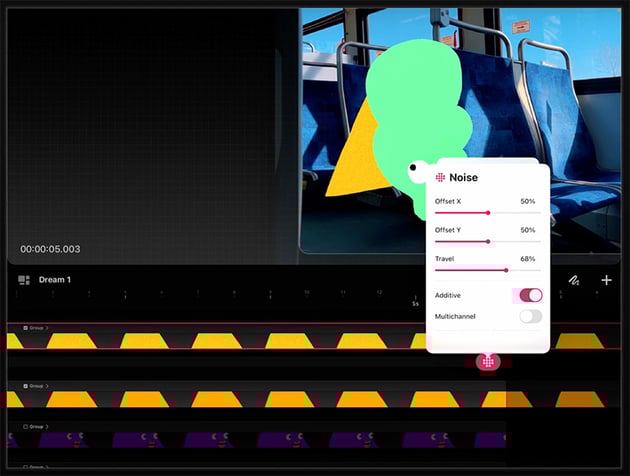
That adds a nice grainy effect, but it's static at the moment. We can make it more dynamic by panning along to the end of the animation and adding a new keyframe right at the end. Then go into Advanced Noise and use the Travel button to make the noise flicker and animate.


That will create a kind of TV static effect, which I think is really cool. It's quite a bit of a contrast between the two styles, so I'm going to add another filter and add a Gaussian Blur to soften it. But that extends beyond the edges of the cone, so we also need to add a mask to make sure the blur only affects the cone itself.
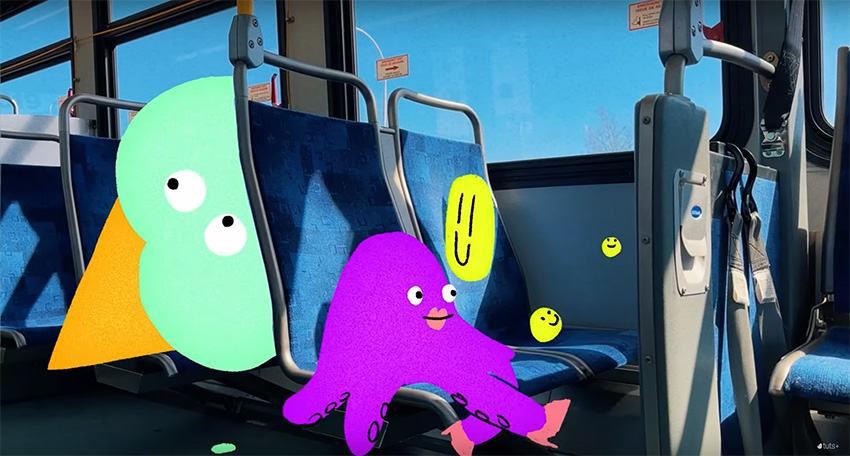
Now we just need to use the same techniques to add texture to the other characters, and our animation is finished!


If you want to learn more about animation, check out these tutorials:

 How to Animate in Procreate


 Animation for Beginners: How to Animate a Bouncing Ball

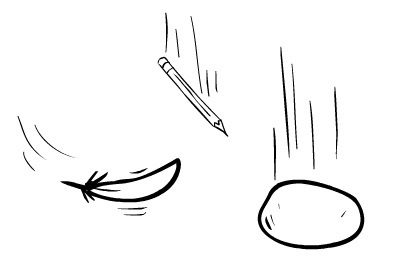
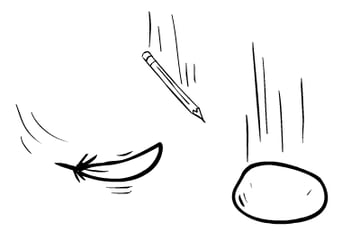 Animation for Beginners: Animate Shape and Weight in Falling Objects

 How to Animate Any Photo With Cartoon Animator and After Effects


 How to Create Smooth Head Turns in 2D With Cartoon Animator and After Effects

 10 Top Cartoon Animation Elements and Template Packs for Premiere Pro

And watch my course on how to animate in Procreate:


