

Introduction
In this Spline tutorial I’m going to show you how I created an animated 3D scene without any 3D experience. I was able to create my scene relatively easy thanks to an app called Spline, which makes 3D design super easy for anyone.
I’ll show you how to get started with Spline, give you a tour of the interface, show you how to move around in the 3D space, and also show you step by step how to build an animated scene just like mine.
Spline Basics
So let’s start with the basics, and in case you’re wondering Spline is totally free. It works on both Mac and Windows, and the best part is that it works directly in your browser.
To get started go to spline.design and you will need to create an account. It’s free, so anyone can sign up. You can also use your Google account, and once you’re logged in you can work directly in your browser.


Once you’re logged in, to get you started you’ll be presented with a list of your files and also a bunch of tutorials and examples from the Spline Library. These are objects created by the Spline team which are available for you to use in your own projects. You can also see some really cool creations from the community.
To start a new file click the + New File button at the top right.
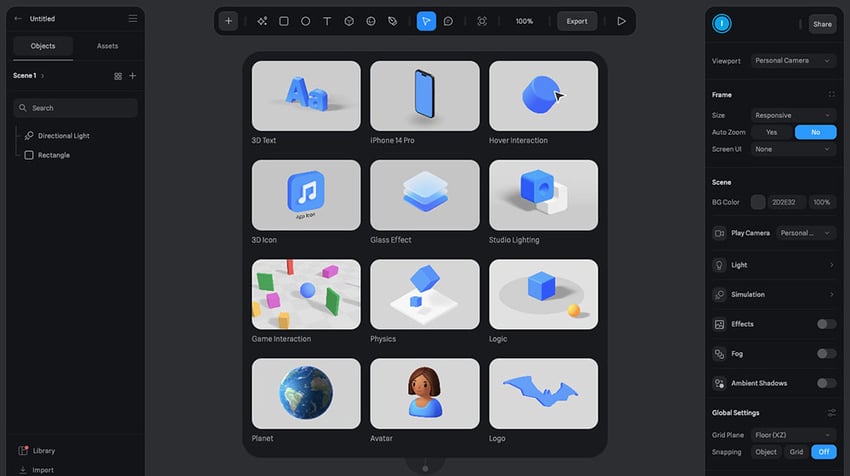
Spline will then give you some suggestions for objects at this point, that you might want to use as a basis for your design. This isn’t mandatory obviously, so you can just click outside and hide that panel.


Spline’s Interface
Now for a quick tour of the UI. On the top tool bar you’ll find a list of your opened files. On the left side bar you have a list of your scenes and all the layers in each scene.
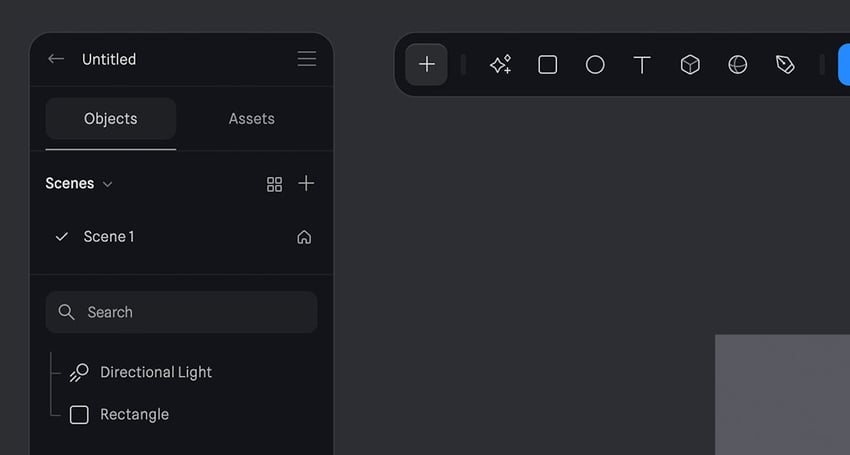

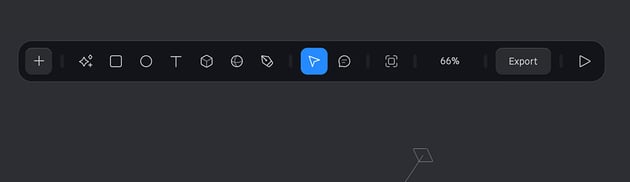
In the middle you have the canvas, where you’ll do all of your designing. On the secondary toolbar you have access to a lot of tools; you can create rectangles, ellipses, there’s some AI generation features that you get when you get the super package (a paid addition giving you access to some new features).

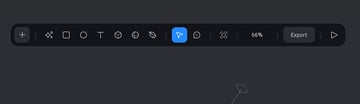
If you click the + sign to the left of the bar here you can also scroll down and find a list of objects that you can just click or select. Then on your canvas click and drag, hold down shift to constrain the proportions, and you can place that object on your canvas.
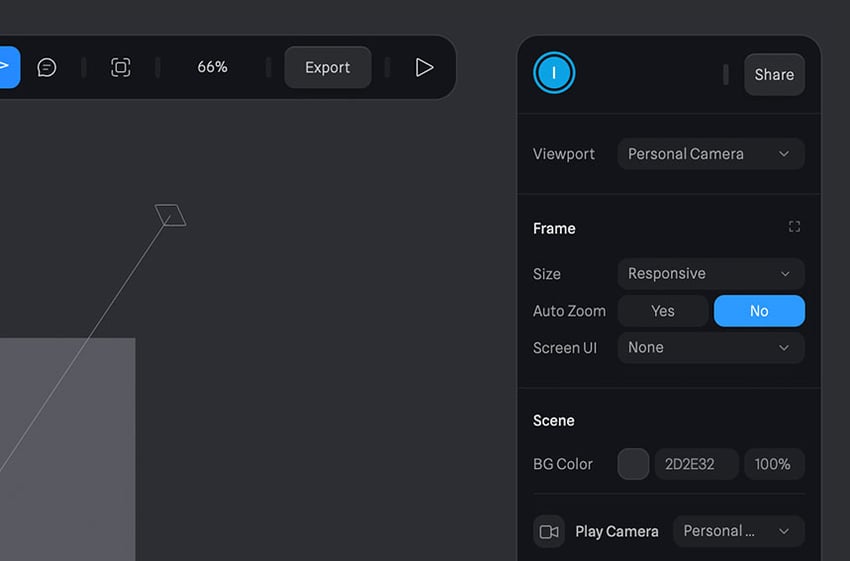
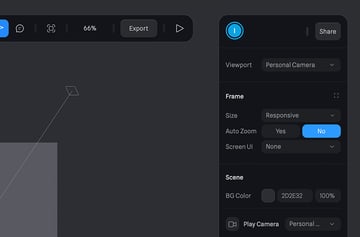
On the right side you have an Inspector. This is a properties panel where if you select an object you’ll find the different properties for that object.

On with the canvas. You can select an object on your canvas, for example this default rectangle, and you can press the backspace or delete key to get rid of that.

Working in 3D Space
If you’re used to working in something like Figma, or Sketch, or one of the Adobe products which are 2D tools, and you’re working in Spline’s 3D environment for the first time, it’s going to take a little bit of getting used to. So the very first thing you would want to do is is learn how to move around in 3D space.
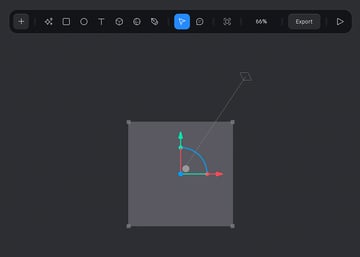
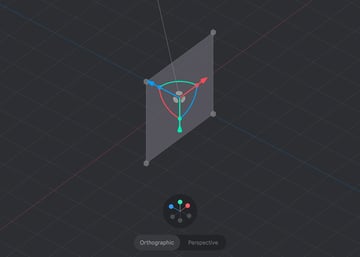
Begin with the gizmo right there at the bottom, and you’ll see that by clicking any of its points your camera will rotate. The way you see things will change, so for example this is a top down view:

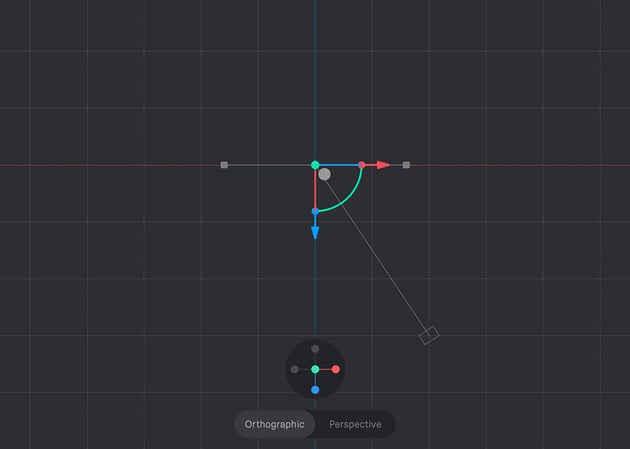

If I click the right side it’s going to be a lateral view.


I can click the blue point and it’s going to give me a front view. Also, if you hold down alt or option and left-click with your mouse you can orbit, and this is where things start to get interesting. You can now really appreciate everything in 3D.

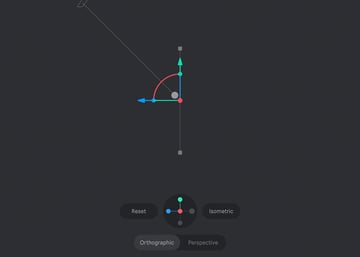
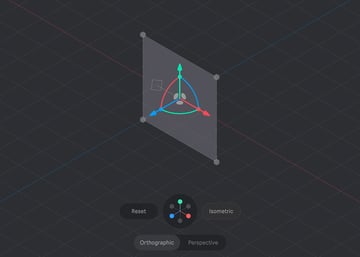
Once you’ve moved the camera view you can always click reset and that’s going to reset the camera angle to a front view. You can also pan by using space and drag, and zoom in or out with your mouse wheel or you can use command on a Mac or control on Windows plus or minus to zoom in and out.
There’s also a handy keyboard shortcut; if I select an object and I press S that’s going to center the camera on the object.
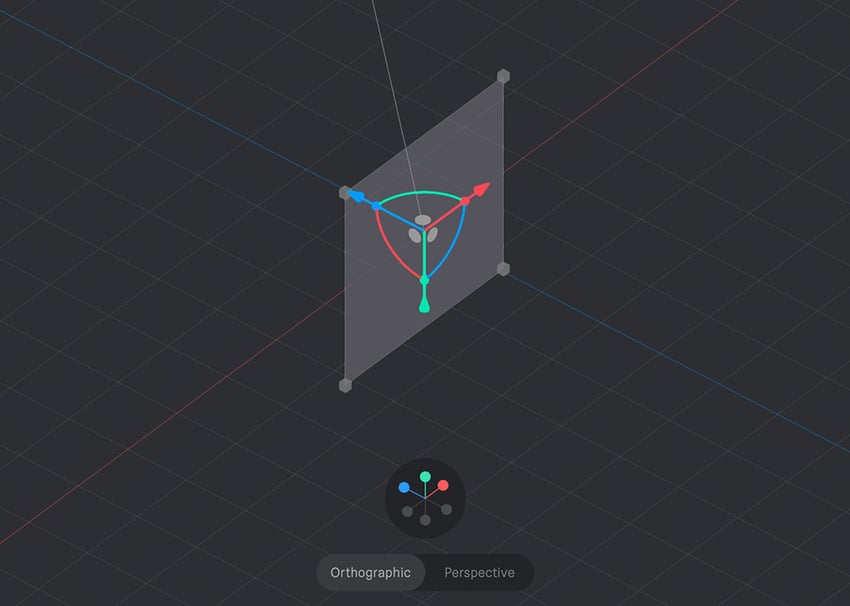
Right at the bottom you have a toggle between Orthographic and Perspective view; orthographic means that the objects will stay the same size regardless of the distance, which is useful for things like technical drawings because you have no depth distortion. Perspective view looks a little bit different because the depth and size will change with the distance. Objects will appear more realistic. There is also an Isometric view which you can activate by clicking the control.


Resizing and Moving Elements Along Each Axis
Resizing and controlling objects along three axes is extremely intuitive in Spline, but even so, it takes some getting used to!
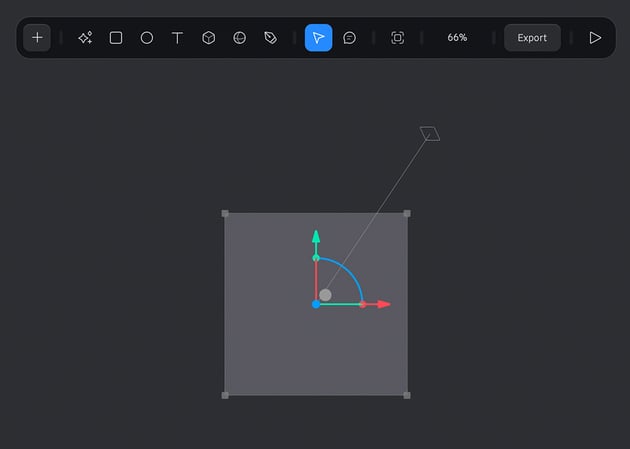
You’ll notice that when we select an object we have controls for interacting with it in 3D space. To confirm; the Y axis controls the position of the element in an up and down direction. The X axis controls it left to right, and the Z axis controls it back and forth.
You can use the little handles on the extremities to scale an object in the that direction.
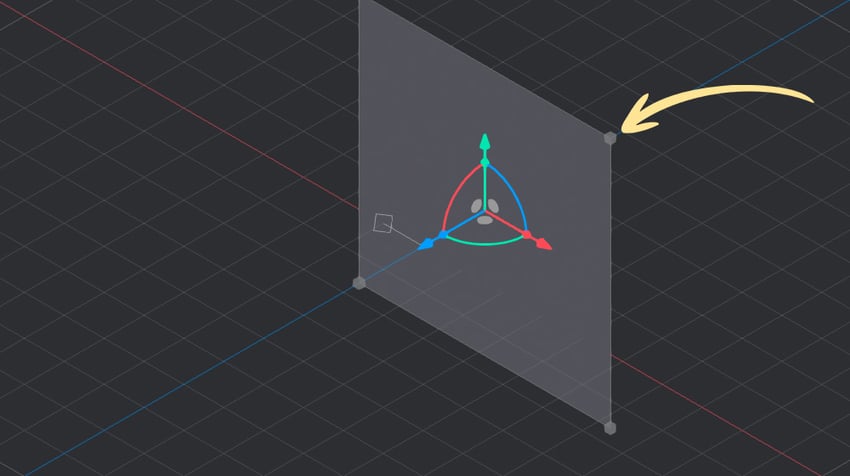


I can also click on any of these three circles to move the object around the axis, or the arrows to pull the object along the axis.

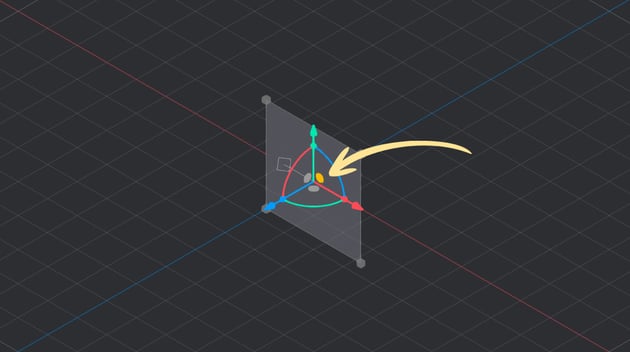
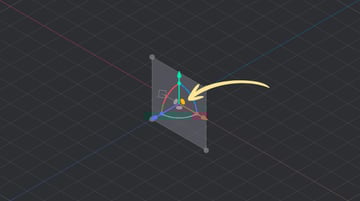
Additionally I can use the arcs to to rotate an object (you can hold down shift while you do this to rotate it in increments of 5º).


Alternatively, of course, you can also use the properties on the right side to affect the scale, the position, the rotation, and so on.
3D Assets with Envato
Enhance your creative repertoire with unique 3D models, renders, and assets by global artists. Download still PNG or PSD images from any angle to elevate your projects with lifelike visuals.
Designing With Spline
Before we get started designing with Spline please remember that I am a beginner when it comes to all of this!
“What I’m about to show you isn’t necessarily the best way of doing things. I will probably make mistakes, which is fine, because as I was saying it’s a learning experience.”
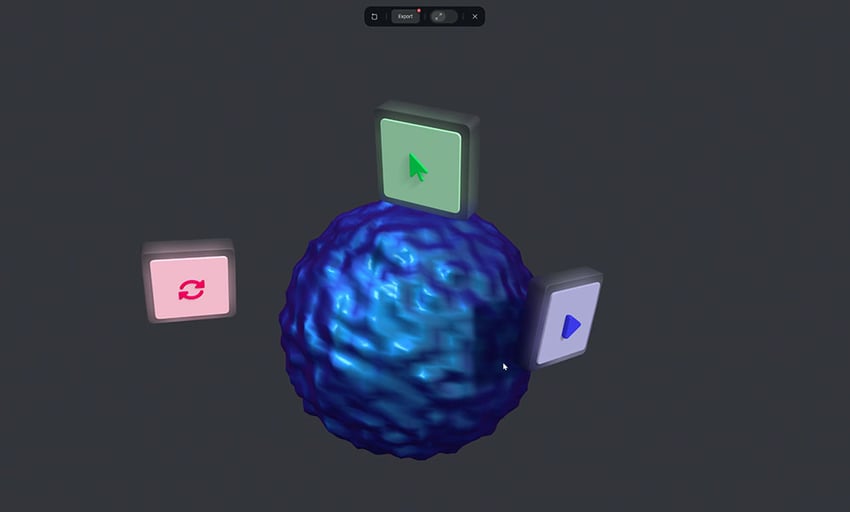
This is what I’ll show you how to create today. It’s a pretty simple 3D scene with a morphing sphere and then three objects which are actually using a glass material on the larger side.


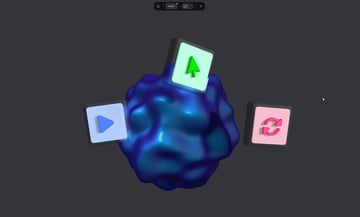
On top of that we have a solid material and then some icons on top of it which are are again extruded. They’re a little bit beveled and I’ll show you how to do all that. I’ll also show you how to animate this scene, so it looks like the sphere is actually morphing into different shapes and the other three objects are kind of changing their rotation changing their position.
Start a New File
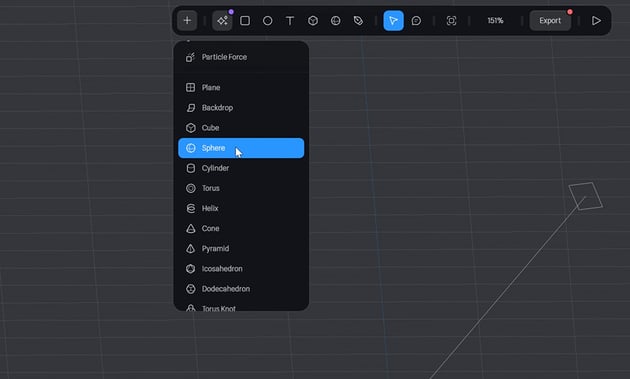
We’ll create a new file and we’ll start by deleting the default rectangle so the only thing that’s left for us in this scene is our directional light. That’s going to illuminate our scene nicely as you’ll see in just a little bit, so let’s start by creating that sphere. We’ll go up to the + symbol, scroll down, and we’ll select sphere.


Then click and hold down shift to create a sphere on the canvas. We’ll press S to center our view and then right-click and reset position. That’s going to put it right in the middle of the document. Now you can see that our directional light casts lights and shadows, but if I toggle it off from the layers panel you can see what effect that has. You can select this light and move it wherever you want within the 3D space to get the the lighting effect that you want.
Introducing Spline Materials
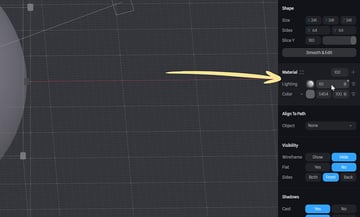
The way objects and surfaces are constructed within Spline is by using “materials”. If you look in the Inspector here in the Properties panel we have a lighting material which you can toggle on and off. We also have a color material which we can change to whatever color we want, and we can also change the intensity of that colour.


The demo we’re going for has a liquid, almost metallic look, so to achieve that we’re going to use something called a Matcap. We’re going to replace the color material with a material called matcap and there are a few you can choose from. These are essentially images and Spline will map these images to the surface of your object.


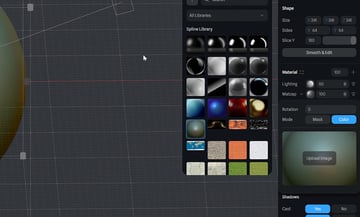
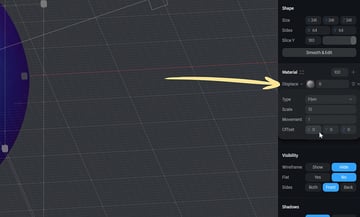
We’re going to choose a blue one, giving us a glossy surface. To create the kind of morphing effect we’re going for add a new material called Displace. Play around with the scale here and you can play around with the movement to impact how strong the effect is. We’ll get to animating a little bit later, for now we just want to create all of the elements.


Creating Our Icon Objects
The next objects we can create are our three icons here with the glass base to them. Press R for the rectangle tool and we’re going to draw a rectangle. Hold down shift to make it a perfect rectangle and let’s switch to perspective so we can see things a little bit better.
Now with the rectangle selected I can go in my Properties and I can extrude it, essentially turning it from 2D to 3D. I’m also going to bevel the sides, so let me zoom in a little bit closer so you can see exactly what that’s doing, and bevelling will add a bit of roundness to all the edges. I’m not going to go crazy here, just maybe a value of 4 should do the trick nicely. Let’s also round off the corner edges, so we have our base now. We’ll add a glass material in the materials panel; instead of a color we’ll choose Glass and you can change its properties to your wishes.


So that’s our first glass box, now let’s add a top element to it, and then the icon. The top element is also rounded, it’s a little bit smaller than the glass surface, it’s also beveled, so let’s go ahead and do that. I’m going to press the rectangle key again and then just click and drag a rectangle that’s almost the size of my glass box and here in the Inspector you can actually turn on snapping, either to the grid or to the object
Importing Icon Assets
Now let’s bring in some icons. Here we have three icons; a kind of a play icon, a cursor, and we have this refresh icon.
These are SVG files, so they’re vectors and we need to import them into our project. Spline automatically places what we import into the middle but I can bring it over to the side, do a bit of rotation to match the plane that I’m working on. Now let’s just use the gizmos to bring it over and because I have snapping set to object here I can use the up and down and it’s going to tell me exactly when it lands on the surface below it.
Let’s scale the object on all four sides, and let’s do 1.6 scale. With lots more positioning, aligning, shifting, snapping, and rotating, we get our group of icon objects.
The process of creating the other two icons is very similar so let’s do that, and then arrange the objects in our final composition.
Now we have our initial scene, if we click the play button (or click shift space) we can see the final scene without any kind of UI elements, allowing us to click and drag to orbit around the scene, and use the mouse wheel to zoom in and out.


Animating Spline Objects
Let’s add some animation to this. We’ll start with the morphing sphere and the way animation works in Spline is by creating various “states” of an object and then transitioning between them. In the Properties panel, if we click on States, we have a base state (that’s the default) and then a state that we just created.
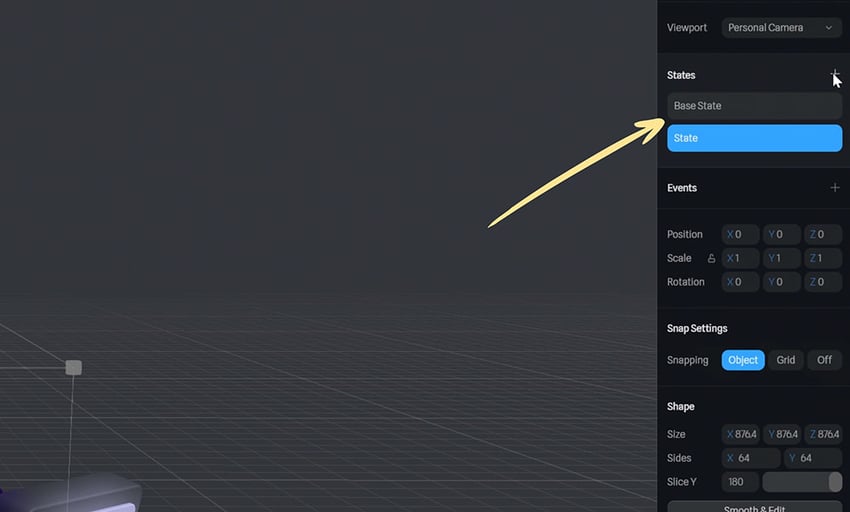

We can change the properties for this state, double-click and rename it for clarity, and then go to Events. We’ll define a transition between the current and the second state, and it’s that simple!


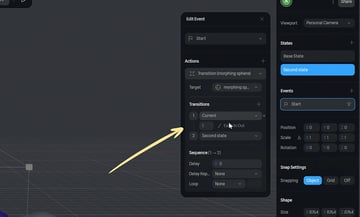
Currently it just plays once, but we can change the properties to loop the animation infinitely, or apply a pingpong effect (where it goes back and forth) and you can change, of course, the duration of the animation, and the easing.
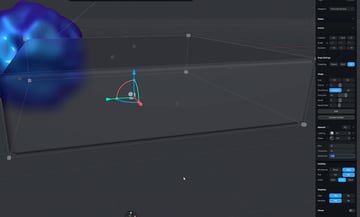
Now, what about the icons.. how do we animate these? Well, in exactly the same way. We create various states and transition between them. Create a new state and on this occasion we’ll alter the rotation. Then we go to Events, and on Start we create a transition between the current and the second state. We alter the properties we need, change the delay (for example) and do the same to our remaining objects.
Wrapping Up
Alright folks, that’s about it for this introductory course to Spline! I have to say, I really like this software. I’ve enjoyed working working with it, even though the transition from 2D to 3D was tricky at times (it takes a a little bit of getting used to, moving around in 3D space) but once I got past that, it was a real pleasure to work with. It’s something that I’ll definitely practice a lot more moving forward.
With that said, don’t forget to check out the Envato Tuts+ YouTube channel for more content like this, but also to learn about web design, web development, and a whole a lot more. It’s all free, so make sure to subscribe to the channel and give this video a thumbs up if you liked it!


