
If you're a filmmaker and you’d like to know more about how to use colour, then you’ll love our free course, How to Colour Grade Video. In this lesson you’ll see an example of how to use colour grading to create a continuity of feeling.
How to Create a Continuity of Feeling in Video With Colour Grading
Colour Grading: What Is It and Why Do We Need It for Videos?
Colour supports content; just because a shot is technically corrected doesn't mean that it will necessarily feel right for the scene or your production. In this lesson you’ll see an example of how to use colour grading to create a continuity of feeling.
Before Grading


Let's imagine that the three stills from clips, above, are part of a longer video. They’re quite disparate but there’s a lot that can be done with colour grading to make the shots flow better and have a similar tonality so that they look part of the same story.
After Grading
Here’s the grade applied to the same clips, it’s been based on the purple tones in the second clip and now they all look a little more uniform.


How The Colour Grade Was Created in DaVinci Resolve
In DaVinci Resolve you can do a lot of things in a single step but it's much easier to use multiple steps so that you can keep track of your ideas.
Nodes
Each one of the little boxes on the right is called a node and each of these has a separate colour grading 'idea' in it.


Clip 1
After the base colour correction, which is numbered 01 on the nodes, a shape was created and then used to bring up the highlights and mid-tones a little.


You can see above the shape made targets the windscreen and when brightened, it brings out the characters a lot more. You can see the 05 node reflects these changes, on the right.


The next step is almost the opposite to the previous one. In node 04 the changes are showing as masking out the previous shape, so any alterations made exclude whatever’s inside it. Outside of the shape – the car frame, mostly – is darkened, so those mid-tones are pulled down and then are desaturated so that the focus of the saturation is back inside that shape, in the windscreen.


The red box and sticker in the car are quite distracting, so in node 02 you can see those bright colours being desaturated so they don’t attract your attention.


Next is to give the clip a bit of a vignette around it and that’s done with a shape layer as above. This essentially just affects the outside area, anything that’s grey isn’t included, so then it’s a case of pulling own the highlights, mid-tones and shadows.


You can see the difference here in the corners and there’s a nudge towards blue in the shadows to cool it off and give it some nice contrast against the skin tones of the people.


Lastly, all of the shadows (the Lift wheel) were pushed towards blue-purple and to compensate for that, the mid-tones (Gamma wheel) then are pushed a little towards orange.
In DaVinci Resolve, the Colour Wheels are called Lift (shadows), Gamma (Mid-tones) and Gain (highlights) if you’re in Primaries mode, which is the most basic option and probably the one to start out with when you’re learning to grade.
Each wheel has quite a lot of overlap, so the shadow area actually affects the entire picture all the way up to the top, across almost the whole tonal range.
Clip 2


The grade for this clip was quite similar, the shadows are pushed a little towards blue and then a shape was made to isolate the two characters and then motion track that through the frame and then up the contrast by bringing town the shadows and increasing the highlights and also moving the highlights towards orange and away from blue to warm them up.


Then there’s a slight vignette added like in the last clip, to focus the eye and cool off the shadows again.
Clip 3


In the final shot the tones already matched quite well but it but it doesn't have any of those lower purple-blue notes from the previous clips, so here the same colour correction was applied as you saw in the others, but this time the vignette isn’t in the centre, and it’s motion tracked.
Now the vignette will go along with the character as the shot moves across rather than staying in the centre.
Summary
You’ve now seen an example of how you can make some quick, similar changes to tonally different film clips to make them look a little more like they belong together. Sometimes picking dominant colours from one clip and nudging the others towards those same colours can help with that, as can pushing the eye to focus to a particular part of the scene by increasing brightness and contrast in just one area.
A vignette will frame a shot, again aiding with directing your viewer to look in a particular place, and if the shot has a lot of camera movement in it, remember that motion tracking will keep the changes where you want them to be.
More DaVinci Resolve Resources

 How to Use Noise Reduction on Audio in DaVinci Resolve (With Fairlight)


 How to Get Rid of Mouth Clicks in Speech Using Fairlight in DaVinci Resolve

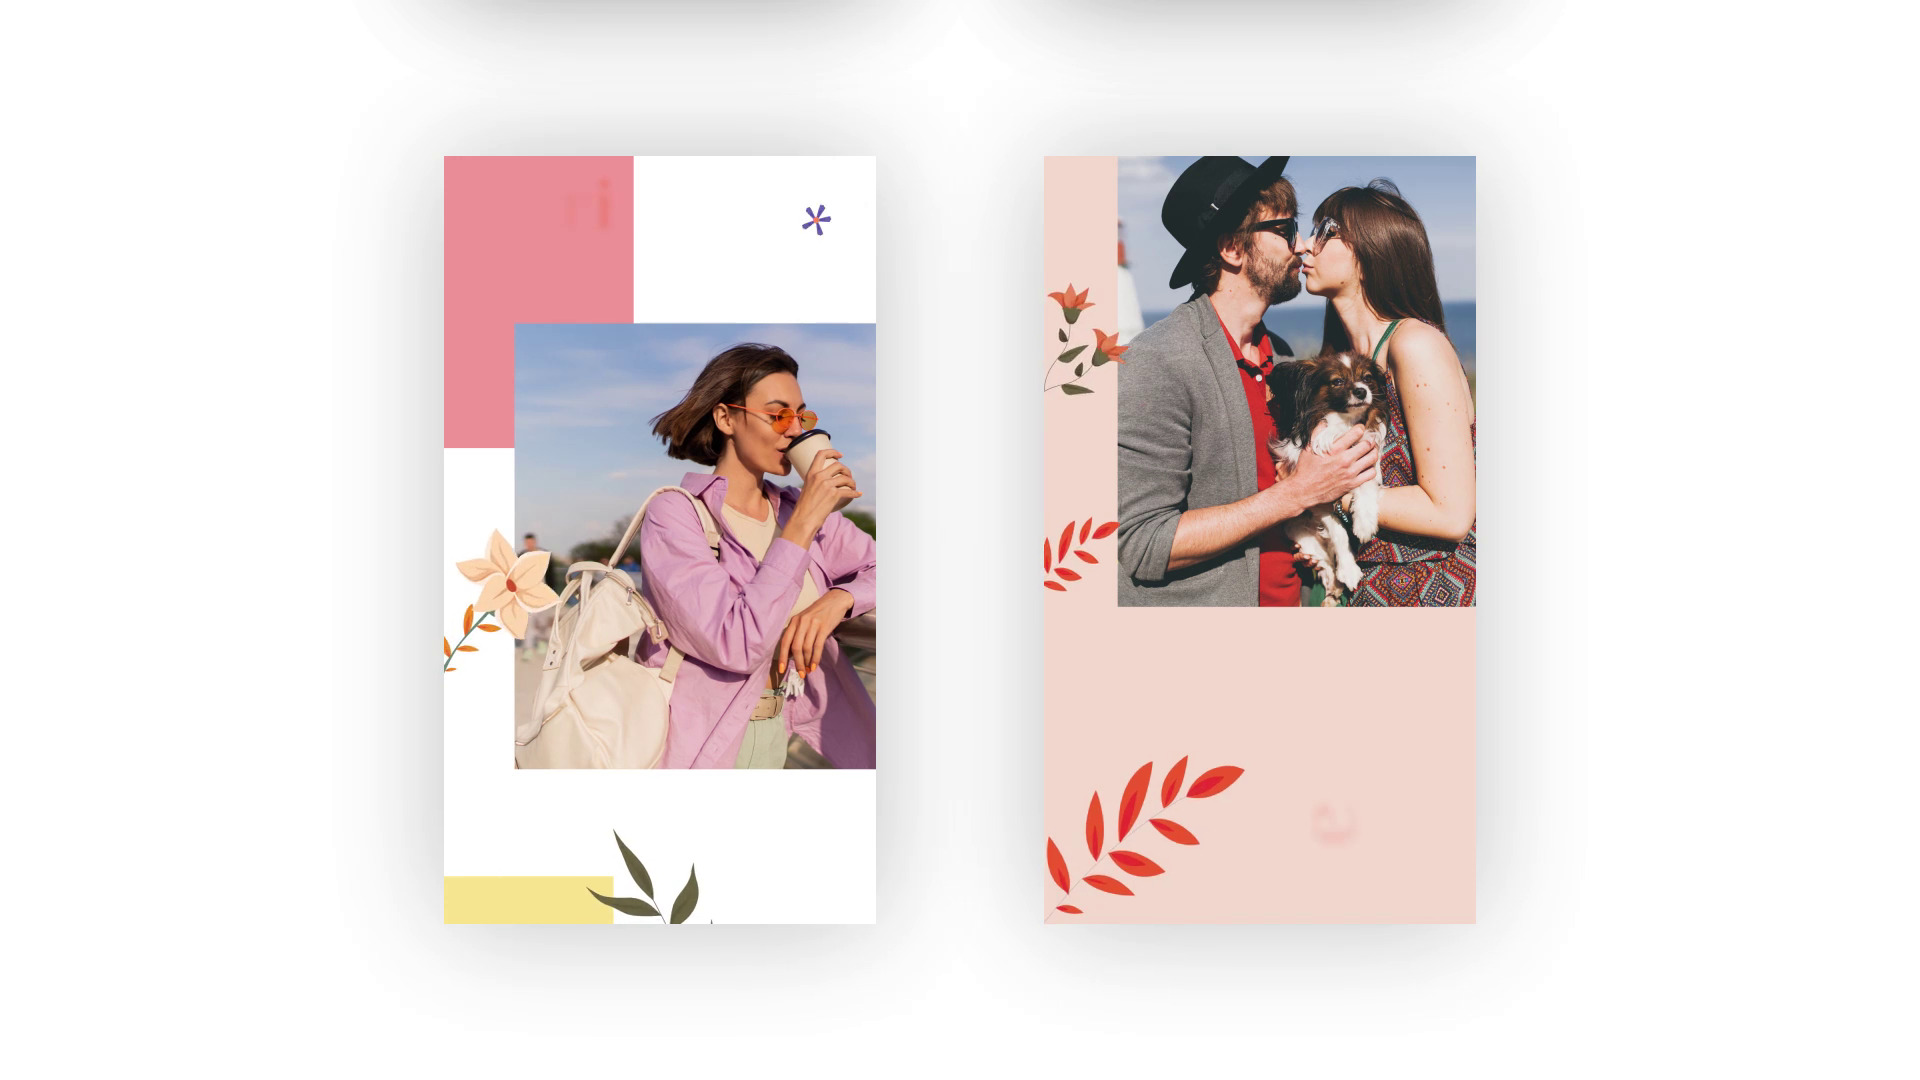
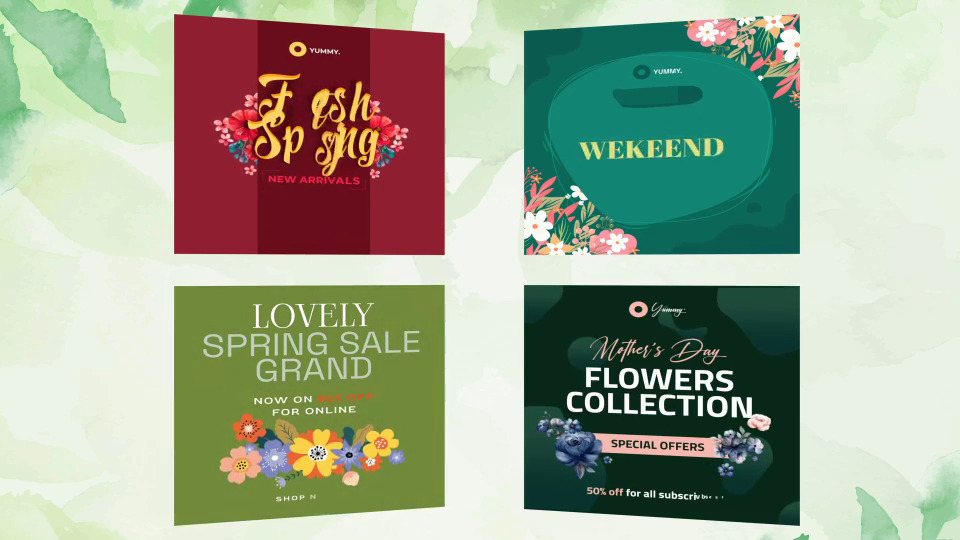
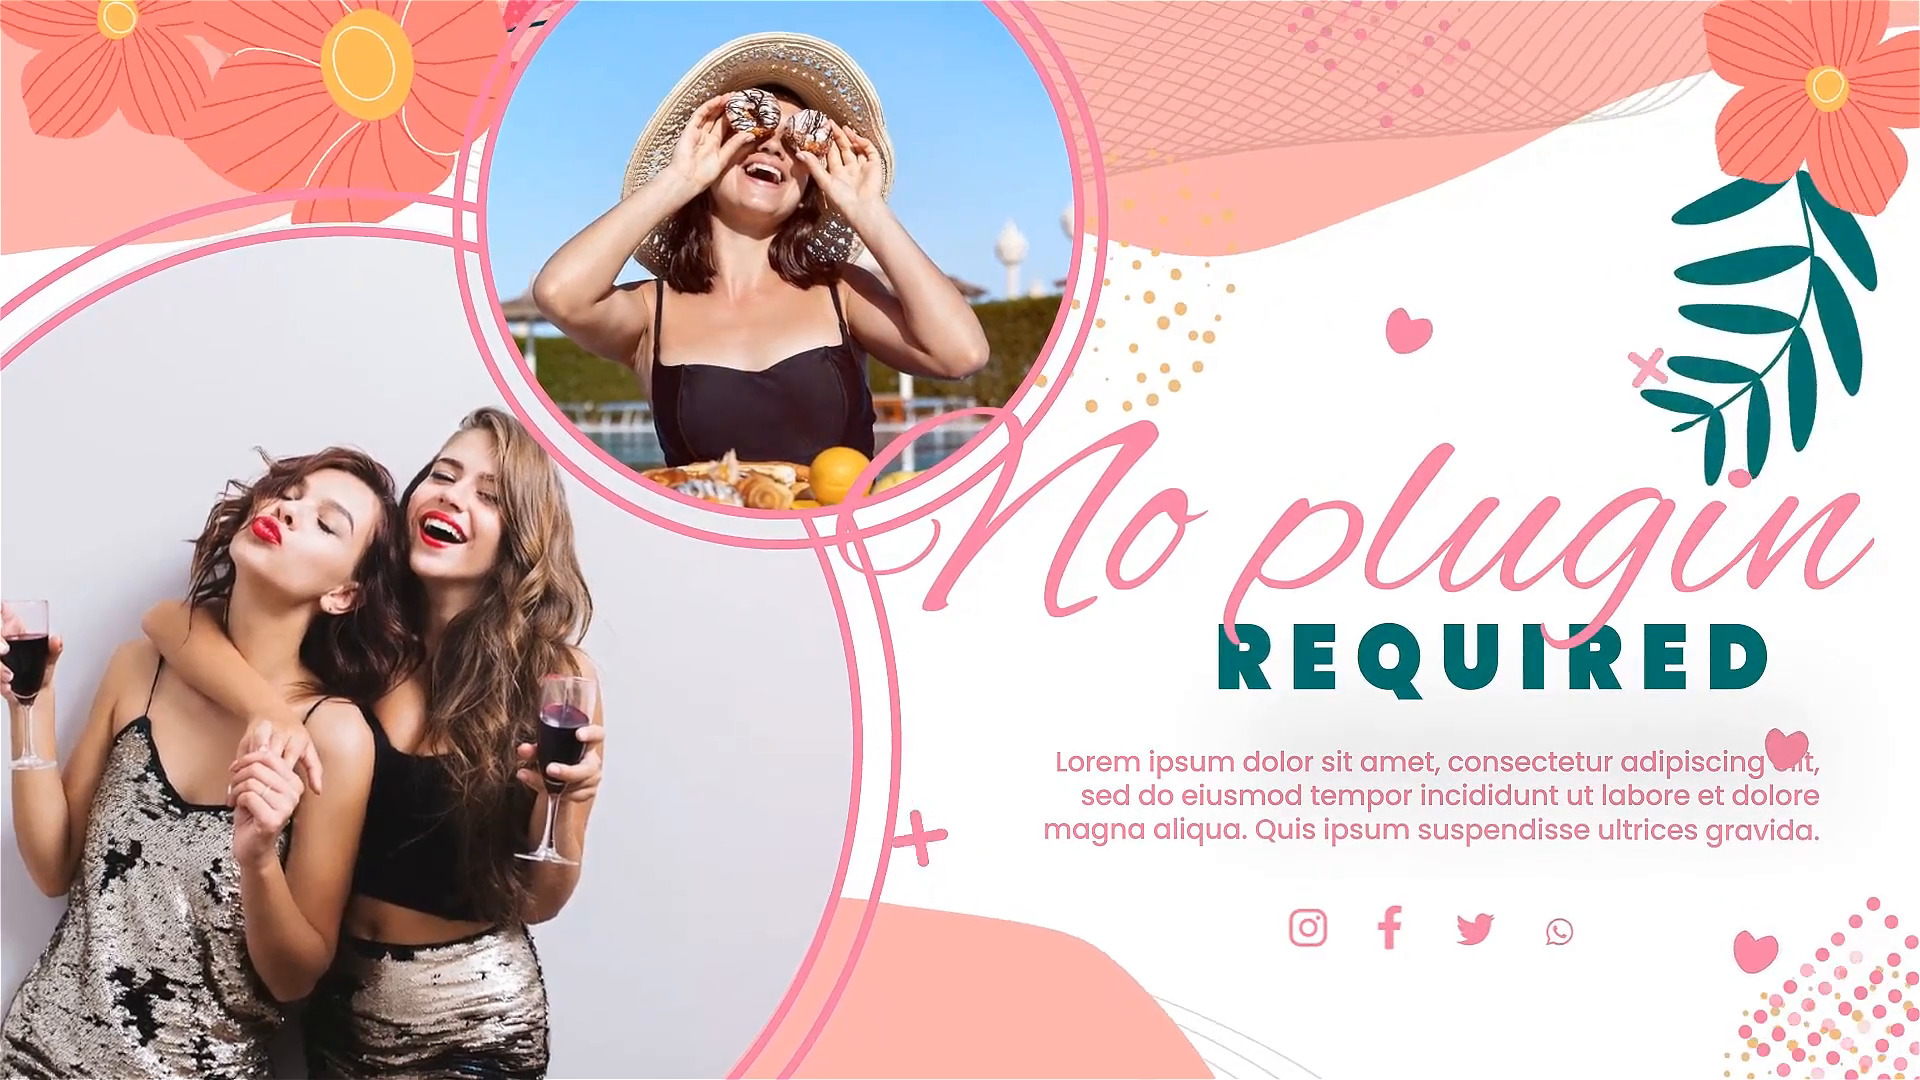
 3 Top Design and Motion Graphics DaVinci Resolve Templates


 10 Top Documentary Title Templates for DaVinci Resolve (2 Free)

About the Authors
David Bode created the video course that includes this lesson. Dave is an expert on video and audio production, and he lives in the upstate NY area. He works as a camera operator, editor, inventor, motion graphics designer, recording engineer, and studio musician.
Marie Gardiner wrote the text version of this lesson and it was edited and published by Jackson Couse. Jackson is a photographer and the editor of the Photo & Video section of Envato Tuts+.
 By
By


