How to Create a Time-Displaced Video Effect Like Adele's Send My Love
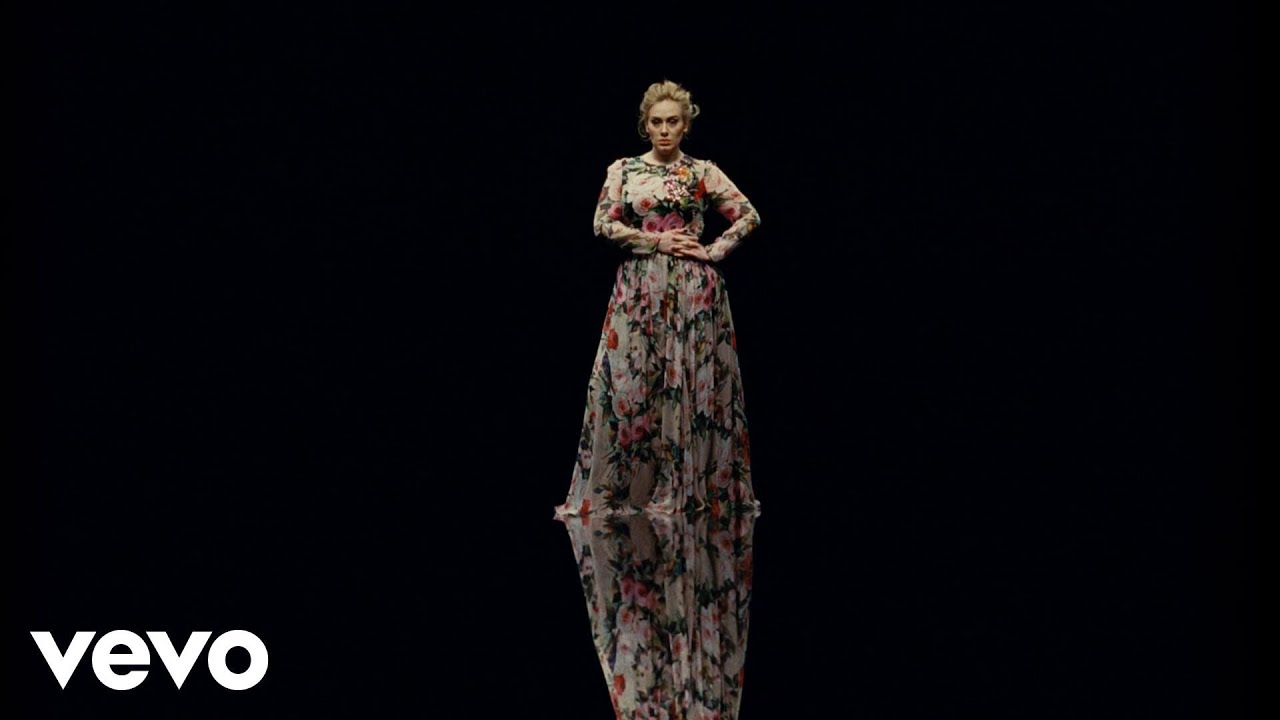
In continuation of our series of creating effects inspired by music videos, this Quick Tip takes on the hauntingly beautiful effect seen in Adele's Send My Love video. The transparent, temporally-shifted, multiplied image of figures in motion is visually fascinating.
In my previous tutorial you learned how to make a ghosted image. In this tutorial, you'll learn how to make a ghosted video in Adobe Photoshop.

What You Need
The effect works best with a video of a figure making very large movements on a simple background: you want that the trailing ghosts to be easy to see as they move. In this tutorial we use a video from Envato Market, Prestigious Elegant Red Dancer, as our example.
Often video effects need dedicated software, like Adobe After Effects, but you can do this this effect in just about any non-linear video editor that supports more than one video track (which is most). Photoshop doesn't have the most advanced video tools, but the features it does have are more than capable of
creating the time displacement effect we're making here.
1. Basic Time Displacement Effect
Step 1
Open the video in Photoshop through the standard File > Open (Control-O). It's important to make sure that the Timeline panel is open. If it isn't, go to Window > Timeline. Notice how the Layers panel shows Layer 1 as a video layer and it is inside a Video Group.


Step 2
Move the playhead to 00:01:00 and press the scissors icon to split the video at that point. Then move the playhead to 00:43:00 and split the video again. This will result in three video layers within the video group.


Step 3
Hold down the Alt key and click and drag on the middle video layer to create a copy of it. Drag this copy up and outside the video group so it sits parallel to the video group in the timeline. Notice that video clips in the video group are sequential, end to end. While video clips outside the video group are simultaneous to it. Rename this copy to Ghost 1.


Step 4
In the Timeline panel, push the Ghost 1 video clip one second to the right. Then reduce the layer's Opacity to 35% and set the blending mode to Multiply.


Step 5
Click on the Transition icon in the Timeline panel to open the transitions menu. Set the Duration to 1 second and drag a Fade transition to the beginning of the Ghost 1 clip.


Step 6
Hold Alt and drag the Ghost 1 clip in the Layers panel to create a copy of it on top of the layer stack. This method also copies the assigned transition. Rename this copy to Ghost 2 and set the Opacity to 20%.


Step 7
In the Timeline panel push the Ghost 2 clip to the right by one second. Play or scrub through the remainder of the video to see the double ghost effect.


Step 8
Open the Transitions menu again and set the Duration to .5 seconds. Then drag a Fade with Black transition to the beginning of the original clip.


2. The Ending Effect
The ghosted effect becomes even more effective if the ending includes the ghosts catching up to the original movement and reforming with it. This is easiest to accomplish if the original video includes the figure standing still for several seconds. The clip used here doesn't really have that, so there's a few tricks that need to be used to approximate the same effect.
Step 1
Select and delete the third clip of the original video called Layer 1 copy 2. Move the playhead to 00:42:00 and split the original clip at that point.


Step 2
In the Timeline, right click on new, smaller ending clip and set the Speed to 42%. Then drag the ending border of the clip to align with the end of the Ghost 2 clip.


Step 3
Open the Transitions menu again and change the Duration to 1 second. Drag Fade transitions to the ending of both the ghost clips to have them fade into the original clip.
3. Color Adjustments
At this point, the movement works well, but the coloring looks rather dull and muddy, mostly due to the transparency and the blending modes. Those can be cleaned up with just a few Adjustment Layers.
Step 1
Make the Ghost 2 layer the active layer and then add a Curves Adjustment layer to the top of the layer stack. Photoshop should ensure that the adjustment layer's timeline covers the full span of the work area. Then adjust the Curves into an S-shape as shown to increase the contrast of the video.


Step 2
Next add a Hue/Saturation adjustment layer. Use the on-canvas adjustment tool to click and drag on the background of the video. This will change the Hue/Saturation focus to Yellows. Set the Saturation to -100 and the Lightness to +20.


Step 3
Look at the Timeline panel again and set the first work area handle to align with the beginning of the Fade with Black transition of the original clip. The end work area handle should already align with the end of the entire video.


Step 4
Go to File > Export > Render Video. Set the proper filename and folder path. Change the format to H.264 and select your preferred size. Make sure the Range is set to Work Area, then click the Render button and let Photoshop cook!


And That's It!
Even for the limited video editing tools available in Photoshop, it's not difficult to create some beautiful effects in a very short time. The final result of is seen here, but we'd love to see how your time displaced ghosts turned out! Add a link to you video in the comments below.


