
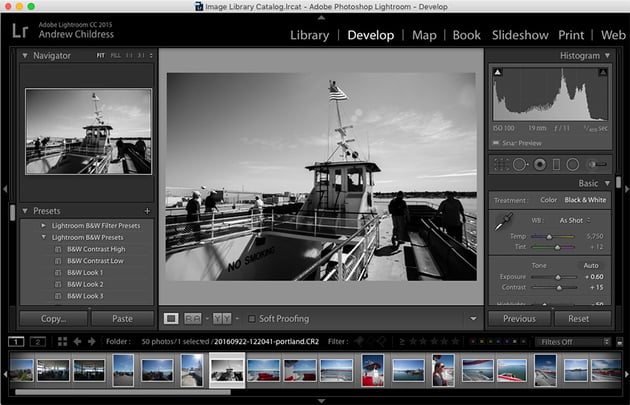
Whether I'm organizing or correcting my images, I always look for the most efficient way to do things in Adobe Lightroom.
In this tutorial, I'm going to share one of my favorite workflow tricks: toolkit presets. These presets make your post-processing work easier and more consistent by baking parts of your Lightroom workflow into handy one-click adjustments.
What's a Toolkit Preset?
We tend to make the same adjustments over and over: increase
exposure, adjust contrast, finesse the colors. Lightroom is amazing for
the level of creative control it gives you, but here's the thing: it can
be too much. It's easy to get a bit lost in the controls and forget the
image.
I find it easier to click on presets than to pull and drag on the editing sliders. Clicking a preset is fast. More importantly, clicking a preset makes changes in a better way: a preset is more measured, consistent, and repeatable than endlessly twiddling sliders.
A Lightroom preset is a saved, one-click adjustment that applies a setting or group of settings to an image. When you build a Lightroom preset, you can select the settings you want to impact when you click on it.
Not all Lightroom presets have the same impact on your images, though. I think of Lightroom presets in two categories:
- Style presets: style presets are one-click visual styles for the entire image, with multiple parts of the image changing. A style preset might adjusts the exposure, color, contrast, and more all at once.
- Toolkit presets: toolkit presets adjust one very specific aspect of an image. Separate toolkit presets would be used to adjust exposure and color settings, for example.
A style preset is something you click on to try out a particular visual style or look. A toolkit preset is a shortcut for image adjustments.


For the basic adjustments that every image gets, I like to have one click adjustments in my presets panel. This is why I propose creating your own set of toolkit presets.
Here's how to build them:
How to Build Toolkit Presets
The key to a toolkit preset is limiting which parts of an image are effected. A toolkit preset should only impact exactly what you want to adjust, and only that.
Let's build a toolkit preset to increase the exposure by half a stop. Start off by pulling the exposure slider up on any image to a value of +0.50 in the Develop module.
Now, let's create a new preset. Find the Presets panel on the left side of Lightroom and press the + button in the upper right corner of the panel.
A new window pops up. This is where we'll create a toolkit preset. When you're creating a toolkit preset, make sure to leave only two boxes checked:
- The setting you want to change (in this case, Exposure)
- The Process Version to ensure compatibility

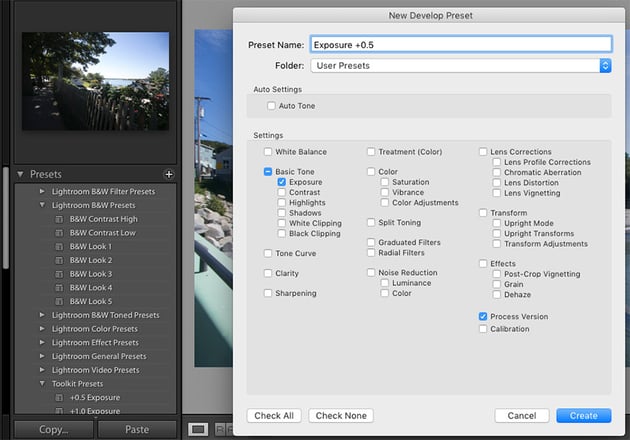

The checkboxes in the window are what settings will be included in your preset. For a style preset, you would leave many of these boxes checked to style several factors in the image. A toolkit preset should usually only impact a single setting.
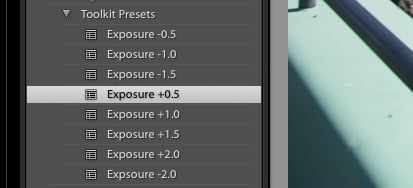

After you've built your first toolkit preset, build out some more in the same category. For the exposure preset, I would also create presets for +1.0, +1.5, +2.0 stops, for example.
Four Ideas for Toolkit Presets
Now that we've created a set of toolkit presets for exposure adjustments, let's look at some other ideas for common adjustments that we can map to presets.
Click for Clarity
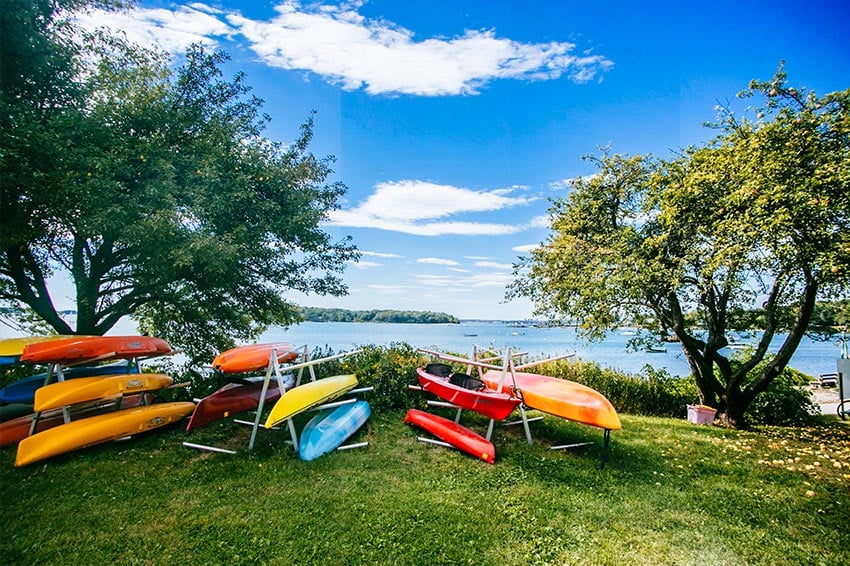
Clarity is one of my go-to adjustments to add a bit more detail to an image. It works perfectly for landscapes, architecture and more.
Add these one-click clarity adjustments as toolkit presets:
-
Clarity +25
- Clarity +50
- Clarity +75
- Clarity +100
Contrast Presets
If you're shooting RAW, images often come out of camera a bit flat to protect image detail. This leads many Lightroom users to the contrast sliders as an early adjustment to every image. And that's exactly why we should create a toolkit preset for contrast!
Add these adjustments as presets:
-
Contrast +25
- Contrast +50
- Contrast +75
- Contrast +100
Click to Vignette
I like to use vignettes as a way to draw the viewer's eye to the center of the frame, where the subject is often placed. The controls are a bit buried in the Effects controls at the bottom of the Develop module's right pane, so instead I prefer to keep it nearby in the presets panel.

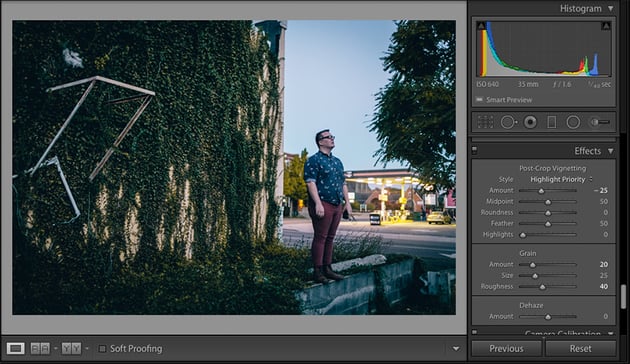

To create a toolkit preset, make the adjustment to the Amount slider on the Effects panel. When you create the preset, leave the Effects > Post-Crop Vignetting box ticked.
Here are my vignette toolkit preset settings:
-
Amount: -25
- Amount: -50
The Lens Profile Preset
Much like vignetting, lens correction is buried at the bottom of the panels on the right side of Lightroom's Develop module. Instead of scrolling down to find it each time, you can just click to apply lens corrections.
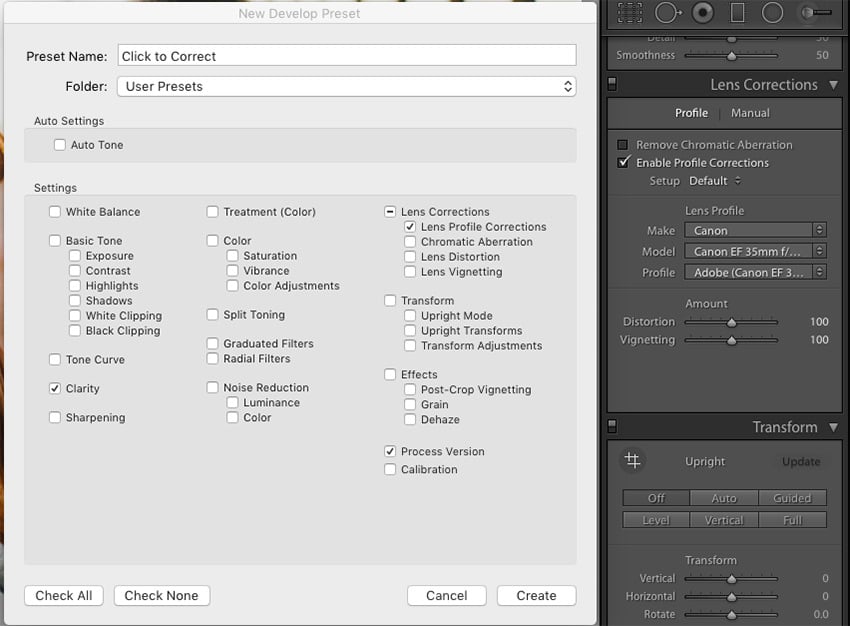
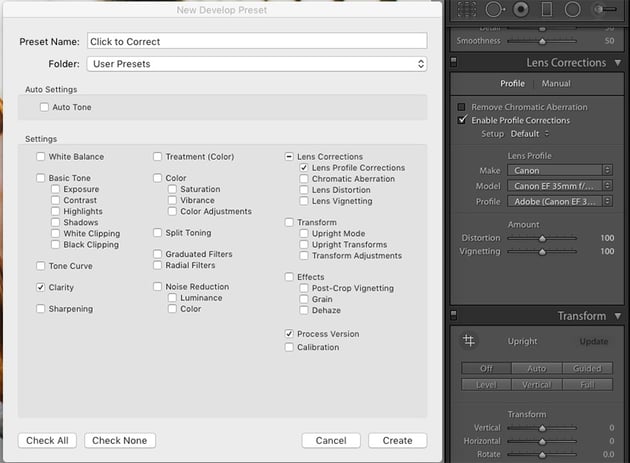
Lens correction addresses common issues like vignetting, distortion, and chromatic aberration. The best part is that the preset simply adds correction to the image, not correction for a specific lens. That means that Lightroom will apply the correct lens profile based on the lens used to capture the image.
Going Beyond Toolkit Presets
While toolkit presets are designed for the simple and repetitive adjustments that you'll make, you can also use presets for creative and stylistic judgments. With just a couple of clicks, you can try out completely different looks for an image.
Let's take a look at some of the best single click styles for photos in Adobe Lightroom. All of these presets are available as a part of Envato Elements, an all-you-can-download service that includes many types of creative assets.
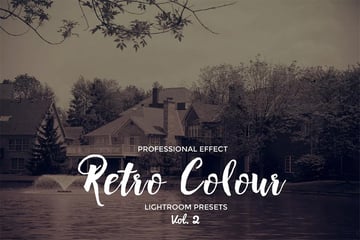
Retro Colour Lightroom Vol. 2
The color settings really control the look and feel of an image in Lightroom, and there's no limit to the number of combinations that you can create. The Retro Colour pack has a variety of options for tweaking color as if your image is from the past. Try out any of these 17 styles for a different color palette for your images.


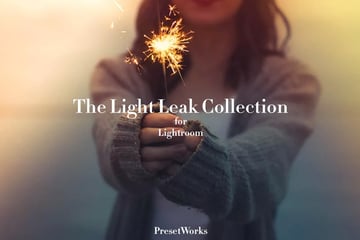
Essential Light Leak Lightroom Presets
In film photography, light leaks would occur if any gaps allow light into the back of the camera, prematurely exposing the film. You can create this same effect in the digital darkroom thanks to this preset pack.


Analog Lightroom Presets
Everything old is new again! Photographers long to bring back the days of film photography with presets, and the Analog pack is a great choice for this. Apply any of these presets for tweaks to color settings and the tone curve.
Recap & Keep Learning
Lightroom presets come in all varieties: there are one click effects that style an entire image, and there are toolkit presets that target specific settings.
Here are some more tutorials to learn about Lightroom presets:
- Some people believe that presets are lazy, but not Harry Guinness; he wrote In Defence of Presets to explain how powerful they can be for speeding up your workflow.
- If you want to find presets that fit into the "Style Preset" category, check out 25 Premium Lightroom Presets for Weddings.
- Marie Gardiner has a great year-end roundup of the Top 15 of 2016 resources from Envato Market, which includes some great Lightroom presets.
Toolkit presets are something that I use in my own workflow to speed things up. It's easier to have those common adjustments as single click presets.
How do you use presets? What are your favorite workflow tricks? Let me know in the comments


 By
By


