

Glitter... what's not to love? Okay, the real thing isn't so fun when you're vacuuming it out of your furniture for months, but what about virtual glitter? Turn your sparkle rating to full because here we'll show you how to glitter-bomb a photograph using GlitterStorm Photoshop Action.
There are two main ways you can use this action, so I'll go through both.
Method 1: Apply Glitter to Some of the Image
Brush Over Your Subject
This is the image I'll be using. Choose an image that's fun and will suit glitter.


Create a new layer named ‘brush’ and brush over your image


Brush where you’d like glitter to appear. I've used red here so you can see it clearly, but you can use any colour you like.
Choose a Direction for Your Glitter
Choose from the five directional options. I’m using ‘down’ as I want the glitter to look like it’s falling from the sky

Hit play and be prepared to wait a while for the action to do it's work.
Don't Panic!


You’ll have something that looks like this, but don’t panic. Scroll down the layers and find Background Colour which should be your first layer after Background. Click on the eye next to the layer to hide it and you’ll see your image—complete with added glitter.


Make Adjustments
The action is broken down into many layers.


These allow you to do much more than turn groups of particles off and on, adjust contrast and so on. Unfortunately, they don’t allow you to do much more than that. What would have been useful would have been to have some colour or fill layers that could be adjusted, so that you could see the effectiveness of different colours.
Finish Up


Here I’ve dropped some of the sharpening layers and hidden some of the groups of particles to make the effect a little more subtle.


Method 2: Apply Glitter to Your Main Subject
The other way you can use this action is as the author intended it (so we can glean from his examples). You might have noticed that in the example above, the glitter is white and blue. This is because it uses the colours from the image and so in this sense, it may be more suited to colouring over the image itself.


Brush Over Your Subject
Create a 'brush' layer again, but this time, colour over your subject entirely.


Run the Action
This time I'm opting for left as the direction.


Okay, so the result is a little scary and now our subject looks to be screaming more than laughing as he turns into a living glitter ball. We can turn down some of the effects to improve things and quell the nightmares.
Make Adjustments


I’ve brushed the subject’s face back in and reduced some of the particles to lessen the effect. Much better, and no more night terrors!
More Glitter You Say?
If you can't get enough of glitter tutorials (and who can?) then you might like to check out these:

 How to Create a Glittering Gold Thread Text Effect in Adobe Photoshop

 Create an Animated, Glittering, Valentine's Day Text Effect
.jpg)
.jpg)

 How to Create a Fantasy Macro Drop Photograph

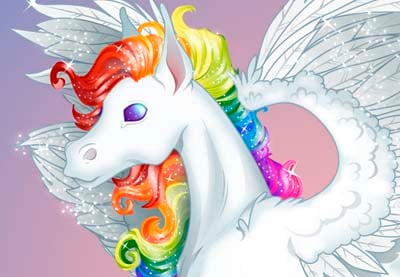
 Create a Lisa Frank Inspired Colourful Pegasus in Adobe Illustrator

Happy glitter bombing!
 By
By


