Course introduction and overview
After Effects is old. It's clunky, it's complicated, it's powerful, it's tricky to master... All of that is true, but it doesn't mean you need to be scared of the program. Today is the day that you're going to learn everything that you need to know to get started with Adobe After Effects. By the time you finish this tutorial, you'll be able to start confidently working on motion graphics projects in After Effects.
In this course, we're going to be creating a simple animation with bouncing balls. Along the way, you'll pick up plenty of After Effects skills and techniques, like:
- working with shape layers,
- working with text and effects
- animating elements to give different weight and feeling via keyframe easing
- perfecting the composition of your frame and the elements within it
- how to time your animation to convey your message
If you want to follow along in After Effects, you can download all the project files right here.
"Some tutorials will take a button-by-button approach, but let's take a 'learn by doing' approach for this one. As we work through this animation and create it, you'll get to know the layout of After Effects, where all the important buttons and panels are, and how you should look to structure your project."
The layout of After Effects
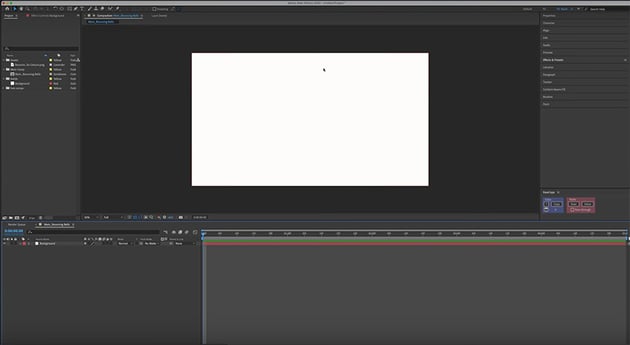
There's nothing particularly inspiring about a blank After Effects project, as you can see. It's basically a bunch of random gray panels by default.


These panels are each important in their own right, but they're not always needed, necessary, relevant, or useful to what you're doing. Luckily, however, you can customize the layout easily—all the panels are dockable, so you can pull them out, move them to other areas, close them, and expand them.
Don't worry about making too many changes—you can easily reset your workspace to its default settings by right-clicking in the top toolbar and selecting Reset to Saved Layout. If you want to create a custom layout, get everything sorted the way that you need it, and then go to Window > Workspace > Save a New Workspace, and you'll be able to bring it up whenever you need to.
For the purpose of this tutorial, you can stick to the default layout. There are four main panel sections that you need to know to get started in After Effects:
- In the top left, you have the Project and Effects Controls panel.
- In the center is the Composition panel.
- Below it is the Timeline panel.
- On the right-hand side, you have what I sometimes think of as the "shelf". I don't know if Adobe has a name for this section, but it's a collection of little panels like properties, align tools, effects, and presets. You can find them and add new ones in the Window menu.
This free After Effects course is brought to you by Envato, the unlimited creative subscription. Get studio-quality motion graphics templates for every editing program. Click the link below and start creating now.
Creating compositions
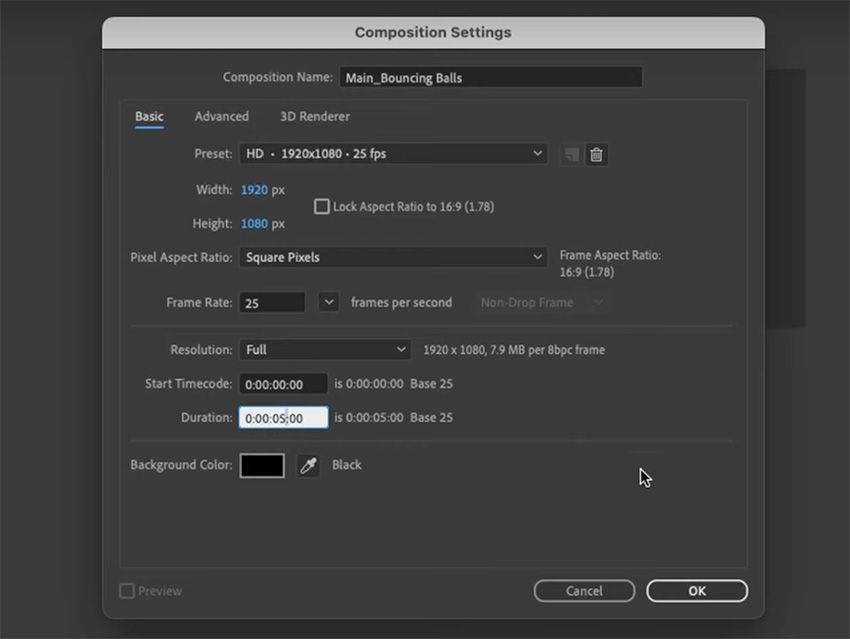
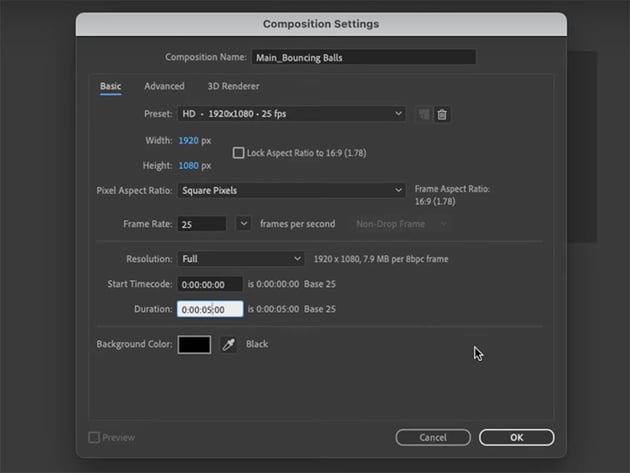
Now that we've got a basic understanding of how everything is laid out in After Effects, we can start to build our composition and create our animation. The very first time you create a composition in a brand new project in After Effects, you'll see a big button in the middle that says New Composition. We can click that and create our composition, and there's also a button at the bottom of the Project panel that brings up the same dialog box.
Use the settings below—we're mostly sticking with the defaults for this project, but we'll change the Duration to 5 seconds.
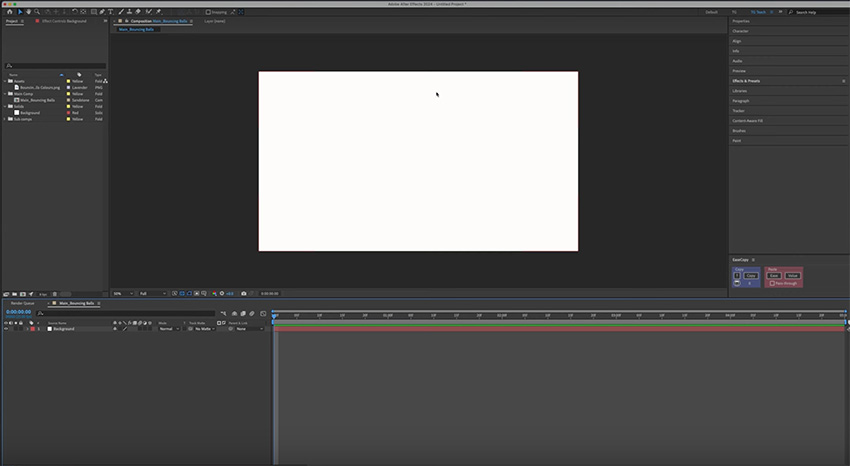
Click OK, and now we've got a blank canvas to start creating our animation. Next, I'm going to create some folders in the Project panel so that we can stay organized throughout our project. You can do that by right-clicking and selecting New Folder, or there's also a button at the bottom of the panel.
Then I'm going to create a background. So right-click in the Timeline panel and choose New > Solid. Leave it the same size as your composition, and choose a slightly warm off-white color.
So here's how things should look at this stage:
Using shape layers
Now, the way I'm going to start building out our animation is to add all of our shapes and see how everything's going to work within the frame. Then we'll move on to animating all of those pieces individually.
So the first thing to do is add a couple of balls. You can right-click and choose New Shape Layer, but there's an easier way to add shapes. If you go up to the toolbar, you can click and long hold on the shape icon to see your Rectangle Tool, Rounded Rectangle Tool, Ellipse Tool, Polygon Tool, and Star Tool. Just press Q, and you can cycle through the different tools.
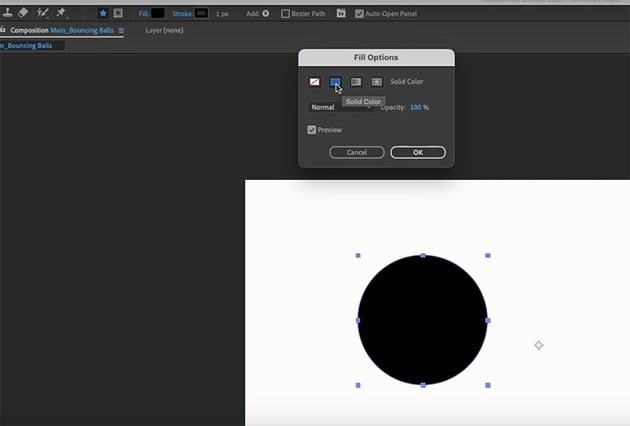
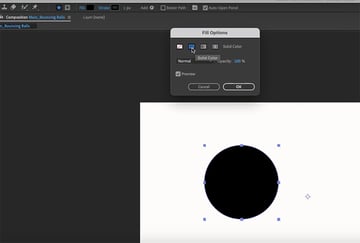
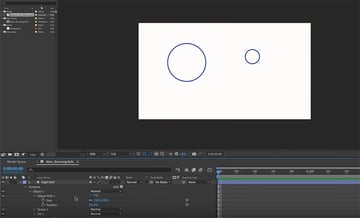
Use that method to select the Ellipse Tool, and drag out a circle, holding Shift to make it a perfect circle.
The way you can change the colors of your shapes is pretty simple. Once you have the shape layer selected, you'll see the Fill and Stroke options in the toolbar. Click on the word "Fill" to bring up the Fill Options and choose the same color as the background. Then set a Stroke Width of 10, with a dark blue color.

Call this "left ball", and then duplicate it (Command-D) to create "right ball". We want the new ball to be about half the size of the original. Now you'd think you could just click on the layer and hit S to bring up your scale properties, but that will also change the stroke width, and we don't want that. So instead, go to the shape layer on the Timeline and choose Contents > Ellipse 1 > Ellipse Path 1 > Size. Now we can scale it down to the size that we want.


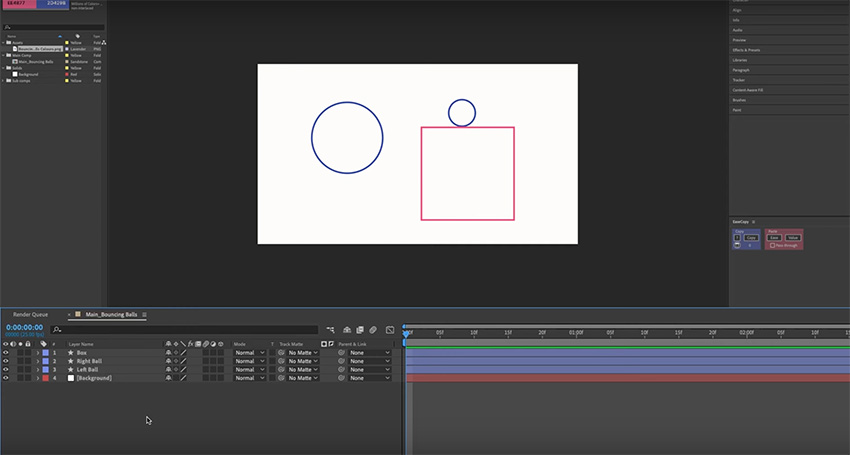
Finally, let's use the same techniques to create a pink box for the second ball to sit on, remembering to keep the layers named as you add them.

Adding text
Adding text in After Effects is quite simple. You can either right-click in the Timeline and choose New > Text or go the toolbar and hit the T icon. Click anywhere to create a text layer and begin typing.
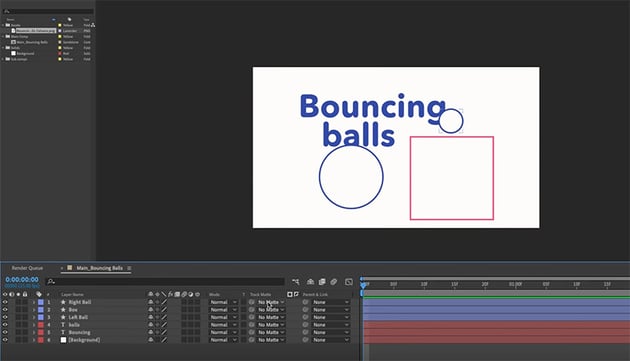
I'm going to create one text box with the word "Bouncing" and another with the word "balls", positioning everything as shown below. We also need to organize our layer stack so that the text is right at the back (above the background), followed by the left ball, the box, and then the right ball at the top.


Working with precomps
Now, we need to create some precomps for our shapes.
So let's just right-click on all our shape layers and choose Precompose. We won't precompose the text for the time being. Also, to help with organization, it's a good idea to give each layer a separate color.
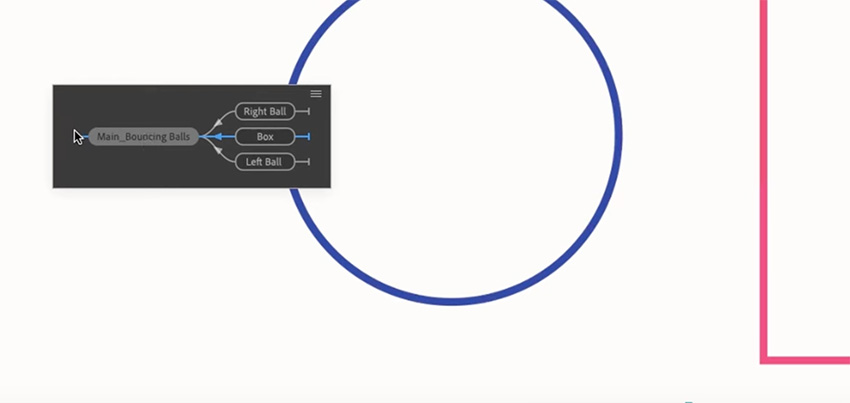
A good way to navigate between your comps and subcomps is to hit Tab on your keyboard to bring up a little map showing the structure and all the subcomps that you can go to. This is particularly useful for large projects with a lot of comps and subcomps.


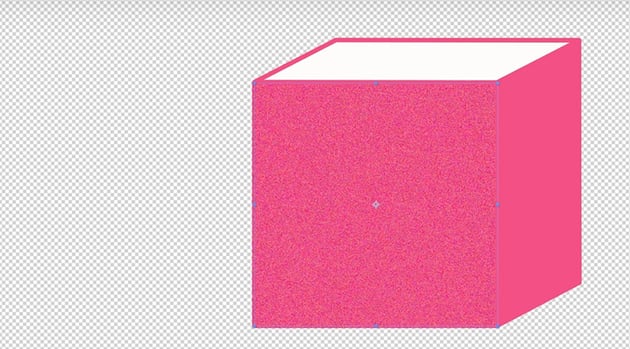
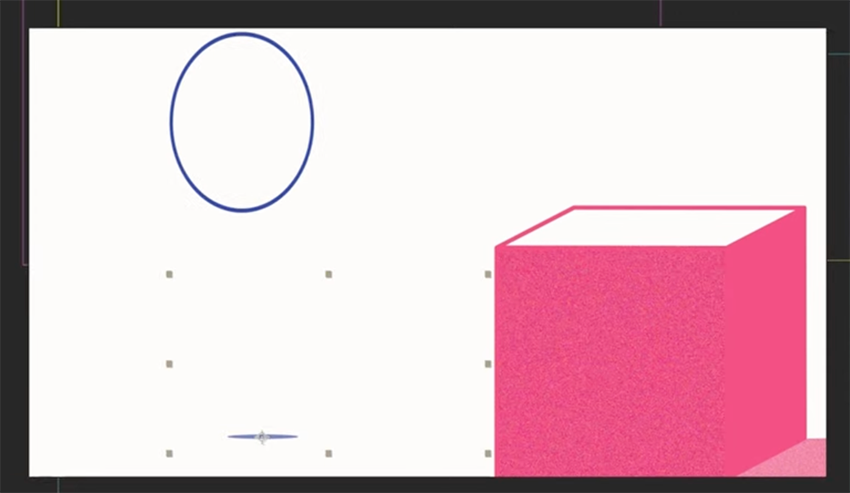
Now, let's build out our box and make it look three-dimensional. Duplicate the box layer, and put the copy a little up and to the side. That's the back of the box. Now, to create the top, choose the Pen Tool (G) and click on the four corners. Do the same to create the side of the box.

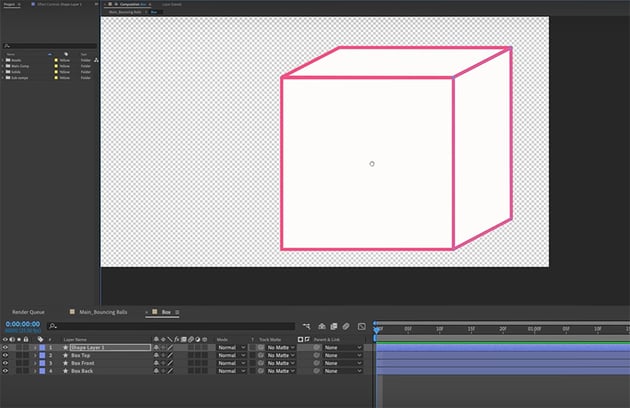
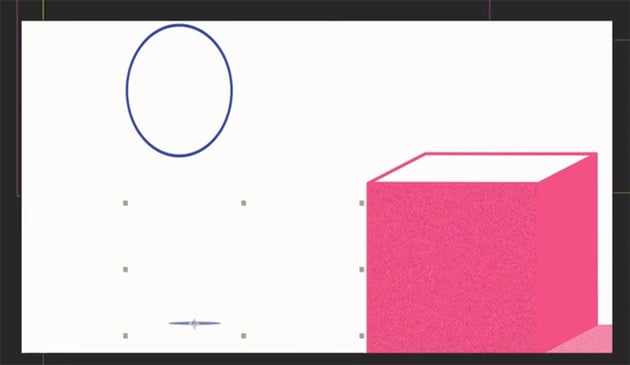
Then we just need to make the corners rounded instead of sharp (Contents > Shape > Stroke > Round Join), and fill in the front and side of our box with the same pink color (leave the top unchanged).
Adding effects
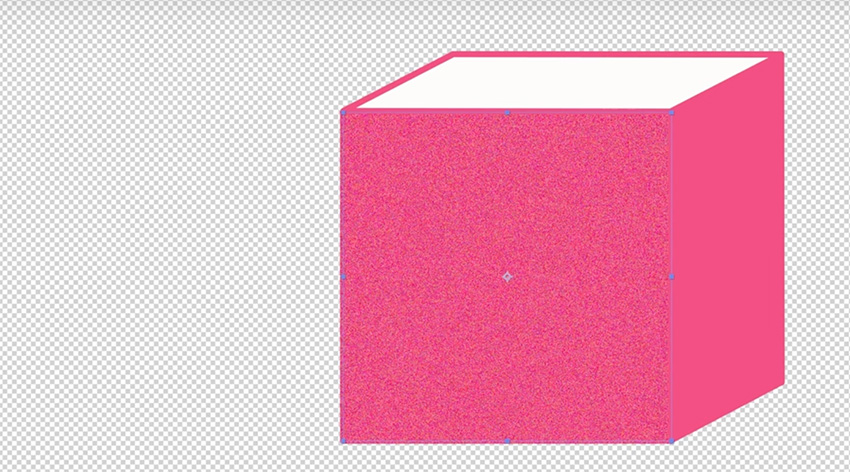
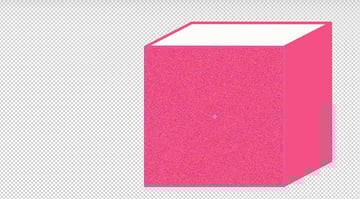
Now, let's add our first effect. On the right-hand side, go to Effects and Presets and choose Noise. Bring that effect onto the box front, choose 50%, and we've got a nice noisy layer.
Now, I also want to create a shadow with the same noise effect. So use the Pen Tool to draw out a shadow extending beyond the edge of the frame.

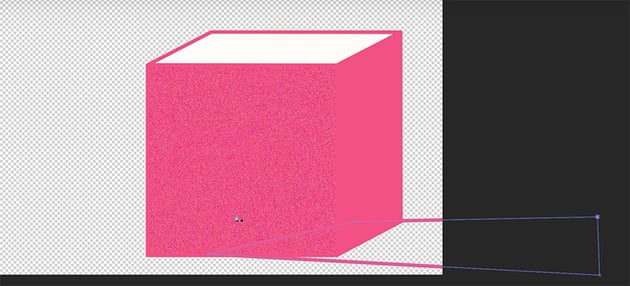
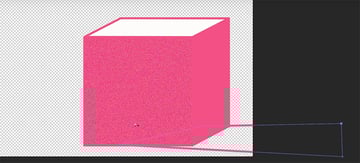
Then fill it with pink and add the same noise effect, with an Opacity of 70% to make it look a bit faded, like a shadow. And obviously, we need to bring that down to the bottom of our layer stack.
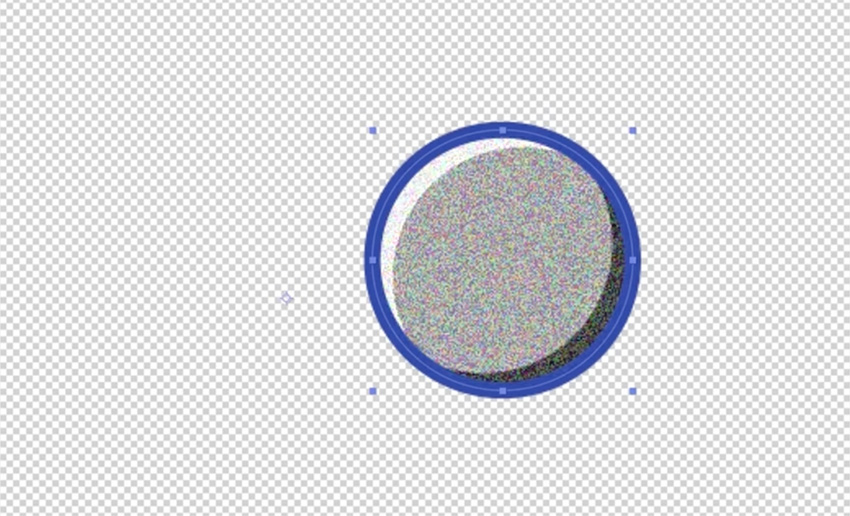
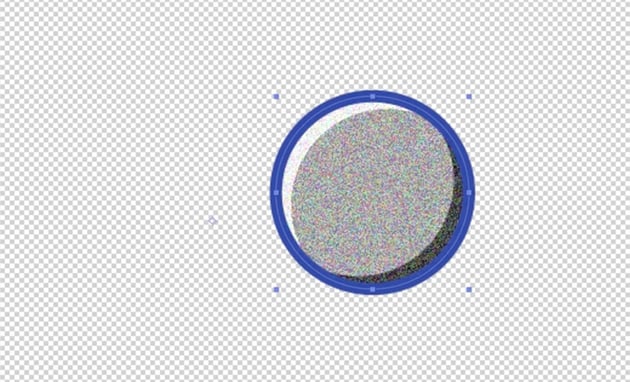
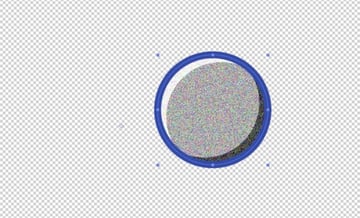
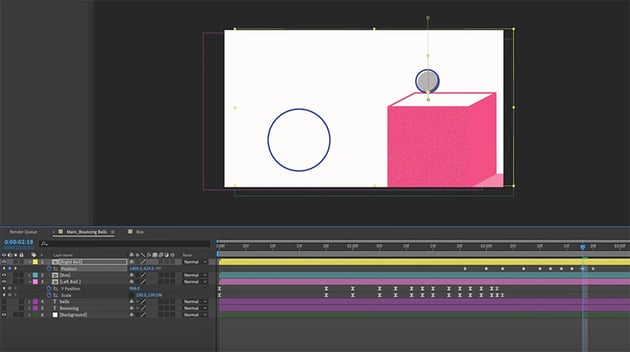
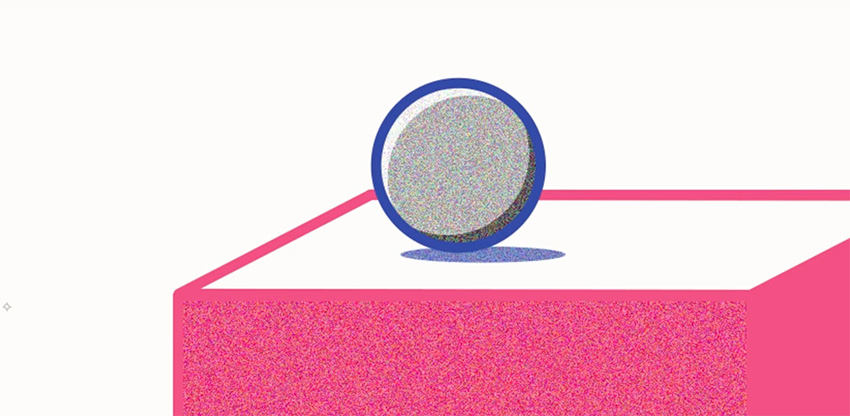
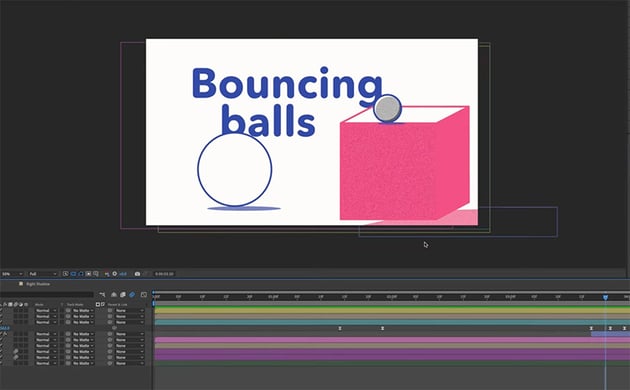
Now let's add the same noise effect to our smaller ball, and we'll also add an Emboss effect to make it look metallic.
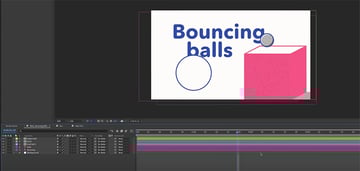
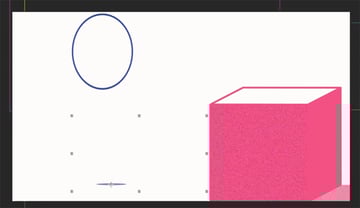
Now we just need to move things around a bit to keep the composition balanced, and here's how things look now.


Motion templates for further learning
Envato has the broadest range of artist-created assets, and with one subscription, you get access to all of them. We're talking millions of assets, including 70,000 After Effects templates.
"You're going to learn all the basics for getting started in After Effects in this tutorial, but if you want to close that gap between the basics and some top-tier professional work really quickly, don't be afraid to jump in and customize these templates. It's a really useful way to learn."
Let's deviate from bouncing balls for a second, and I'll show you how quick and easy it is. Want to make a cinematic title? Go over to Envato, head to Video Templates > After Effects Templates, and look for a movie title.
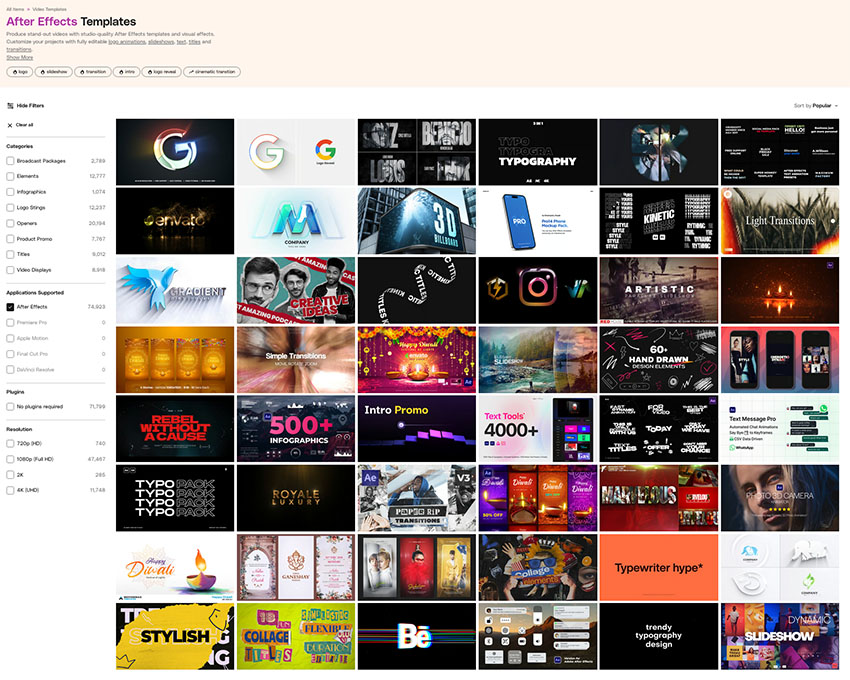


Download one you like and bring it into After Effects. All the templates are very well laid out and easy to follow if you have a basic understanding of how After Effects works.
All you need to do is change the text, soften the effects a little, and add some footage underneath. For that, we'll go back to Envato and grab an animated illustration template. Drag your footage into After Effects, drop the opacity, and you've got a title that you can render out, all created in about two minutes.


Now, imagine what else you could create with all of these templates and a bit more time. Learn more about Envato and sign up today by clicking the link below.
Animating with keyframes
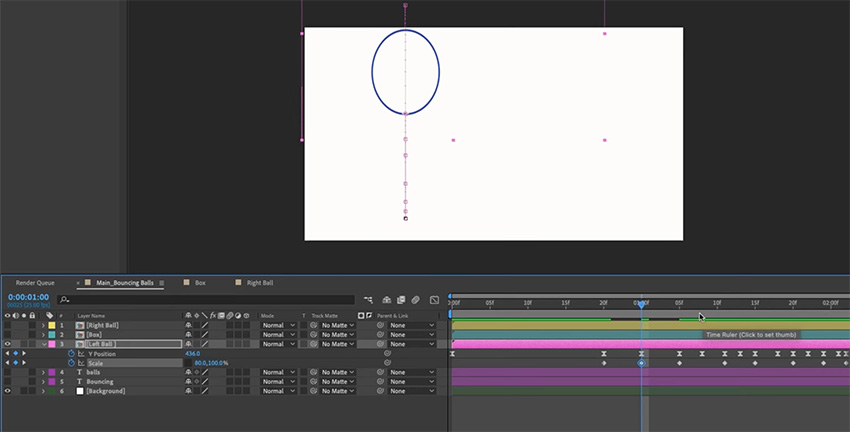
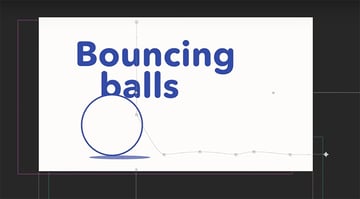
All right, it's time to start animating. Let's begin with the larger ball on the left. First, we need to move the anchor point to the base of the ball, where it's hitting the ground. Then, we need to create our first keyframe to start the animation.
Let's create our first keyframe by selecting the little stopwatch here next to the position parameter, and that will turn blue and drop a keyframe onto the timeline. Add it at around 20 frames. This will be the end of our ball animation.

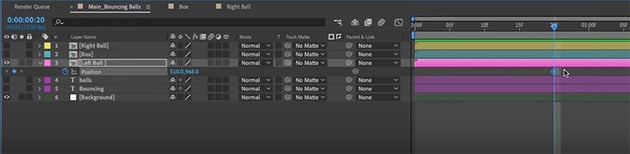

Now, because this position is going to be repeated a number of times through the bounce, we can just copy this keyframe (Command-C) and paste it five times in the middle, with the keyframes getting closer together towards the end.


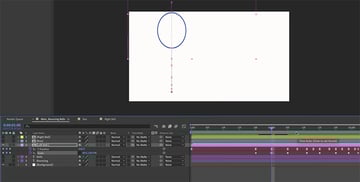
Next, we need to change the position of the ball at each keyframe. So it should start out of frame at the top and hit the ground on the second keyframe. We already have all of the keyframes for the bottom of each bounce, so you can copy and paste keyframes to create the top of each bounce, with the bounces getting smaller and smaller as it goes along. That's how a ball bounces, after all.
We've got the basic motion right, but the animation doesn't look very inspiring. That's because these are linear keyframes, and the ball is moving at the same speed throughout. We'll fix that next.
Keyframe easing
Easing is one way to make the animation smoother. Highlight the keyframes, right-click, and go to Keyframe Assistant > Easy Ease (F9). It looks more bouncy now, but it's still not how a ball bounces in real life.
So let's change them back to linear keyframes, by Command-clicking. Then, we'll use the Graph Editor in After Effects to get precisely what we need. The Graph Editor has a bit of a learning curve to it, but it's a good idea to start using it as a beginner and understanding how it works.
Using the Graph Editor
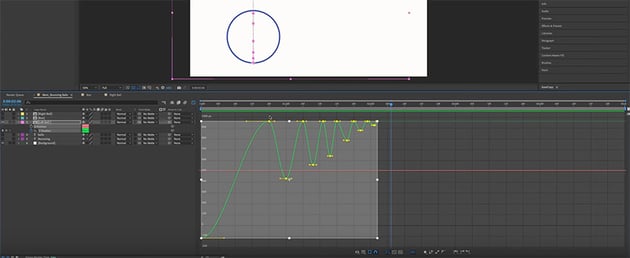
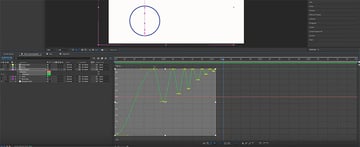
Now, highlight the keyframes and click the little graph icon at the top of the timeline to go into the Graph Editor. At first, we'll get this weird spiky line because these are linear keyframes.


Highlight everything on the graph, and click the Easy Ease button at the bottom. It's going to create that same easing that we did before, and you'll see that the line gets smoother.
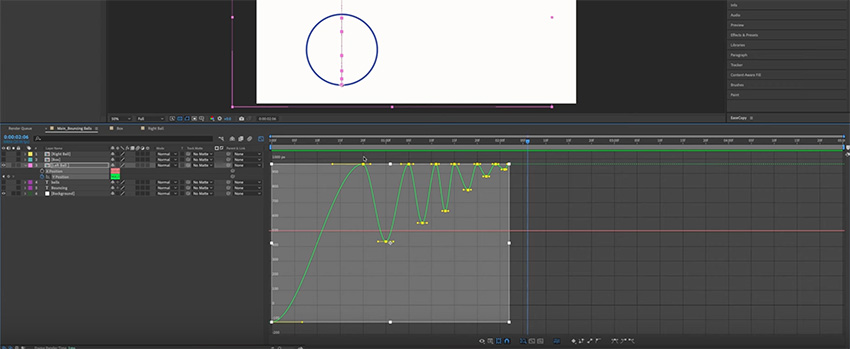
But we want the ball to move faster as it goes down and slower at the top of the bounce.
So let's highlight all the top keyframes, which are in fact the points where the ball bounces on the ground. Hold Shift and drag in to create sharp points. Then highlight all of the bottom keyframes, which are actually the top of the bounce, and loosen them out, again holding Shift.

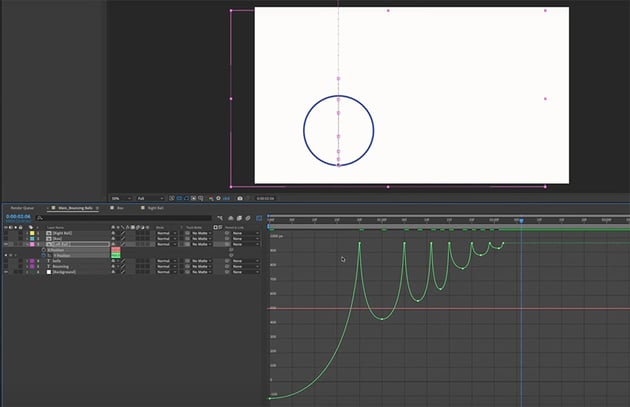
Now, our animation looks a lot more like a ball bouncing.
Squash and stretch animation
To make the animation look even more realistic, we want to create a "squash and stretch" effect. So the ball will stretch as it falls and get squashed when it hits the ground.
So click on the larger ball and hit S to bring up the Scale parameters. By default, they're linked so that the width and height change uniformly, but we want to change these parameters independently, so click the little lock icon to unlink them. Now we can squash and stretch the ball.

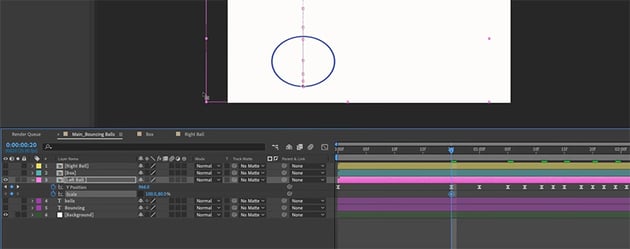

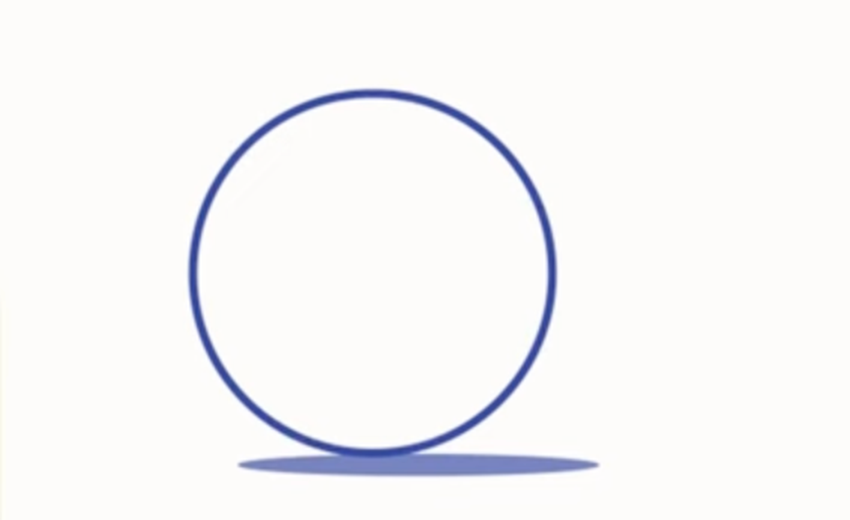
Where the ball hits the ground, change the Height to 80%, leaving the Width at 100%. This makes it look squashed.
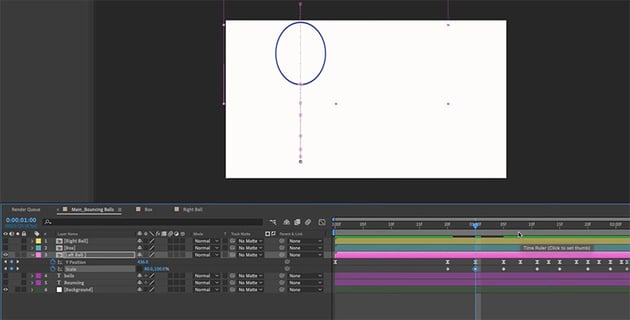
At the top of each bounce, stretch the ball by changing the Width to 80% and leaving the Height at 100%.
Now, if you play the animation, you'll see that it looks more realistic—the ball seems more rubbery, squashing as it hits the ground and stretching at the top. But in reality, the effect would be more pronounced with larger bounces and less noticeable with smaller bounces. So let's change the last two bounces to 95% instead of 80%, and then 90% for the ones in the middle. These little details help to make the animation look more polished.
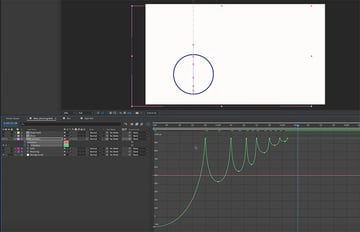
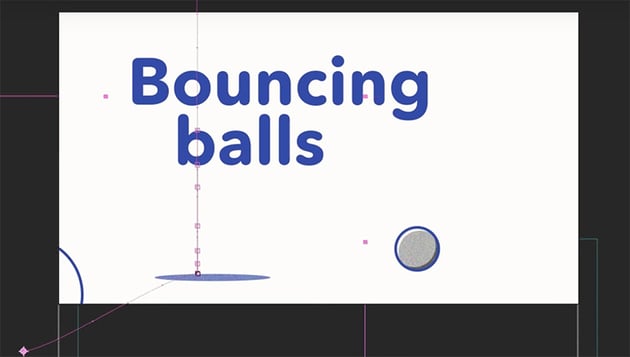
Now, let's use the same techniques to animate the right ball. We want this ball to be harder, though, more like a ball bearing, so it will bounce much less, and we don't want it to squash and stretch. Just create a few bounces, using the Graph Editor to create the same shapes as before. See if you can make this ball look hard and metallic from the way it falls.


Adding shadows
Next, let's add some shadows to really sell this effect.
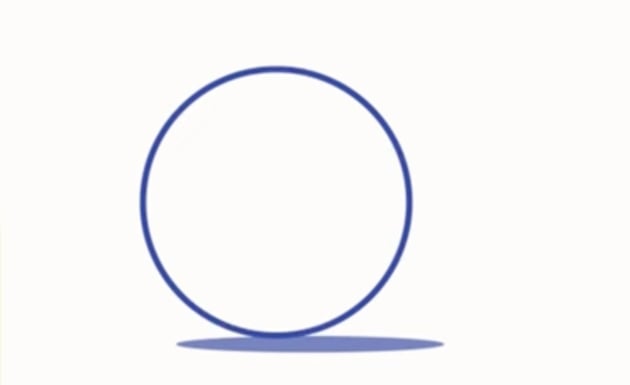
Use the Ellipse Tool to create a narrow ellipse the same width as the ball. Move it below the ball and slightly to the right to match the direction of the shadow we created for the box. Create a precomp to add some noise and drop the opacity as we did before.
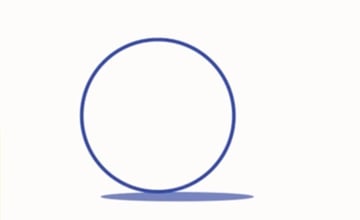
Adjust the Scale parameters for each keyframe to make the shadow much smaller when the ball is in the air and larger as it gets closer to the ground.


Now use the same techniques to create a shadow for the smaller ball on the right and animate it as the ball bounces.
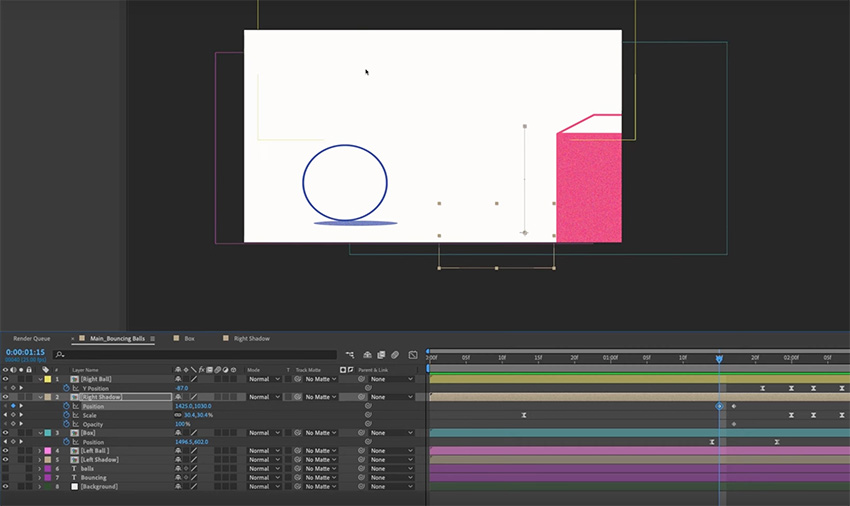
Animate the box
Now, I want the box to move in from the right and catch the smaller ball as it's falling. So click on the box and press P on the keyboard to bring up the Position parameters. Create a keyframe where the box needs to arrive, and then go back to the beginning and drag it out to the right, off the edge of the frame.
This works, but it's a bit boring. It will be more interesting if we make the box speed in and then come to a stop. So let's highlight these keyframes, and go back to our Graph Editor. And instead of using the Value graph, which we've been using up to this point, let's go to the Speed graph.
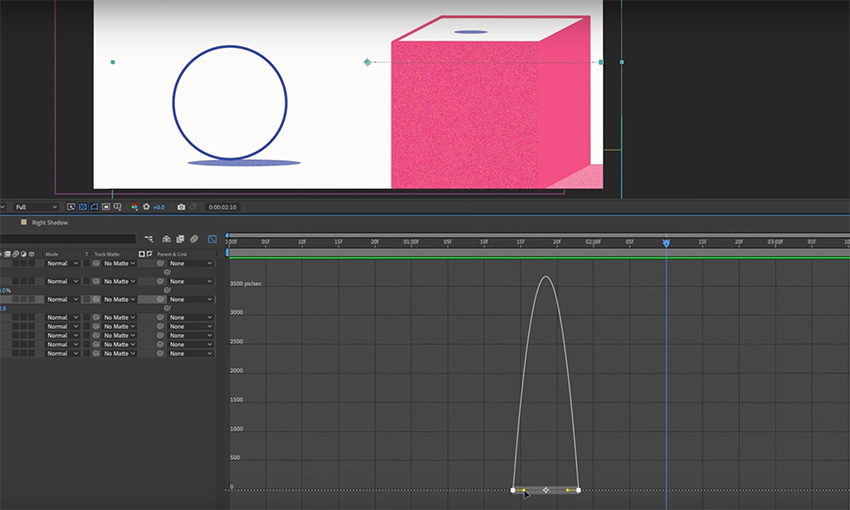
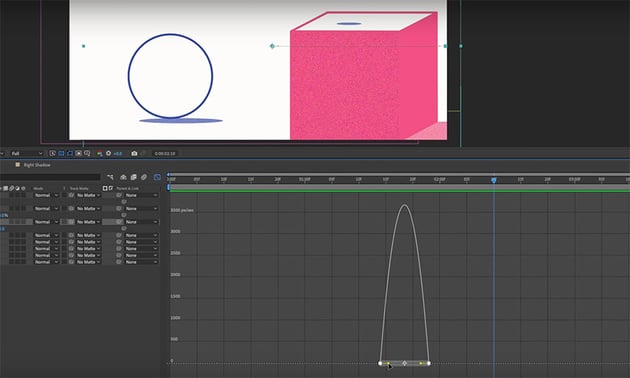

Now we can create a much steeper curve to make it more dynamic.
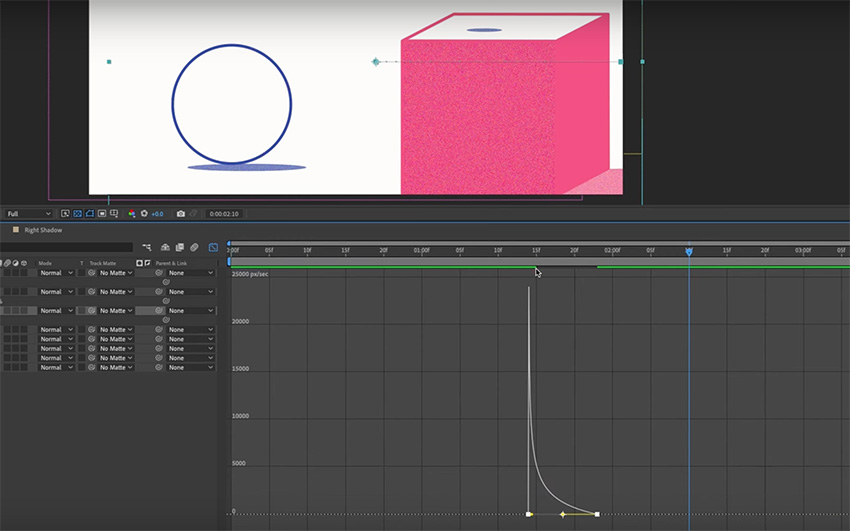
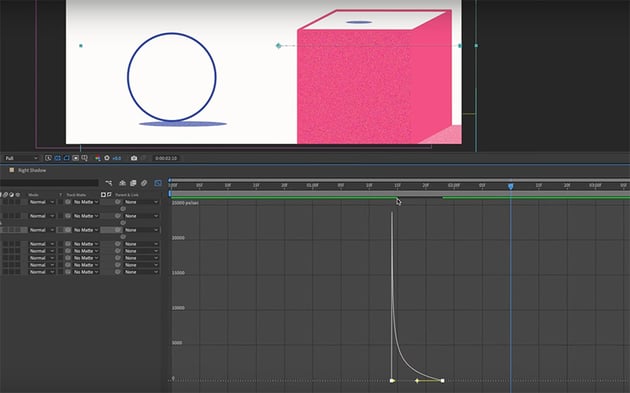

Now, the box comes in really fast and eases in. Perfect. But this box animation now affects the shadow for our bouncing ball. Right now, there's a shadow on the top of the box before the box has arrived!
So we need to move the shadow down to the ground, and make it much smaller because the ball is higher above it.


Then the shadow will disappear for a frame as the edge of the box moves over it, and it will reappear on top of the box.
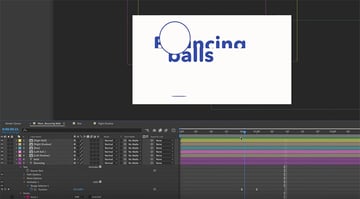
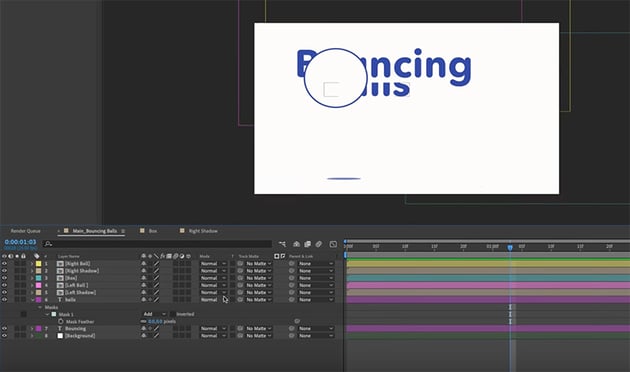
Animating the text
Next, we want to animate the text so that it appears to rise up out of the background. To do that we're doing to use masks.
So let's click on "Bouncing" first and create a mask around it by pressing Command-Shift-N. The mask is denoted on screen by a yellow box. Now we just need to add Position keyframes to hide the text behind the mask at the beginning of the animation and have it rise up in time with the ball reaching the top of its first bounce. And press F9 to add an Easy Ease effect, making it smoother.


Then just use the same process to animate the word "balls".


Splitting timeline clips
OK, we're most of the way through our animation now—all of our elements on the screen have been animated. Now we just need to exit all of these assets from the screen so we can get back to the base state and then make it a looping animation. Feel free to jump into the project files and experiment with your own exit strategies if you want to. I'm going to make the box move up, throw the smaller ball in the air, and have the smaller ball knock the larger one out of the frame and drag the the text down with it.
Because the animation is going to change at this point, we'll need to split quite a few of the timeline clips at the point where the end animation begins.
For example, when we make the box move up in the air, we don't want the shadow to come with it—we want it to stay on the ground and just contract slightly. So we can go into the shadow layer, find the right point on the timeline, and hit Command-Shift-D to split the clip at that point.


Now, we have a separate clip and can move it back down and make it slightly smaller, without worrying about affecting any of the animation we did previously.


Now we just need to do the same thing for the balls and shadows. So split the clips in the timeline and create the end animation for each one.

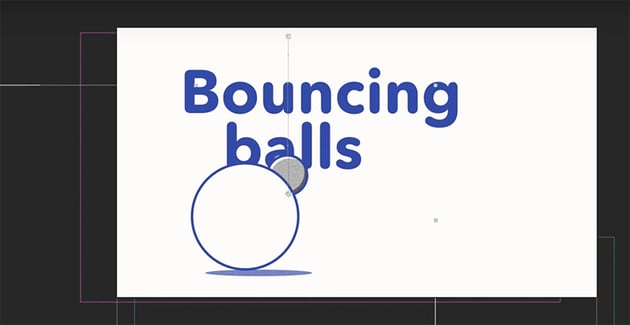
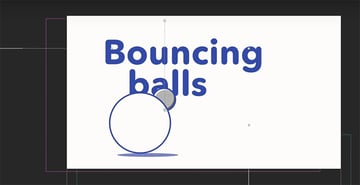
After the smaller ball falls out of the frame, we want it to drop from the left and collide with the larger ball.
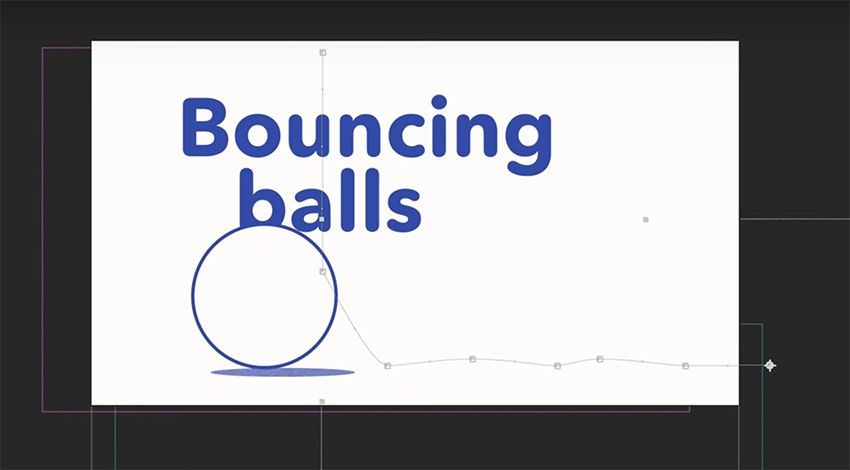

Next, the smaller ball will bounce off to the right, so create an animation path like this one, and remember to take the shadow with it!


The larger ball, meanwhile, gets knocked off the bottom-left corner of the frame.


Again, remember to make the shadow move with the ball. An easy way to do that is to use the Pick Whip to create a parent-child relationship, so that the shadow follows whatever the ball does.
Finally, we just need to animate the text as well. As the smaller ball falls down past it, let's make it drag the text down off the bottom of the screen too. We'll use the same technique of splitting the text clips (Command-Shift-D), pulling the masks down to the floor, and having the text disappear behind them.
Trimming the composition
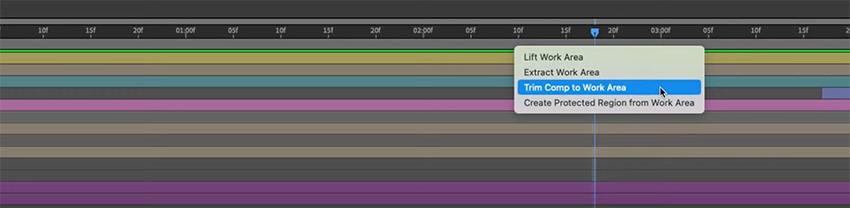
When that's done, we now have a nice looping animation. However, there's a bit of dead space at the start and end, which makes the animation pause slightly as it's looping. What we can do is just position the playhead where we want the animation to start and press B to create the in point, and then find the end and press N to create the out point. Now it will loop seamlessly. To keep things tidy, let's right-click on the timeline and choose Trim Comp to Work Area. And now our composition is the same length as the animation we've created.


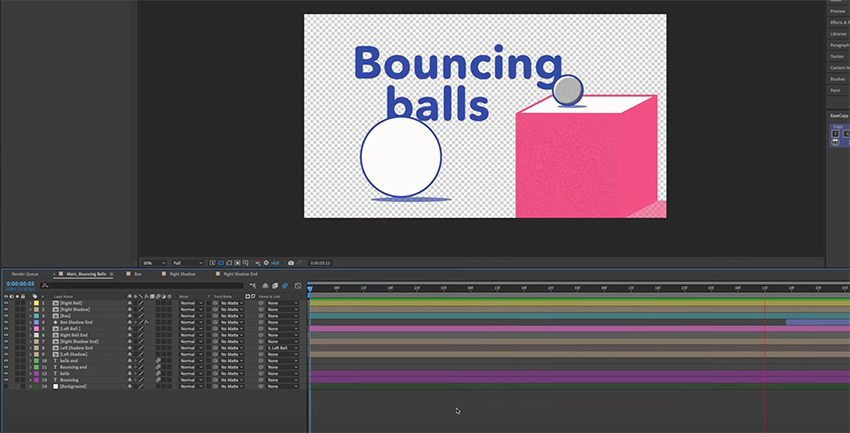
Creating a transparent background in After Effects
Remember how at the very start of the tutorial, we created the background as a separate layer? Now we can see the benefit of doing that. For example, let's say we wanted to render this out without the background and have it laid on top of something else. It's so easy to do now. We can just turn our background layer off, and we get a transparent background that we can drop over the top of any background footage.


Exporting your animation
Now that we've finished our animation, we need to export it from After Effects. To do this, just make sure you've got the composition that you want to export selected in your Project panel. Then go to File > Export > Add to Render Queue. In the Render Queue, you can set the output mode.


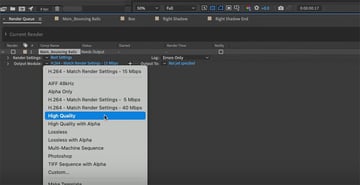
Most of the time, High Quality works best. So choose that, select your output destination, and then over on the right-hand side, just hit Render. That's it!
Congratulations. You now know the basics of After Effects, and you have all the tools and skills that you need to get stuck into creating your first motion graphics by yourself. If you haven't already, make sure to grab the working files for this tutorial, jump in there, and see exactly how I put everything together. You can start to pull it apart and customize it to your taste, and that will help reinforce the things that you've learned here. Why not start by changing out the colors and fonts for this animation?
Learn more with our free After Effects tutorials on Envato Tuts+. Here's a small selection to get you started:


 After Effects: How to Make a 2D Photo Into a 3D Video


 How to Make a Talking Avatar With Cartoon Animator and After Effects

 20 Best After Effects Showreel Templates (Free & Paid, 2024)

 How to Quickly Loop a Video Clip in After Effects


 How to Quickly Cut & Split Clips in After Effects

 How to Create CRT and VHS Looks in After Effects
And we have more in-depth courses just like this one over on YouTube. Here are some great ones to watch next: