
 Lessons: 13Length: 1.3 hours
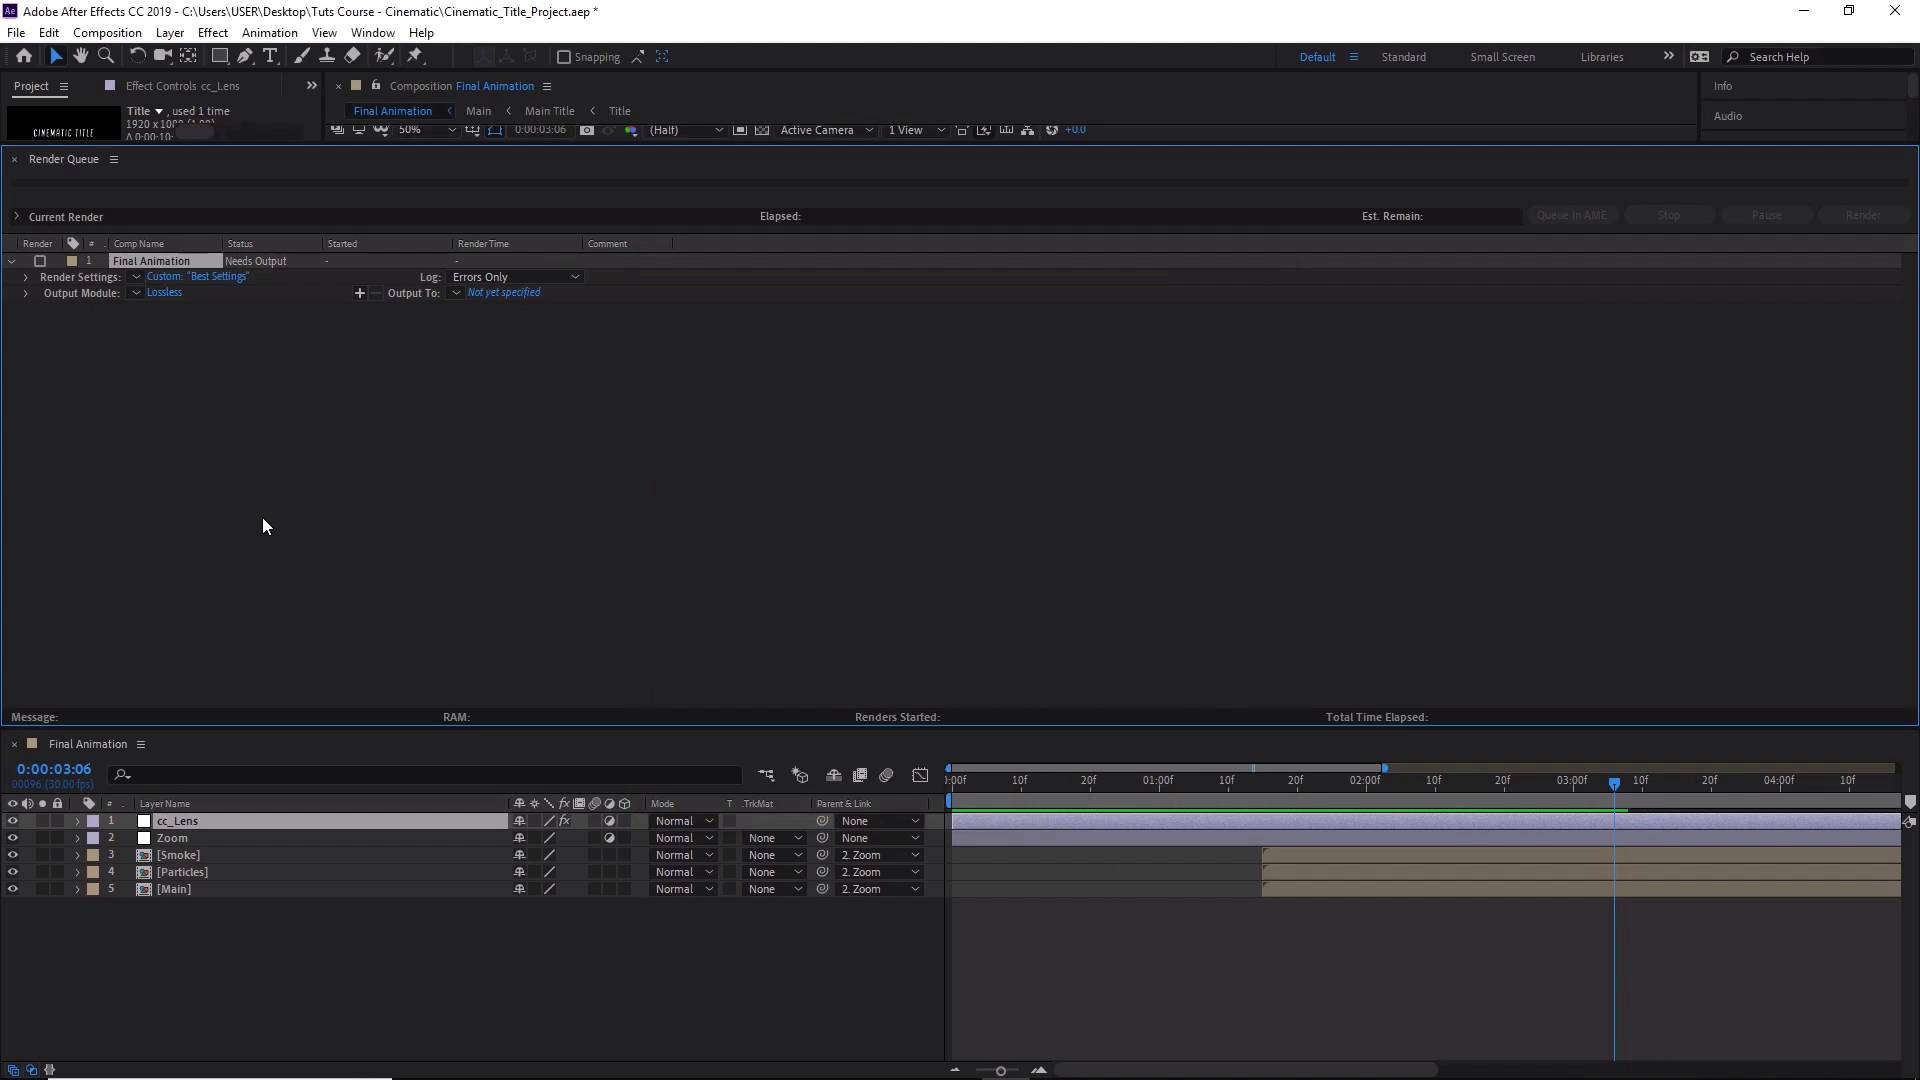
- Overview
- Transcript
4.3 How to Render Your Video
We’ve almost reached the end! In this lesson, you will learn how to render a video in Adobe After Effects.
1.Adobe After Effects Tools
1.1Welcome to the Course00:44
1.2Adobe After Effects Setup04:31
2.Cinematic Text Animation
2.1How to Animate Text08:07
2.2Adding Lighting and Shadow Effects11:54
2.3Adding Lighting Effects to the Background06:05
3.Creating Atmosphere
3.1How to Create Light Streaks06:55
3.2How to Animate the Light Streaks08:36
3.3Creating and Controlling Particle Effects11:12
3.4How to Create and Animate Atmospheric Smoke08:46
4.Final Touches
4.1How to Create a Quick Zoom Animation06:22
4.2How to Change Text01:36
4.3How to Render Your Video01:52
5.Conclusion
5.1Conclusion00:45
4.3 How to Render Your Video
Hi everyone and welcome back to how to create a cinematic text animation in After Effects. In this lesson, we'll learn how to render our completed animation. So make sure the correct composition is selected. In this case, our final animation is inside this composition here, final animation. So go ahead and click the rest of the comps here. Now let's go to Composition and then Add to Render Queue. Here you can make some adjustments to the render. Just simply click on Best Settings here, and you can change the settings like the resolution or just to create a different size than the original video that we created in our composition. For now we'll just keep it at the original resolution of 1920x1080. The next thing you'll want to do is click on Lossless. And here you can change the format of the video. So you can see that we've got different formats here to change into. So simply select the format that you want, then click OK. Excellent, now you want to select the output of your video, so let's click on that and you can select where you want your animation to be rendered. Click on Save. And now, once you've done that all that's left to do here is to click on the render button and wait for the final render to finish. So that's it for this tutorial, in the next lesson we'll go through the conclusion of the course. See you all there.


