
 Lessons: 15Length: 1.8 hours
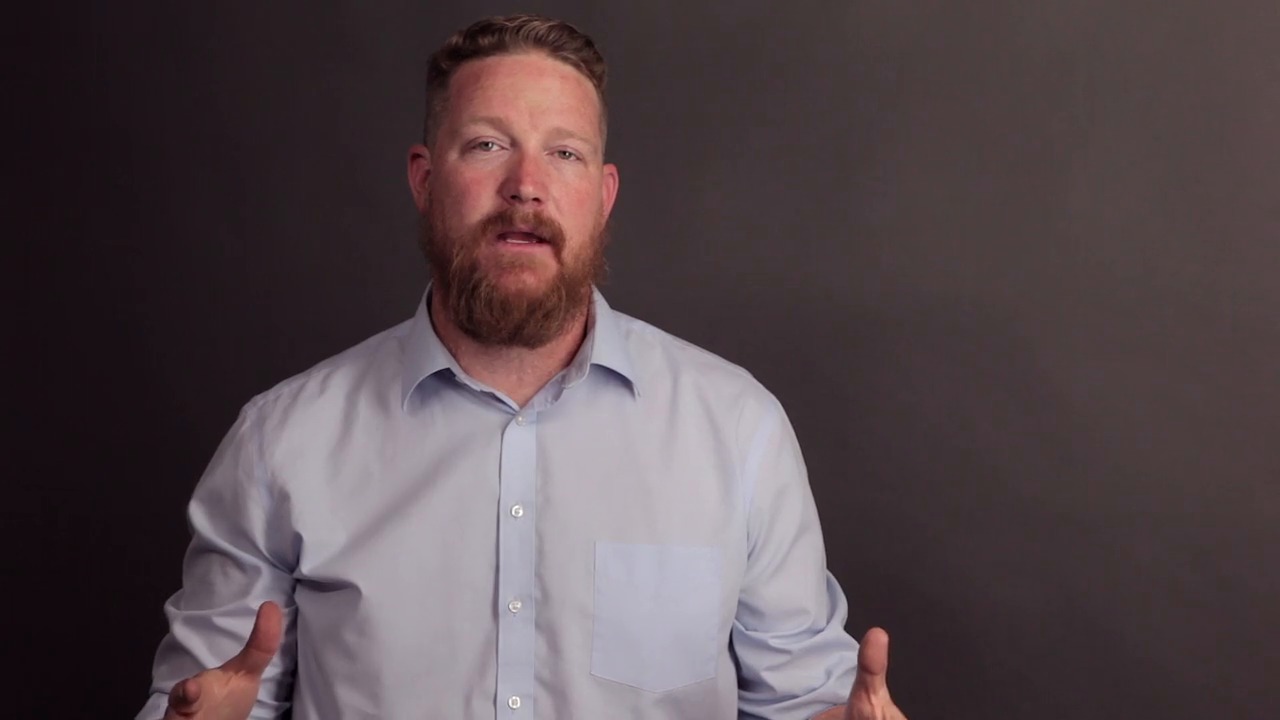
- Overview
- Transcript
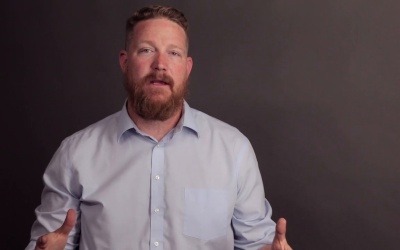
4.1 Natural Light
In this lesson you will get a glimpse of me in action as I use a natural light setup, and you’ll learn why it is my favorite headshot setup when it comes to simplicity and speed.
1.Introduction
1.1Introduction01:49
1.2What is a Headshot?02:37
2.Getting Started
2.1Actor Headshots09:13
2.2Corporate Headshots09:05
2.3Anybody Headshots03:26
2.4The Business of Headshots09:35
3.Basic Skills and Equipment
3.1Equipment09:22
3.2Second Nature04:52
3.3People Skills08:11
3.4Personal Style12:32
4.Make the Shot
4.1Natural Light12:25
4.2Studio Light06:47
5.Post-Production
5.1High-Volume Processing06:01
5.2Retouching10:24
6.Conclusion
6.1A Look Back00:37
4.1 Natural Light
Hi, I'm Scott Jansen. Welcome back to Headshot Photography. In this lesson, we're going to be going behind the scenes of an actual actor's headshot session. And in this session, I'm going to show you the easiest way to get started shooting headshots, by using just a window to provide natural light. Also in this section, we're gonna be covering a commercial headshot. So let's jump right into the action. Hi, welcome to my living room. This is Shane, and he's an actor and we're gonna be shooting some headshots for him. We're gonna be shooting some commercial headshots for him and some theatrical headshots for him. Basically the main point of this video is to show you how you to use the space that you are given to get great headshots. This is just my living room. I literally, just moved my coffee table out of the way and opened up the windows and now we are sitting here ready to shoot. Basically all you need is a window. You can use a small window, if you have it. The biggest window that you have is probably the best. It's also a good idea to have a tall window, because you want the light to be coming down on your subject a little bit, you don't want it coming up or straight in. For me, my window's not very tall, so that's why we're sitting on stools, just to kind of bring our levels down a little bit. It would give us a prettier, more light coming down, which is more natural than what we're used to. So the other thing we want to do is just kind of show you what it feels like to interact with your subjects, just to kind of get some emotion out of them. We're going to be shooting this first part as commercial headshots, so we want to be really smiley, really happy. So, I'm just gonna kinda jump right into it and really quickly though, my camera's already set so I've, maybe just shot a couple of test shots and Boom. I like that, I like where my settings are. So, I'm not gonna be looking at the back of my camera and chimping. And being in this world, what I need to be doing is living in this world with Shane and need to be interacting with him. Cuz even when I'm behind the camera, I want him to feel like I'm a person and not just a camera. And if I'm always doing this, then it's almost like he's kinda left out of the whole thing. So really quickly, Shane, we're gonna be going for it now. So just go ahead and look right over here at me. All right, perfect. All right, so for these commercial shots, we want really, shiny, happy people. So, I'm gonna try to make you laugh, okay? [LAUGH] I just have to look at you. Yeah, right? [LAUGH] This is a good time to tell jokes if you got jokes. Luckily, I'm just funny looking, so. [LAUGH] If you can't get your person to laugh, one of the best things to do is just laugh with them. Ask them to laugh with you and then just start laughing. It's pretty amazing how contagious laughter is and how they kind of can't help but at least look like they're smiling a little bit. So go ahead and look right over here. Then I'll just laugh with you. Ha ha ha. [LAUGH] Perfect. All right. So we're getting a lot of great emotion right here, a lot of great expression out of Shane. The key right now is to make sure you're shooting a lot because while he's actually laughing, I would say maybe 60 to 70% of the shots are actually gonna look bad because they're those kind of in between things where his eyes are kind of closed or they look a little too goofy. It's really right as he starts to laugh and right as he stops laughing. That's where the real gold is in the expression. So, make sure you're shooting a lot. We're shooting digital, so make sure you have enough cards to just shoot a ton of pictures and then you can go back and find those really good ones. So let's do it one more time. There you go. [SOUND] [LAUGH] [SOUND] Perfect. [SOUND] [SOUND] All right. [LAUGH] Okay so I think we got some great shots. And so usually what I do at this point in the shoot is me and Shane will go sit down. And I will load up some of these images on the laptop, and we'll take a look at them so that we can kind of see where we're at. And I want him to be happy before we move on to our next look, which is probably what we'll do if we're happy. One thing is you want to make sure that you do have some good images because the worst thing you can do is go and sit down and look through them, and then basically feel crushed that either he's not doing a good job as a subject or I'm not doing a good job as a photographer. You want to keep shooting till you know you have at least some really good images in there, some strong ones that are usable. Usually I shoot until I think I'm actually done and I don't need any more. So, that's what we're gonna do right now, we're gonna go take a look at some of these images, and if everything's good, and if we feel like we've got you know, five or six shots that will really work, then we'll probably just do a clothing change and do our next look for this head shot session. You ready for that? Yep. Awesome. Okay, so that's just a quick look at how a commercial head shot actually comes together. At this point, I'll usually take my client to the computer, and we'll look through the images together to find some great ones. I basically show them all of the photos of small thumbnails first, and we spend some time seeing which ones really stick out from the rest at this level. Then we go through those that stuck out and we look at them larger. Within a few weeks the client usually gets back to me on which one they liked best and I usually then retouch that photo and give them the final file. For other clients, and what I like best is, if we can pick a single favorite from each look during this time. I love this idea because it gives me closure and it allows me to finish off the shoot right then and there, instead of it hanging over my head for a couple weeks, wondering when they're going to get back to me or something like that. In this next section, we're going to be moving on to the next look in Shane's headshot session. We'll be using the same window in basically the same light, but with just a little tweak, we'll create a little more drama to get a theatrical headshot. So, let's see what that looks like. So, I think we got some really good shots. I think we've got some keepers and so we've decided that we can move on to our next look. And this is our next look. And like I talked about earlier, for a lot of people, changing looks kind of just means changing clothes. And so we've got Shane in a new shirt, but really, changing looks means changing the attitude of the photo a lot of times. And one of the ways to do that is with the way you light it and the way you have your actor posing, and the expressions you're getting out of them. So the first thing that I've done is I've taken Shane who was sitting right about here when we were shooting our earlier session, window light was hitting him straight on, we were basically getting light coming from all around me and falling onto him. Really flat but really flattering lighting. What we've done now is just move him over in this direction, and now the light is coming from the window across his face. And so we have a shadowed side over here and we have a lighter side over here. What that's gonna do is create a little bit more drama in the image. So let me just grab a couple really quick shots and show you kind of what that looks like compared to the other ones. Okay, so that lighting looks great and as you can see, there's a big difference from where we were to where we are now. The reason that we've made this change is that now we're shooting a theatrical head shot. And the purpose of this head shot is not to sell yourself as a commercial actor, but to sell yourself as a professional actor who can work in movies and tv, and a big part of that is kind of leaving that smiley, laughy face behind, and kind of moving on to just a more nuanced expression. And so we're gonna kind of work through that with Shane. Shane's definitely a professional, he's done this many, many times and he knows kind of the different looks. But you might have to do some coaching to help your subject get some different looks. So I'm just gonna kind of give Shane some of that coaching, even though he's got it pretty much nailed down. So we'll start here. [NOISE] All right. [NOISE] That looks good, Shane. [NOISE] Every person that I work with, I try to get them used to my rhythm. I usually take two shots at a time, so it'll be click, click, click click. And they'll usually kinda pick that up too and that'll give Shane the opportunity to kind of switch between little bitty moves between the shots. So let's go ahead and keep going, there'll be a [SOUND] click click, and then you can change a little bit. [SOUND] This gets us going in a really fast succession of photos and let's us get a lot of different little looks and little micro-expressions. Go back to where you were just now where you had the head that way. Perfect. All right. So we got a lot of great little shots in there. One of the things that you can do, if your subject doesn't know exactly what they're doing, and they're kind of making some weird head movements and stuff like that, is you can kind of coach them with your hand. I talked about this in the earlier lesson, so let me show you how we do that. All right. So, we'll start here. Okay Shane, you're gonna pretend like my hand is like a suction cup that's suctioned to your face, and I'm just gonna kind of move your head around. I can move it in and out and around. And that way, we'll just get really good shots, and then that allows me to keep looking through my camera. [SOUND] All right. I'm gonna have you move your head this way. Perfect. [SOUND] Come back just a little bit, [SOUND] and then down just a little bit, perfect. [SOUND] Back this way. [SOUND] Perfect, so actually I am going to have you move your head out, kind of over in this direction. [SOUND] All right. [SOUND] Perfect, so you see how that works? It just allows you to keep looking through your camera and kind of be giving direction, it's really easy. One of the other things we talked about was kind of mirroring for you subject. You can have them, face you and just do the things that you want, but then your camera's gotta be down low. The last thing I want to do really quick is just do a couple of shots from a lower angle on Shane. So we're gonna kind of do more a tough guy look right here. So Shane, by moving down, we're gonna make him look stronger and a little bit more intimidating. And so I'm gonna shoot from down here. And then I'm gonna also get some of that expression out of Shane so I just want you to kind of be a tough guy with me. There we go. [SOUND] Perfect. [SOUND] That looks great. [SOUND] All right, I think we got some great images there. I'm not so sure that Shane could really pass as a bouncer. He's a little bit too much of a nice guy looking guy. So I think the shots we got at the beginning will probably be a little more usable for him. But it's just to kinda show you that with just some subtle changes, you can really change the look of your actor. And you can really change how you would market his image. And so at this point in the shoot, we would probably go and look through some of these images again. I feel like we've got some really good theatrical shots in there. And then once we figured out that we've got a couple of good ones with that, we would change into another outfit and do a different look. Maybe we would go outside, or we'd set up some lighting. We would do something to change things up and give us a different look. But at this point, I think we're all done. You feel pretty good about it? >> Feel good. >> Awesome. Ok, so that gives you a pretty good idea of how easy it is to get started in headshot photography. Of course if this was a full actor session, it would take much longer, and it would include several more looks. Sometimes I will just stay in the living room and change things up a bit, but kind of keep the same look. And other clients, I will actually take them for a walk around the neighborhood and maybe get some different looks from some different environments. In this next lesson, I'm going to show you my mobile studio setup, which I use to get simple consistent results when I'm shooting high volume corporate head shots.


