Lessons: 6Length: 57 minutes
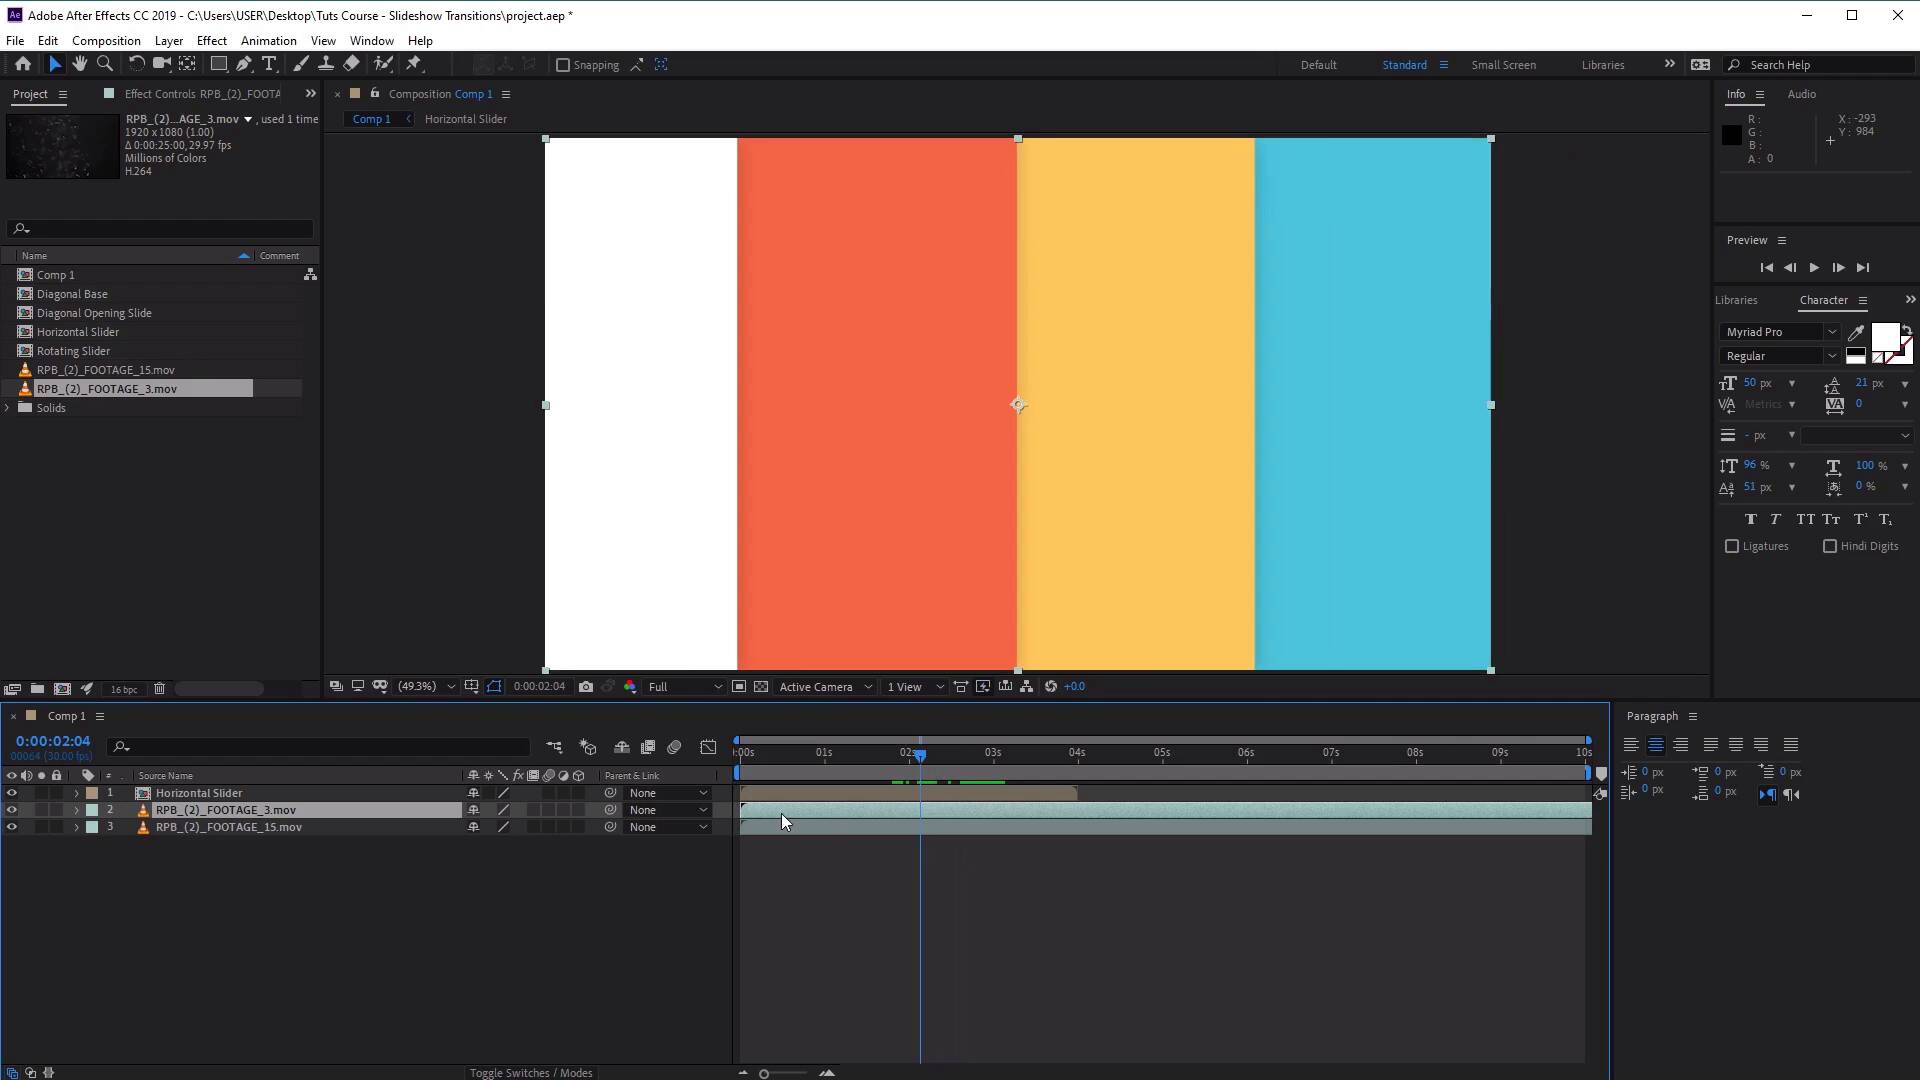
Next lesson playing in 5 seconds

Cancel
  • Overview
  • Transcript

4.1 How to Add Footage to Your Slideshow Transitions

In this lesson, you will learn how to download and add footage from Envato Elements. We’ll also go through what we’ve learned in the course, and I’ll give you my final thoughts on the process of creating all these slideshow transition animations. Thanks for watching!

Useful Resources

1.Introduction
1 lesson, 00:51

1.1
Welcome to the Course
00:51

2.After Effects Slideshow Templates
1 lesson, 08:22

2.1
How to Use After Effects Slideshow Templates
08:22

3.Slideshow Transition Styles
3 lessons, 39:55

3.1
Horizontal Transition
16:04

3.2
Rotating Transition
10:03

3.3
Diagonal Transition
13:48

4.Finishing Touches
1 lesson, 07:46

4.1
How to Add Footage to Your Slideshow Transitions
07:46


4.1 How to Add Footage to Your Slideshow Transitions

Hi, everyone, and welcome back to the modern animated transition course. In this lesson, we'll learn how to download and add footage from Envato Elements. Now to get our background footage for our animation, we're going to use Envato Elements. But feel free to use your own footage if you have them, and then follow along as we add our example footage to our project. So let's begin by going to the Browse button here and hovering over it, and then clicking on Stock Video. Here you'll be able to browse through all the different stock videos on the websites. We can also further refine our search by clicking on the Show Filters buttons here, like so. However, as we know exactly what type of video we're looking for, we can bypass this and go straight to the search bar. And then making sure that stock video has been selected in the items here, we can go ahead and type in real particle bundle, like so, or real particles bundle, and then click on the Search button. Awesome, now we have a whole list of results that we can use as our example footage. So let's go ahead and click on the one that you like most. I'm going to go ahead and choose Real Particles Bundle 2, Heavy Particles. And then click on the Download button here. Once you've downloaded the video, it's time to head back into After Effects. Back in After Effects, we have our slide transition animation ready and waiting for our footage to be added. Now to do this, simply go to File > Import File, and then we want to navigate to the folder containing our footage. So let's go ahead and select our video and then click Import. And then once it's in the project, it will be found in the Project panel here, like so. Now let's go ahead and create a new composition. So go to Composition > New Composition. And then make sure that the width and height are the same as our slider. So 1920 by 1080 with a frame rate of 30 and a duration of 10 for now, and then click OK. And I'm just going to go ahead and close our other compositions so that we've only got our new composition here, like so. And then now from here, all we have to do is click and drag our footage from our Project panel into our new composition, like so. And you'll see we've got our footage inside the timeline, like that. And then from here, we want to add our transitions. So choose which transition you want to use. So let's go ahead and choose our horizontal slider, click and drag it, place it on top of our footage, like so. And you'll see that our slide is working nicely on top of our footage, excellent. Now if we have a second footage that we want to transition to, all we need to do is click and drag the secondary footage on top of our first footage. Find the halfway point of our slider. Now you'll see that our slider gives us plenty of time to transition to the next footage, so let's go ahead and just find the halfway point of the slider, like so. Click and drag the secondary footage to that point. And then as we scrub forwards in our timeline, you'll see that the secondary footage has now been revealed, excellent. Now, again, we can also add more transitions into our composition. So say, for example, we wanted to add the rotating slider. Let's click and drag it into our comp, move it forward in the timeline to where we want it to be. And then again at the halfway point of our slider, let's go ahead and add a third footage here. So I'm just going to duplicate one of these, place it on top of our layer, and then move it to the halfway point like so. And then you'll see after that, it will be revealed after our second slider has finished. Now, whenever we want to add more sliders and footage, it's important to remember to keep all these sliders groups together. So if you wanted to add a new slider, like so, just click and drag it on top of our sliders here, like so. And then just go ahead and drag it further in the timeline. And the same for our footage as well. So whenever we add a new footage, so let's say this is our new footage here, just make sure you click and drag it to the very top of the stack containing our footage. And then drag it forward in our timeline, like so. So you'll see here, we don't have quite enough seconds for our third slide, so just right-click here, go to Composition Settings, and let's go ahead and add a few more seconds to our timeline. So let's change it to maybe 20 seconds, like so. Let's zoom out of our timeline a little bit. And then again, we want to find the halfway point of our slider. Slide our footage to the halfway point. Again, making sure it's at the very top of where all the rest of our footage is. And again, making sure the transition, or the new transition, is at the top of our previous transitions. And then everything should work nicely. So here we've got our first transition, our second transition, and then finally, our third transition. Excellent, and you can continue to add on top of that, if you wish. So with that, we've come to the end of how to create an animated slideshow transition in After Effects course. Now that you understand the basics of how to create a slide transition animation, you can experiment with different ones of your own. Such as using different colors, different directions, and adding different types of footage. I hope you've learned a lot in this demo and that you can apply these skills to your own work flows. I hope that you've learned some new things in After Effects that you haven't been able to use before. And that you can use them to create your own future animations and designs. I had a lot of fun creating this course, so thanks for watching. Good luck creating your own modern slide transitions, and I'll see you next time on Tuts+.

Back to the top