
 Lessons: 6Length: 57 minutes
- Overview
- Transcript
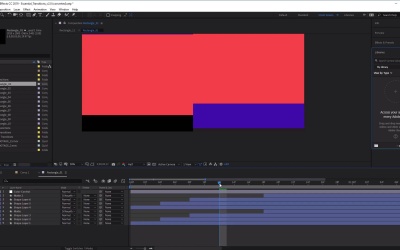
2.1 How to Use After Effects Slideshow Templates
In this lesson, we will go through how to download, set up, and use the After Effects transition templates available on Envato Elements. This will act as an introduction to the animations which you can then learn how to create from scratch in later lessons.
Useful Resources
1.Introduction
1.1Welcome to the Course00:51
1.1
Welcome to the Course
00:51
2.After Effects Slideshow Templates
2.1How to Use After Effects Slideshow Templates08:22
2.1
How to Use After Effects Slideshow Templates
08:22
3.Slideshow Transition Styles
3.1Horizontal Transition16:04
3.1
Horizontal Transition
16:04
3.2Rotating Transition10:03
3.2
Rotating Transition
10:03
3.3Diagonal Transition13:48
3.3
Diagonal Transition
13:48
4.Finishing Touches
4.1How to Add Footage to Your Slideshow Transitions07:46
4.1
How to Add Footage to Your Slideshow Transitions
07:46


