
 Lessons: 7Length: 32 minutes
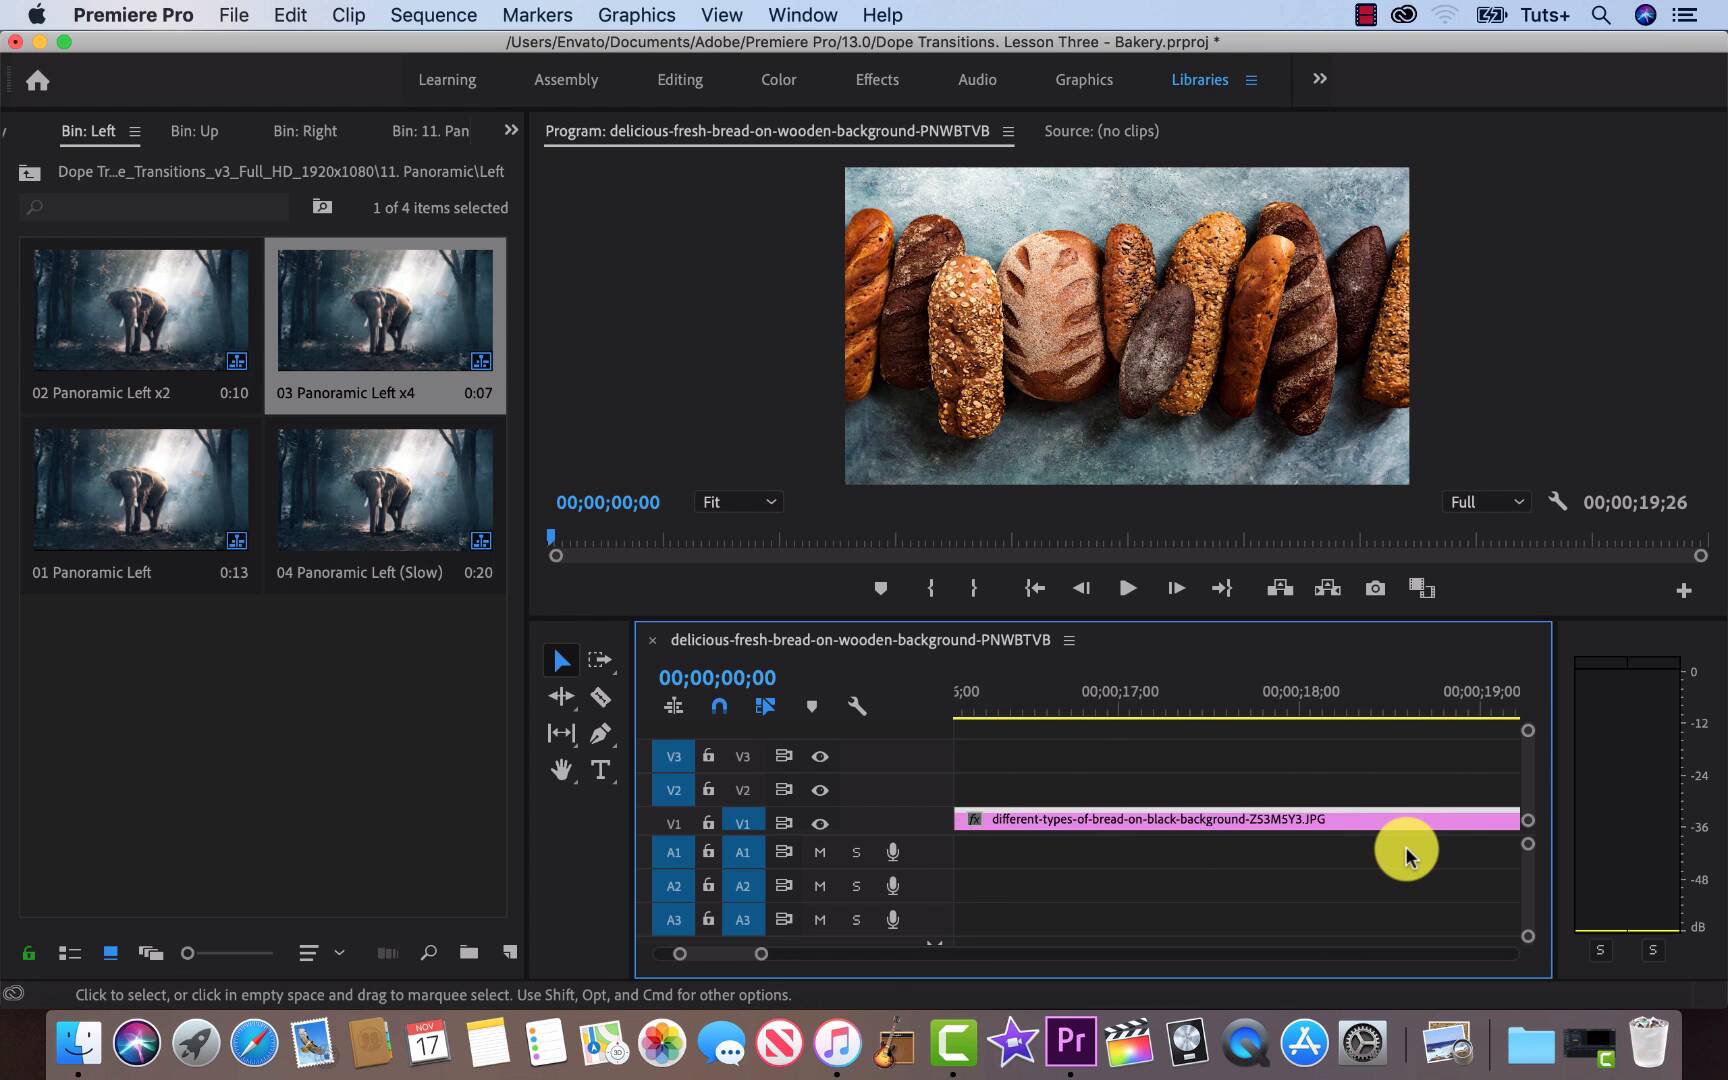

- Overview
- Transcript
4.1 Master Dope Transitions
Dope Transitions is a giant template pack with so much to offer. With Adobe Premiere video transitions, we often think about the final product and not the steps we take to get there. In this lesson, you'll learn how to use a template pack to showcase ideas easily and efficiently so that you and your clients can quickly get on the same page.
Related Links
1.Introduction
1.1Introduction00:30
2.How to Add Transitions in Premiere Pro
2.1File Management02:53
2.2Downloading Dope Transitions01:29
2.3How to Use Dope Transitions10:37
3.Using Dope Transitions to Elevate Your Instagram Videos
3.1Using Instagram Transitions in Premiere Pro06:21
4.Master Dope Transitions
4.1Master Dope Transitions10:03
5.Conclusion
5.1Conclusion00:32
4.1 Master Dope Transitions
[MUSIC] All right so we are back in Premiere Pro and this time we are creating a slide show using Dope Transitions. And the first thing that we are gonna talk about is Sequence Settings. So we are in a 19 by 20 by 1080 sequence. We are gonna be adding in a photo that has a 4k resolution and showing you how to fix that. And so let's go into Sequence Settings show the 1920 by 1080. You can change your Sequence Settings at any time you like at the beginning of opening any project you have the option to set your Sequence Settings. Also premiere has a great function that the first clip that you drag in, it will register as that sequence. So let's drop this 4k image in. And that's what it's supposed to look like. You'll see four loaves of bread, but we see this one giant central loaf. So to fix this, we can go and right click on the image. Like so and go to Scale to Frame Size just at the bottom. And perfect but sometimes when you do this, there'll be a black bar on the left hand side and right hand side or sometimes they'll be on the bottom or at the top. So if this happens, we can actually just change the image size by going into the original Photograph and resizing it there. So let's go into, let's close that show it again wherever it is, so Tuts+ lesson three, bread and go up to Tools, adjust size and we want to adjust this 4000 Down to 1920 and we wanna click off Scale Proportionally it won't let you do it if you're not, and obviously you can do this in Photoshop or any free software. This is what I like using because it's simple and keeps the workflow going quickly. So this will happen in will automatically change the settings into Premiere Pro. And we'll just demonstrate that, so we can delete this and load it in again and you'll see that it is now already sized up and ready to go. Okay, so let's bring in Dope Transitions into this project. You can either right click or go up to File and Import, but I accidentally clicked Adobe dynamic link. And we're just gonna cancel this and go back to File and Import a 1920 by 1080 template. And you can use whichever one you enjoy, so Import. And you want to Import the entire project, and you wanna create folders for imported items. Sometimes when you do this, you'll find that you are missing clips. And all you have to do is go down to the bottom right-hand side of this pop-up where it says Locate. Click on that and then find your template where ever it is on your computer. In this case it's Desktop under Adobe transitions and you can just search the entire folder. Click OK and Premier Pro will do the rest. It is a great feature. The best thing about using slideshows as an example is that it's free form. There's no right or wrong way to use transitions. In this case, it's to your style and to your preference, and it's a great way to go through the transitions pack just to see which ones you like the most and you can bookmark the ideas and for future reference, but you don't have to worry about whether or not an object is moving left or right or spinning, you can just do as you please. So I'm thinking we should create a box effect. So a right Up left and down using the panoramic. So let's click on that. Let's get a right one and I wanna use the x4 speed. But first things first, I have to go down to the bottom because there's not enough space to see and you can just drag this cursor over and maximize your view. You can go back to drop that in. So it's a little hard to add things when you can't really see the transitions being dropped in. So just change the view by scrolling down the bottom to give you more access. And then place that up. And now we need to go back and get an up transition from the Panoramic. And this time as well we'll use the x4 speed. Scroll over, and drop that in, sweet. And for the third transition, it's gonna be a left. Okay, so we're gonna drop that in to finish up our third transition suite and let's go over. Okay, so I've missed the fifth image, so we have the space to do the fourth transition. A bit of an oversight on my part, but actually it's not a big deal. It happens to the best of us. So let's go back into one of our bins with all of our footage and check out our options. I'm thinking the vertical one so we can use it as an excuse to resize. Let's bring it in. And you'll notice that there are two giant black bars on either side because it does not fit. And it's also yeah, it's just doesn't fit so we have to open up previous Preview. Select the image that we are trying to adjust. Go up to Tools, Rotate left or right, whichever you prefer this case, right. And let's go back into Tools and see our resolution to make sure that it's 1920 by 1080, it is great and Premier will have updated this all on its own, sweet. Okay, so let's drop in our last transition. Go over Panoramic down and finish it off with x4 speed. Let's adjust the view so we can see everything at a glance. Just about, perfect. And then we're ready to go so we can go up to play and see what we have going. [MUSIC] And to be honest it's like I wouldn't be upset as that being the end but let's delete these and check out the glitches. It's a template that definitely it doesn't suit this style. But like I said in the beginning, it's really helpful to have still images in a slide show to experiment with what we like and figure out what we don't like. That's really an important thing is just knowing what your preferences are. So let's go through these and see if we can find one that has a color palette that we enjoy. And I think I found one. So let's make this bigger again so it's easier to switch up and let's drop them in. While we go through the glitch transitions to see which one we like. It's kind of important to mention that templates have a purpose other than being used in a final product. Sometimes, we're having a client or an employer that has a suggestion that we don't agree with or we don't think that makes any sense and we don't wanna put through a hard work into crafting an original transition. So a template can be used to at least have your employer heard so you can show a rough idea of what something would look like. It's a really handy thing. And it's a really respectful way to work with people, instead of saying no and hard walling them. So imagine working for a bakery and they hand you these photographs and they're like, hey, can we throw some glitch effects onto this in your initial responses Holy molly, I do not wanna do this. This is clearly gonna get axed at the end. But instead you can just say yeah, sure, of course and show them and let them see not everyone is as visual as ourselves, and that's okay. And it's good to be able to show your work. Anyways, templates are fantastic for brainstorming. Anyway, so let's delete these and move on. With that PSA out of the way we can check out another transition and I would like to check out the Zooms. They are fun and they are easy to use, this entire template package from is so user friendly. There really is no hiccups, only sometimes, just placing something down and that's just your fault. But the way this is organized, the way that it's made to use. The fact that you can use any resolution with it t's pretty friggin fantastic. So let's drop these in and get to where we are going. [MUSIC] This is the last lesson in Dope Transitions. Make sure to check out the conclusion, to see what else and vital elements has to offer.


