- Overview
- Transcript
3.4 How to Animate the Sky and Clouds
The sky and clouds are a crucial part of the painting we’re working with. They combine to add light and depth to the scene. We’ll animate the passing clouds extremely slowly (for realism) and to help the scene change almost imperceptibly over the course of five minutes.
1.Introduction1 lesson, 00:45
1.1Welcome to the Course00:45
2.How to Prepare Your Digital Painting1 lesson, 04:02
2.1Prepare Your Painting in Adobe Photoshop04:02
3.How to Animate a Painting in Adobe After Effects5 lessons, 29:19
3.1How to Animate Grass09:50
3.2How to Animate Sunlight03:34
3.3How to Animate Atmospheric Particles09:27
3.4How to Animate the Sky and Clouds03:49
3.5How to Add a Music Track02:39
3.4 How to Animate the Sky and Clouds
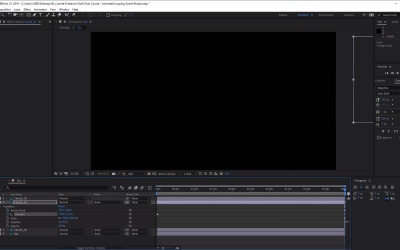
Hi everyone, and welcome back to the animated landscape painting course. In this lesson, you'll learn how to animate the sky and the clouds. So let's begin by opening up the Sky compare by double clicking on it. And here you'll see our cloud layers and the sky layer. And we're just going to go ahead and hide both of the cloud layer and the sky layer for now, just so that we can concentrate on one cloud at a time. Now to loop this Animation, we need to duplicate our first cloud layer. So select this and then press Ctrl+D on the keyboard to duplicate it. Let's go ahead and hide the duplicate count for now. And from here, what we're going to do is at the start of our timeline, just open up our cloud layer here. Move to the very start of our timeline. We're going to add a position key frame here, like so. And then from here, we're going to move all the way to the very end of our timeline. Now you'll notice that this Animation has a longer timeline compared to the rest of our Animation. So we're going to need to do what we did previously, which is to right-click on our comp. Go to Composition Settings, and then just change the duration to 5 minutes. Like so. Then once we've done that, we can move all the way to the very end of our timeline, which is now set to 5 minutes. And then just change the position of our cloud, Until it reaches the very right of our screen, like so. And this will add a key frame here. So if we scrub back and forth on our timeline, we'll notice how our cloud now moves from the left to the rights. Now we want to do the same with our duplicate cloud, except this time, we want it to move from the left to the right and go back to the original position from our first key-frame, just so that we can loop it. So let's go all the way to the end of our timeline. Let's hide our first cloud. And once to create a key-frame here for the position, like so, so it ends in exactly the same position that it begins or at least our first cloud begins. And now let's go to the very beginning of our timeline and change this position so that it is to the very left of our screen, like so. And this will create a keyframe here. So now you'll see it moves from the left to the right, which is the first keyframe of our first cloud. So now you'll see, that if we play this animation here, it should loop quite smoothly to the next Animation, like so. Excellent. And if you wants to have more clouds in the sky, just simply repeat that process for a another cloud, and there we have it. In the next lesson, we'll learn how to add a music track to our Animation. See you all there.


