
 Lessons: 7Length: 34 minutes
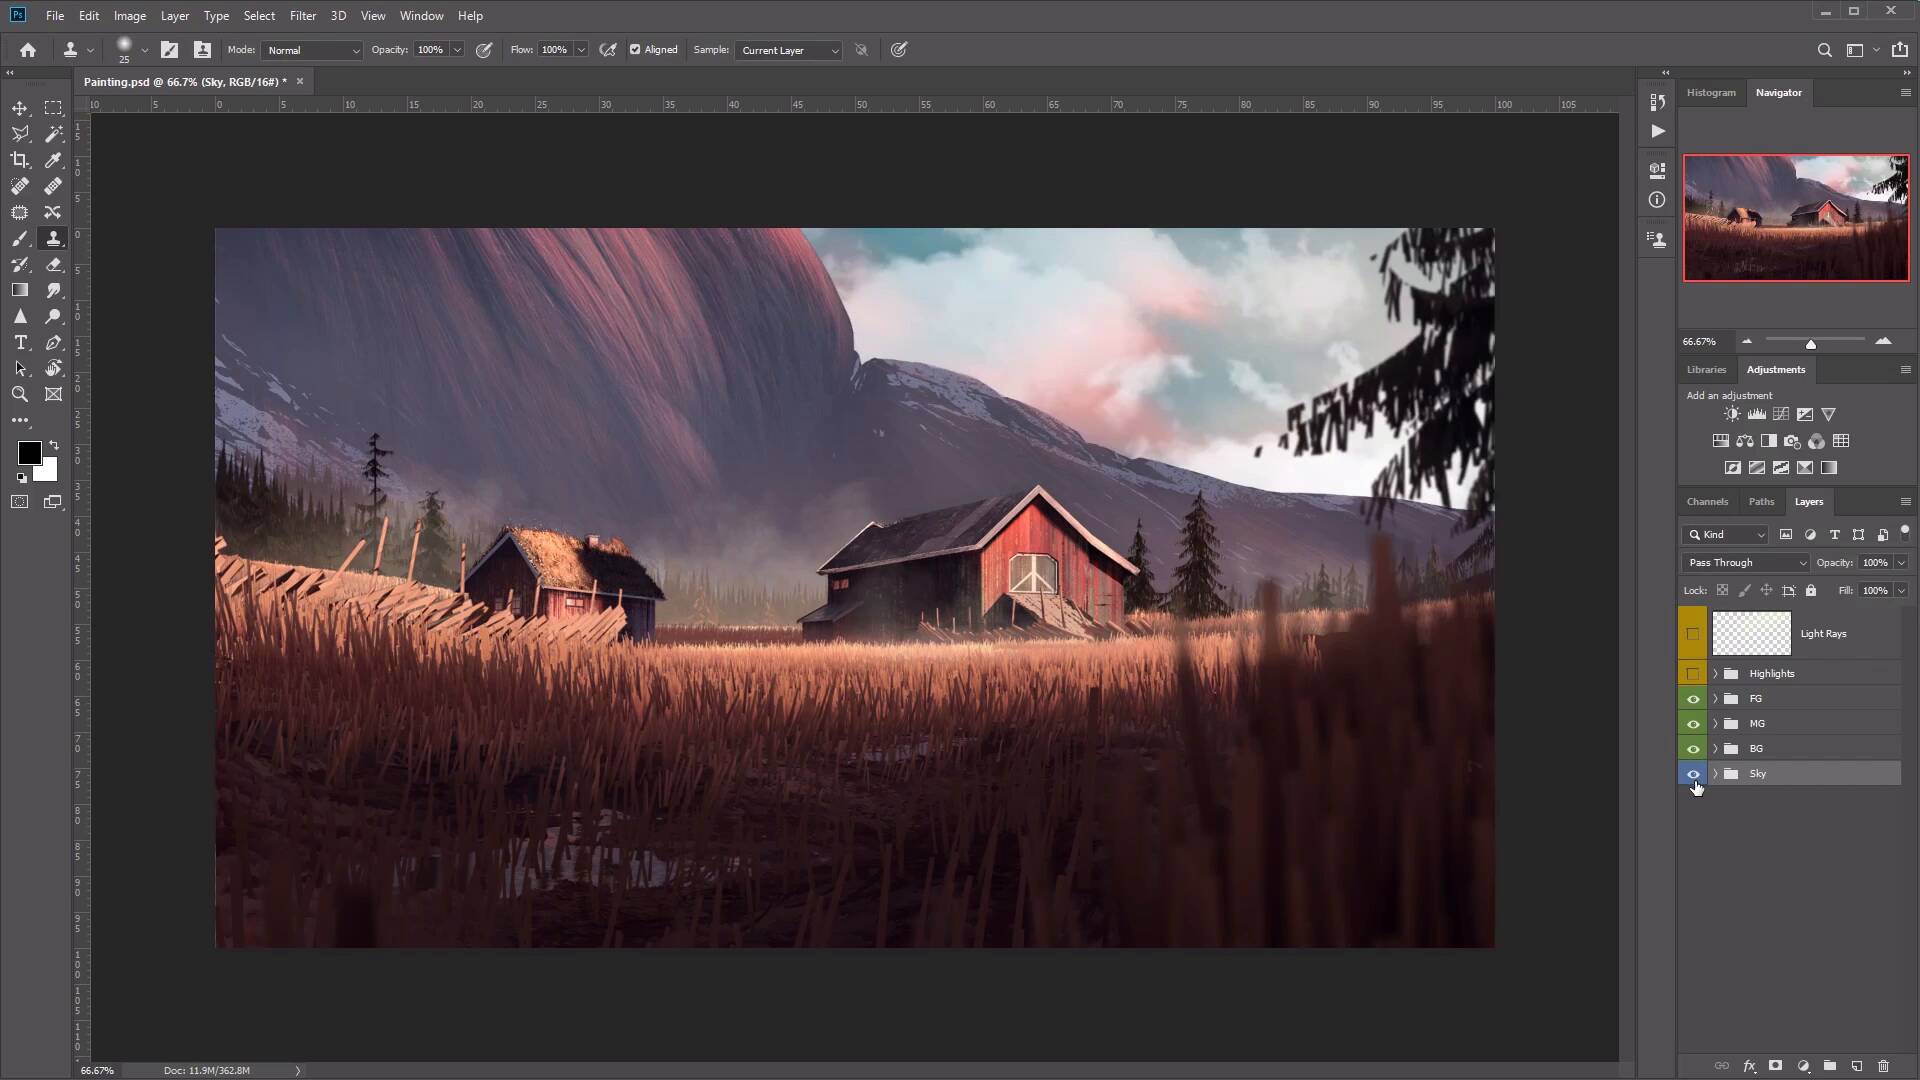
- Overview
- Transcript
2.1 Prepare Your Painting in Adobe Photoshop
In this lesson, you'll learn how to prepare your painting in Photoshop. We’ll talk about workflow and organizing layers. Then, once your digital painting is ready, you will learn how to import your file into Adobe After Effects.
1.Introduction
1.1Welcome to the Course00:45
2.How to Prepare Your Digital Painting
2.1Prepare Your Painting in Adobe Photoshop04:02
3.How to Animate a Painting in Adobe After Effects
3.1How to Animate Grass09:50
3.2How to Animate Sunlight03:34
3.3How to Animate Atmospheric Particles09:27
3.4How to Animate the Sky and Clouds03:49
3.5How to Add a Music Track02:39
2.1 Prepare Your Painting in Adobe Photoshop
Hi everyone, and welcome back to the animated landscape painting course. In this lesson, we'll learn how to prepare your painting in photoshop. So when preparing your painting or environment, it's important to split up the image into elements that you plan to animate. So looking at this particular painting here, you'll want things like the grass to move and sway with the wind. Other elements that will give life to the painting, maybe more subtle. So things like the smoke and clouds in the background, and even the sunlight here will have its own layer. So let's take a look at the layer panel here, to see how this is done. I find the best way to lay out your layers, is to imagine you're removing elements of the scene starting from the foreground. All the way to the background. So let's go through these by switching them off one by one to see how it all works. So starting with the light race, if you see how I switch these off, how this affects the scene, like so. I've also included the highlights with the light, right? So you can see how the light rays affect things like the grass, the buildings and the mountains, just to add a little bit more detail to the lighting effects. So let's go ahead and close these. Next we have the foreground. Now you'll notice here how I've labelled these folders according to what I mentioned before. So all the foreground elements are placed inside the first folder, which is named foreground, the mid ground elements in the second folder. And the background elements in the third folder, called background here. And now also here we've got the final folder called the sky for the sky and the clouds. These have all been colour coded, just to make things easier as well. So let's go ahead and open up the foreground folder here. And you'll see that we've got things like the tree to the right here. We've got the foreground across, and some more grass layers. Now, these have all been separated, so that they can be animated individually. The more layers of grass we have, the more natural and alive are painting is going to feel. So let's go ahead and close our foreground layer. Next we have our mid ground. Now these consist of more grass layers here like so. And also the houses and some smoke. Let's go ahead and close this. Now we have the background layer, which again has more grass for us to potentially animate. And also things like the trees and the mountain. Then finally, we have the sky. Now for the sky and the clouds, you'll notice how a significant portion of the clouds is actually covered by the mountain. Now it's important that we need these hidden parts of the cloud, so that we can animate them. And a good way to test this is to emulate the animation, by moving the clouds like so, from side to side. Like this, excellent. So now that we have a better understanding of how our environment and layers are constructed. Let's go ahead and head over to the next lesson, where we'll go into after effects and animate them. See you all there.


