
 Lessons: 9Length: 50 minutes
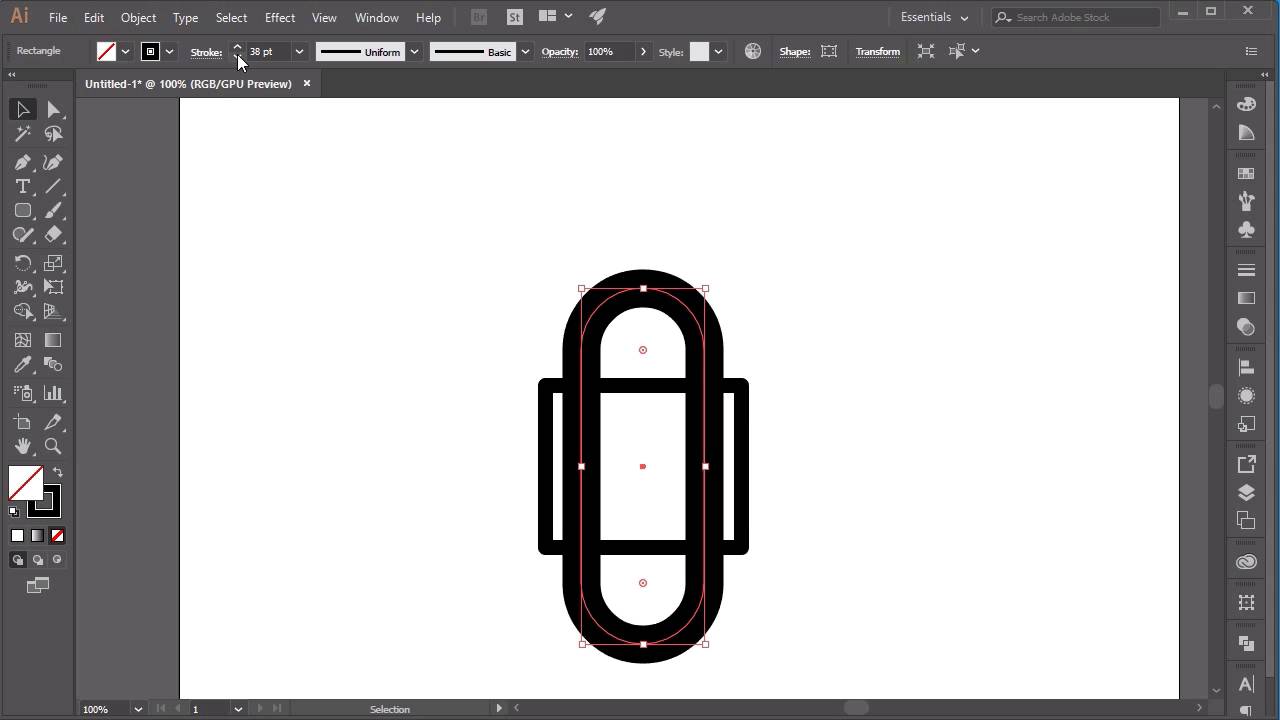
- Overview
- Transcript
2.2 Designing the Icons
In this lesson you will learn how to create the basic shapes for our icons in Adobe Illustrator. I will also explain the thought processes behind the animations and how this will affect our vector files.
1.Introduction
1.1Welcome00:31
2.Icon Design
2.1Illustrator Setup06:55
2.2Designing the Icons10:42
3.Animate the Buttons
3.1Importing Into After Effects03:50
3.2Animate the Mail Icon11:50
3.3Animate the Lock Icon05:31
3.4Animate the Shop Icon04:31
3.5Exporting the Buttons04:34
4.Conclusion
4.1Conclusion01:11
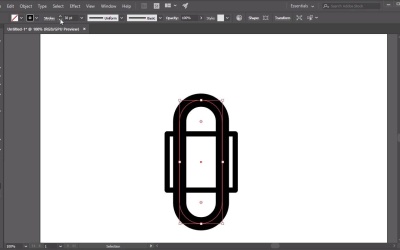
2.2 Designing the Icons
Hi everyone, and welcome back to the animated icon course. In this lesson we'll be creating our icons using the tools described in the previous class. Now, before we start designing our icons, it's important to keep in mind exactly how these icons are going to be animated as this will affect the way that we create them. So, for example, if we were to create our mail icon, it would be easy enough to just create a rectangle, and then go over to create our Star Tool, or even our Pen Tool, and just create this triangle here, and then manipulate it with our Direct Selection Tool. And there we have a mail icon. However, we want the animation to follow a single path, which means we need the icon to be created using a single line. So let's just get a rid of this icon that I've created here. And, in fact, we can still use the base of this. So let's move this along here. Make this a little bit smaller. Now, in order to create a single line from this icon, all we need to do is go to our Add Anchor Point Tool, click on top of the path of the line that we wanted to remove, and then using our Direct Selection Tool, click on the anchor point and click deletes. So now we have a single path which is following from the left. So if I just move this over here, so it's a little bit clearer. So moving from our left all the way down, and then moving across at the bottom. Now, if we were to click on the Pen Tool, we could continue our path by clicking on the anchor point, and then clicking up. So, I don't want to click on the actual path, as this may affect the design. And then clicking across, and then back up again. And then using our Direct Selection Tool. So just clicking A on the keyboard, or clicking the Direct Selection Tool here, we can start manipulating these anchor points so that they can start lining up with each other. So let's go ahead and make sure that these are in line. So make sure that's in line with the center. Now with this one let's continue the path. So I'm going to create the top part of the envelope here. Then using the Direct Selection Tool again, just moving them back into their correct place. Making sure this is in the middle. Let's see if I can make sure that's in the middle.. Hold shift and then just move up. So there we have our mail icon. And you can further manipulate this by using the selection tool here, and just sort of moving across like that. Excellent. So the next thing that we want to do from here is to make sure that this icon is aligned into the center. So again, using the Alignment Tool, make sure that your icon is selected. And then just click on Horizontal Alignment and Vertical Alignment. And that ensures that our icon is perfectly in the center of our canvas. Excellent. So I'm just going to create a new layer here. So let's name this layer Mail. Going to create a new layer, and we're going to go and create our lock icon. So name this Lock. Gonna hide the mail icon, make sure that the lock layer is selected. And let's go ahead and create our lock icon in exactly the same way as how we created our mail icon. So I'm just going to use the Rectangle Tool to create the base of our lock. And again, the same thing as what we did before. Removing this side of the square by using the tool here, which is the Add Anchor Point Tool. Then using our Direct Selection Tool to remove it. Then our Pen Tool to continue the line. And then moving it just up here, so that it connects again. So that's our base of our lock. The next thing that we want to do is create the top lock here. So the way that I'm going to do this is using the Rounded Rectangle Tool. So I'm going to create that part of the lock here, moving it into place. And what I'm going to do is. In fact, let's do that again as that was a little bit too wide. I want it to be a bit thinner, like that. Move it back into place. And now, I'm going to make the stroke about, let's say About 40, 40 looks about right. Now, what I'm going to do now is making sure that this shape is selected. We'll go to Object and click Expand. Make sure that Fill and Stroke are selected. And what this does is it creates a new shape out of our stroke. So now, what we need to do is swap the fill and stroke. And now we've got two strokes here which makes up the top part of our lock. What we need to do now is make sure that this stroke is set to 15 points, and delete the anchor points that we no longer need. So deleting the anchor points at the bottom here, and then just moving these anchor points up so that they're in line with our lock. Now we can actually select all four anchor points at the bottom here. And making sure that they are all selected we can move all them up at the same time. Perfect. So now, the only part of the lock we need to create now is the actual lock inside the middle itself. So let's make a shape out of this. So I'm going to swap the Fill and the Stroke again. Use the Ellipse tool. Create a circle. And using the Star Tool to create a triangle, by clicking on the down arrow on the keyboard. I'm going to hold Shift to make sure that the triangle is straight. And just making sure that both of these shapes are centered together. So in fact, let's select all of our shapes here, make sure that they're all aligned to the center. And selecting both parts of the lock here, we're going to go over to Pathfinder and click on the Unite button. This will create a single shape out of the two shapes that we used here. So that is now our lock icon. Perfect. Now, the last icon that we're going to create is our shop icon. So let's create a new layer. Make sure our lock layer is hidden. Rename this shop. And now, the same thing as before, making sure that everything is one line. In fact, let's go back to our lock icon. And we want to make sure everything is one line. So this is actually created out of two lines, our lock icon. So let's go ahead and join the two anchor points here. And making sure that our stroke is set to cap and rounded corners. And moving it back into place. So make sure this is centered. And what this will mean is our icon will actually be made up of two strokes. So the first stroke will fill up the square, and the second stroke will fill up this part of the lock. So it will go up, around, down on the bottom, and then back in again. All right, now let's go back to our shop icon. Whoops. That's not the button I meant to click. So let's go back to Layers and shop. And using our Pen Tool, let's just draw out the shop icon, making sure that this is actually selected so it's visible. Just going to draw out the handle here. Move it down. Now, in fact, I want to make this out of one line, so let's see what we can do here. So if I wanted to make this out of one line, let's move this up. In fact, let's delete this. So make this go around, up. So this part of the basket of the trolley back across. And then back down again following overlapping this line here. And then back across for the wheels. So you can see now that this actual basket here, this trolley is made up of just one single line. And all we need to do is create two wheels using our ellipse tool. I'm going to switch the Fill, create one wheel here, and move this into place. I'm just going to copy using our keyboard. So ctrl+c, and then ctrl+shift+v to paste our duplicate into place. And then just move it across to create our second wheel. So, that's it for this chapter. In the next lesson, we'll go through how to export all three of our icons Into AfterEffects. See you all there.


