
 Lessons: 9Length: 50 minutes
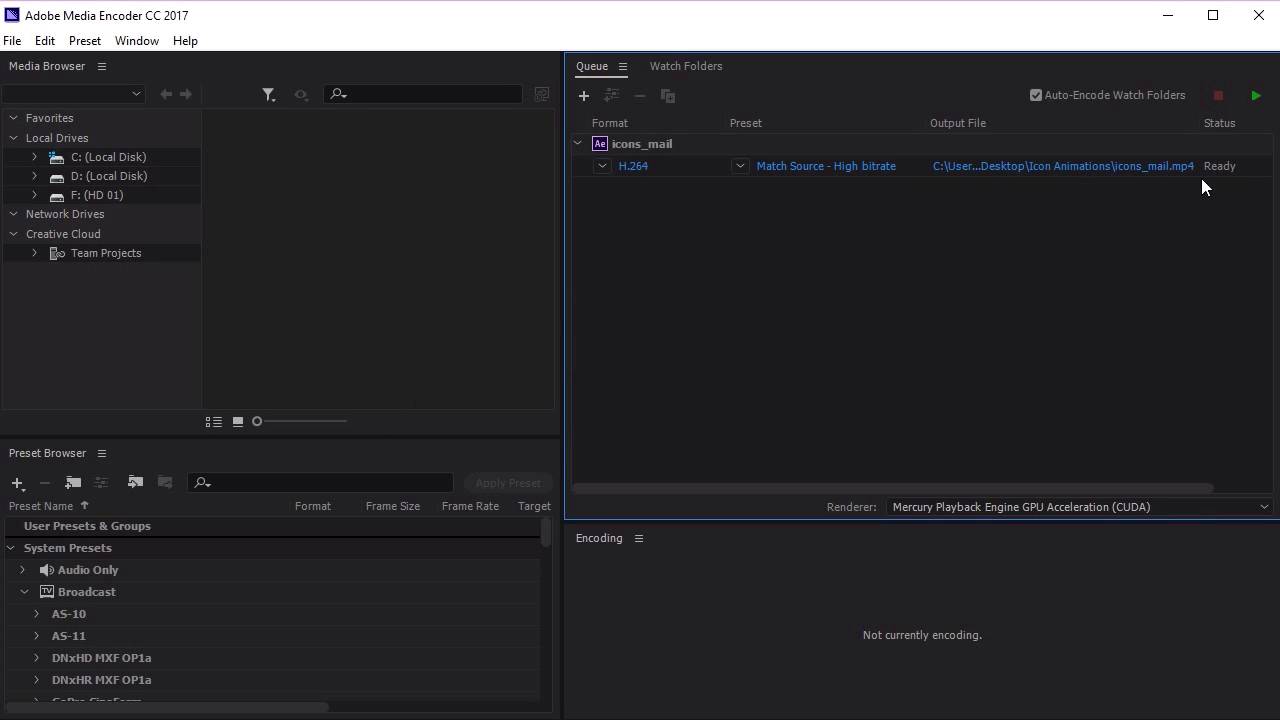
- Overview
- Transcript
3.5 Exporting the Buttons
In this lesson you will learn how to export your button animations into Adobe Media Encoder. Media Encoder will allow you to prepare them for use in your websites and projects.
1.Introduction
1.1Welcome00:31
2.Icon Design
2.1Illustrator Setup06:55
2.2Designing the Icons10:42
3.Animate the Buttons
3.1Importing Into After Effects03:50
3.2Animate the Mail Icon11:50
3.3Animate the Lock Icon05:31
3.4Animate the Shop Icon04:31
3.5Exporting the Buttons04:34
4.Conclusion
4.1Conclusion01:11
3.5 Exporting the Buttons
Hi everyone and welcome back to the animated icon course. So now that we've finished all of our animations for our icons, the next step is to export them into Media Encoder. So the first thing that we need to do is to save all of these, Adobe After Effects files as separate files. So let's select our mail, making sure that our mail icon is selected. And making sure that our other two icons are not visible. Let's go ahead and go to File, Save As. And let's save this as icon mail. So you can see that I've already saved this icon mail here. So let's go ahead and hide our mail icon and unhide our lock icon. And let's go to File, Save As and let's save this as icon_lock. And let's go and do the same with our shop icons. So hide a lock icon, unhide a shop icon. Go to File, Save As and let's name this one, icon shop. Perfect, now that we have three different files for our icons, let's go ahead to Adobe Media encoder, where we can export these After Effects files into videos. Okay, now that we're in Adobe Media Encoder, let's go ahead and drag our files, our After Effects files, into the project. So let's go ahead here, and you can see that we've got all of our files in this folder here. We're gonna start with the mail icon, just clicking and dragging it in here. And then what we want to do is we want to select the correct composition. And so I'm putting it into our queue here. And you can see that the File will be called icons mail, but the other icons will be called icon mail as well because we use the same after fix file for all of our icons. So let's go ahead and import the lock icon. And what we want to do is we want to rename the final, so you can see it's icons mail here. Want to rename that so click on this. We want to rename this icons_lock. And finally let's do the same for the shop icon. So placing it into the queue Waiting for it to turn up here. Click on the correct composition. Clicking on this file and just go ahead and rename that to icons Shop. Now you can see here that we've got a few options. So right now we've set this to H264, but if you select these drop down menus. You can see that we've got a whole of bunch options here that we can export our animations into. So if you want a gif, or if you wanted a MPEG, we can easily change the files in this menu here. Or we can choose a preset option over here, so if you click on this dropdown menu, we can select from a whole bunch of preset options from this dropdown menu here. So if you wanted a video specifically for an Android tablet or an Apple iPad, you can select it from this menu here. But for this video, we're just going to keep it at H264 and see what we get. So let's go ahead and click play to export our icons. So that's it for this lesson. In the next lesson, we'll go through what we've learnt over the course of the whole project, and summarize all the different techniques that we've used to create the animated buttons. See you there.


