

Most video editing apps feature powerful color adjustment tools; the hard part is learning how to apply the tools to achieve the look that you have in mind.
You don't have to create your color settings from scratch each time. Instead, use presets to style your video footage with just a single click. Presets let you apply picture styles from other visual artists to your footage, and make it easy to sample visual styles and see how they fit your footage.
1. What is Color Grading?
Before we start working in Adobe Premiere, it's important to understand the role that color grading plays in the post-production workflow. There are many steps from capture to export when you're producing your video, and color grading is a crucial step.


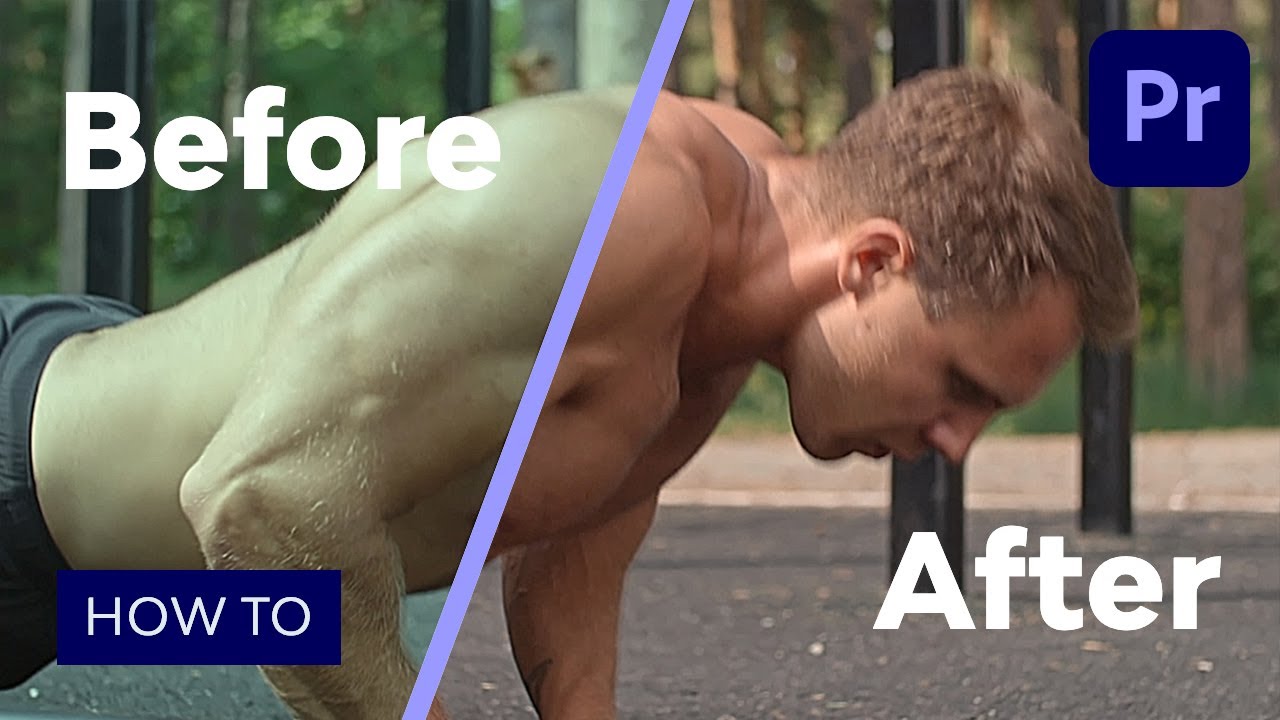
Color grading adjusts the look and feel of your video footage. It includes all aspects of color, like color temperature, exposure, and white balance. These key adjustments can be subtle, or they can totally overhaul your video. In this tutorial, we'll use presets to apply creative adjustments to our footage.
- Color correction and neutral grading: making corrections is all about a neutral approach to the footage. You apply corrective color grading to create "good enough" footage that replicates the scene the way it appeared in real life.
- Creative color grading: going beyond adjustments, creative color takes a bold attitude in adjusting your footage. These aren't about neutral changes, they're highly stylized.
In Adobe Premiere, the tool where you'll do most of your color grading work is called the Lumetri Color panel. This has most of the controls you'll need to adjust color in your footage. Click Color at the top of Premiere to make it visible.


Color Correction
Before you get creative with color grading, here are four easy tips for color correcting your videos and getting everything ready to grade.
2. Download LUT Presets
The best way to experiment with color in Premiere Pro is to use pre-built styles. And the best place to source Premiere Pro color presets is from Envato Elements, an all-you-can-download creative subscription library. The presets that we'll use are packaged as LUTs, or "lookup tables." In this lesson, we're going to work with the 30 Nostalgia LUTs package, available as a part of the Envato Elements subscription offer.
3. How to Install Premiere Pro Color Presets
After you've downloaded a few color presets, you'll need to install them in Adobe Premiere to begin using them. In the download package, you'll want to find the LUTs folder. I always use the high-quality version of the LUTs if the author chooses to include both versions. To install these LUTs, you'll need to add them to a folder so that it's convenient to use them.
Depending on your platform, here are the folders that you'll want to add LUTs to. You may need to add the LUTs folder depending on your past projects:
- macOS: /Library/Application Support/Adobe/Common/LUTs
- Windows: Program Files/Adobe/Common/LUTs
Now, inside of the LUTs folder, create a folder called Creative. Move your LUTs from the download into this folder, and now they should be available for use.
4. How to Use LUT Presets in Premiere
Now that you've installed your Premiere Pro color presets, you're ready to apply them to your footage. In an earlier step, we opened the Lumetri Color panel and now it's time to use it to apply a color preset.


After you've opened Lumetri Color panel, scroll down the find the Creative section. You'll notice a Look dropdown option, where you can choose from all of the LUTs that you just installed. Choosing an option from this dropdown will apply it to your footage. Experiment with selections from the dropdown to style your footage.


After selecting a preset, make sure to play the preview. You'll see that Premiere has re-styled the footage with the new preset applied. You can choose another preset from the dropdown if you want to keep experimenting.
And that's it! The great part about working with LUTs in Adobe Premiere Pro is that you can experiment with changing it as many times as you want. Because the changes aren't editing the final footage directly, you won't lose quality as you experiment with your color settings.
More Premiere Pro Resources
In this tutorial, you learned to apply color grading in Adobe Premiere Pro using presets. Sourcing them from Envato Elements will help you to skip ahead in applying creative color.

 How to Color Correct Raw Video in Premiere Pro (Beginners Guide)


 How to Make Look-Up Tables in After Effects and Premiere Pro (DIY Color Preset LUTs)


 How to Adjust White Balance in Videos Using Adobe Premiere

 What Is Color Grading? Learn Visual Storytelling for Video Post-Production
In addition to the color presets you saw in this tutorial, Elements also has a wide variety of templates and projects you can use in Adobe Premiere Pro. Jump to the round-ups below to see just what I mean:


 By
By


