
 Lessons: 14Length: 1.8 hours
- Overview
- Transcript
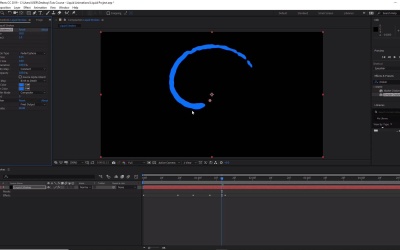
3.3 How to Add Color
In this lesson, you will learn how to add color to the liquid animation swirls. You will also learn how to add subtle depth using light and shadow effects. Your opening title sequence in After Effects is really coming together now.
1.Introduction
1.1Welcome to the Course00:56
1.1
Welcome to the Course
00:56
2.After Effects Title Animation Tools
2.1Adobe After Effects Setup07:56
2.1
Adobe After Effects Setup
07:56
2.2Downloading After Effects Title Templates14:43
2.2
Downloading After Effects Title Templates
14:43
2.3Customizing After Effects Title Templates06:13
2.3
Customizing After Effects Title Templates
06:13
3.Liquid Swirl Animations
3.1How to Use Splines06:03
3.1
How to Use Splines
06:03
3.2How to Use Particle Effects07:56
3.2
How to Use Particle Effects
07:56
3.3How to Add Color09:58
3.3
How to Add Color
09:58
4.Liquid Splash Animations
4.1How to Create a Ripple Effect11:17
4.1
How to Create a Ripple Effect
11:17
4.2How to Create an Impact Splash07:44
4.2
How to Create an Impact Splash
07:44
4.3Completing the Impact Splash14:16
4.3
Completing the Impact Splash
14:16
5.Final Touches
5.1How to Add and Animate Text in After Effects09:47
5.1
How to Add and Animate Text in After Effects
09:47
5.2How to Add Your Footage05:00
5.2
How to Add Your Footage
05:00
5.3How to Render Your Video06:04
5.3
How to Render Your Video
06:04
6.Conclusion
6.1Thanks for Watching00:48
6.1
Thanks for Watching
00:48


