
 Lessons: 14Length: 1.8 hours
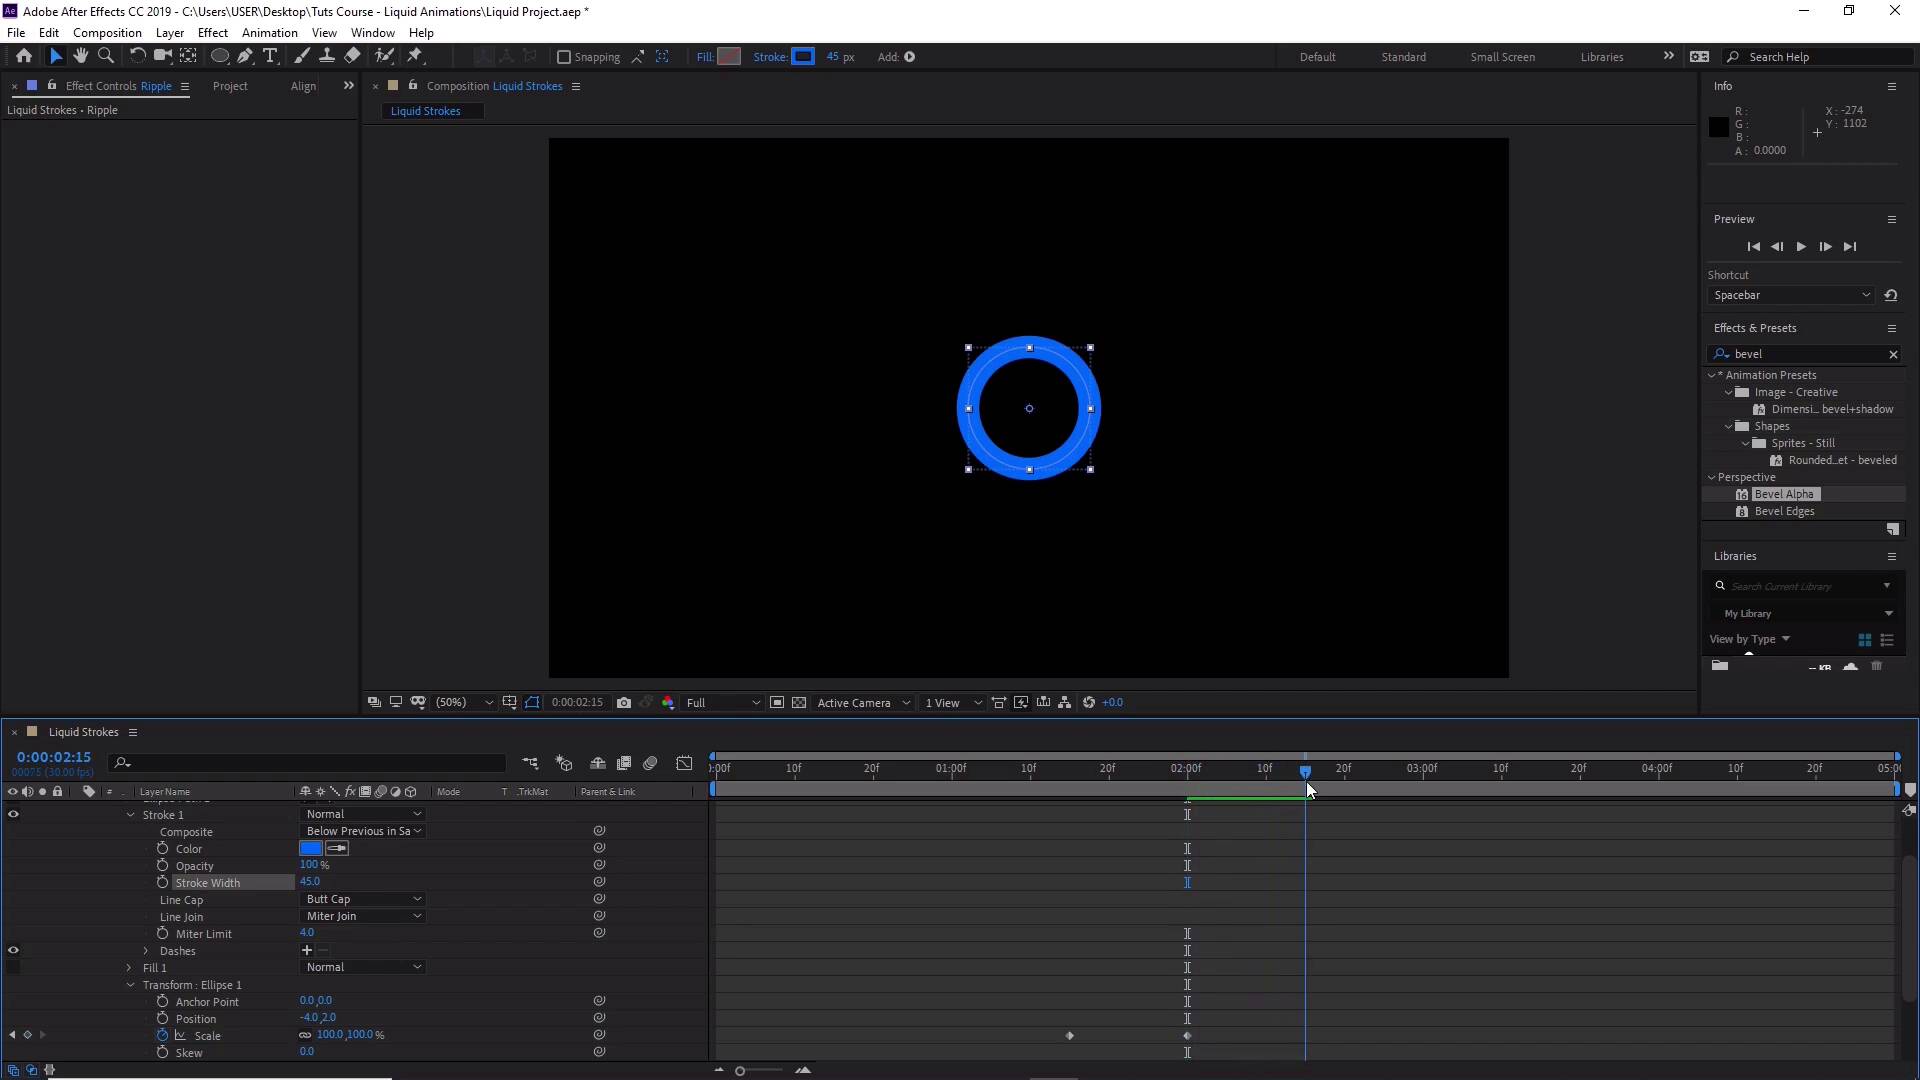
- Overview
- Transcript
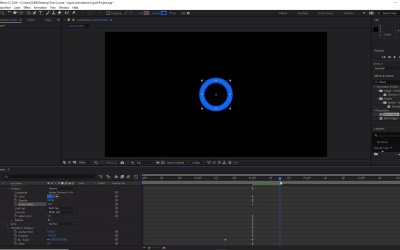
4.1 How to Create a Ripple Effect
In this lesson, you will learn how to create a ripple animation using the liquid animation settings and the ellipse shape tool. This is an essential part of your Adobe After Effects title animation.
1.Introduction
1.1Welcome to the Course00:56
1.1
Welcome to the Course
00:56
2.After Effects Title Animation Tools
2.1Adobe After Effects Setup07:56
2.1
Adobe After Effects Setup
07:56
2.2Downloading After Effects Title Templates14:43
2.2
Downloading After Effects Title Templates
14:43
2.3Customizing After Effects Title Templates06:13
2.3
Customizing After Effects Title Templates
06:13
3.Liquid Swirl Animations
3.1How to Use Splines06:03
3.1
How to Use Splines
06:03
3.2How to Use Particle Effects07:56
3.2
How to Use Particle Effects
07:56
3.3How to Add Color09:58
3.3
How to Add Color
09:58
4.Liquid Splash Animations
4.1How to Create a Ripple Effect11:17
4.1
How to Create a Ripple Effect
11:17
4.2How to Create an Impact Splash07:44
4.2
How to Create an Impact Splash
07:44
4.3Completing the Impact Splash14:16
4.3
Completing the Impact Splash
14:16
5.Final Touches
5.1How to Add and Animate Text in After Effects09:47
5.1
How to Add and Animate Text in After Effects
09:47
5.2How to Add Your Footage05:00
5.2
How to Add Your Footage
05:00
5.3How to Render Your Video06:04
5.3
How to Render Your Video
06:04
6.Conclusion
6.1Thanks for Watching00:48
6.1
Thanks for Watching
00:48


