
 Lessons: 14Length: 1.3 hours
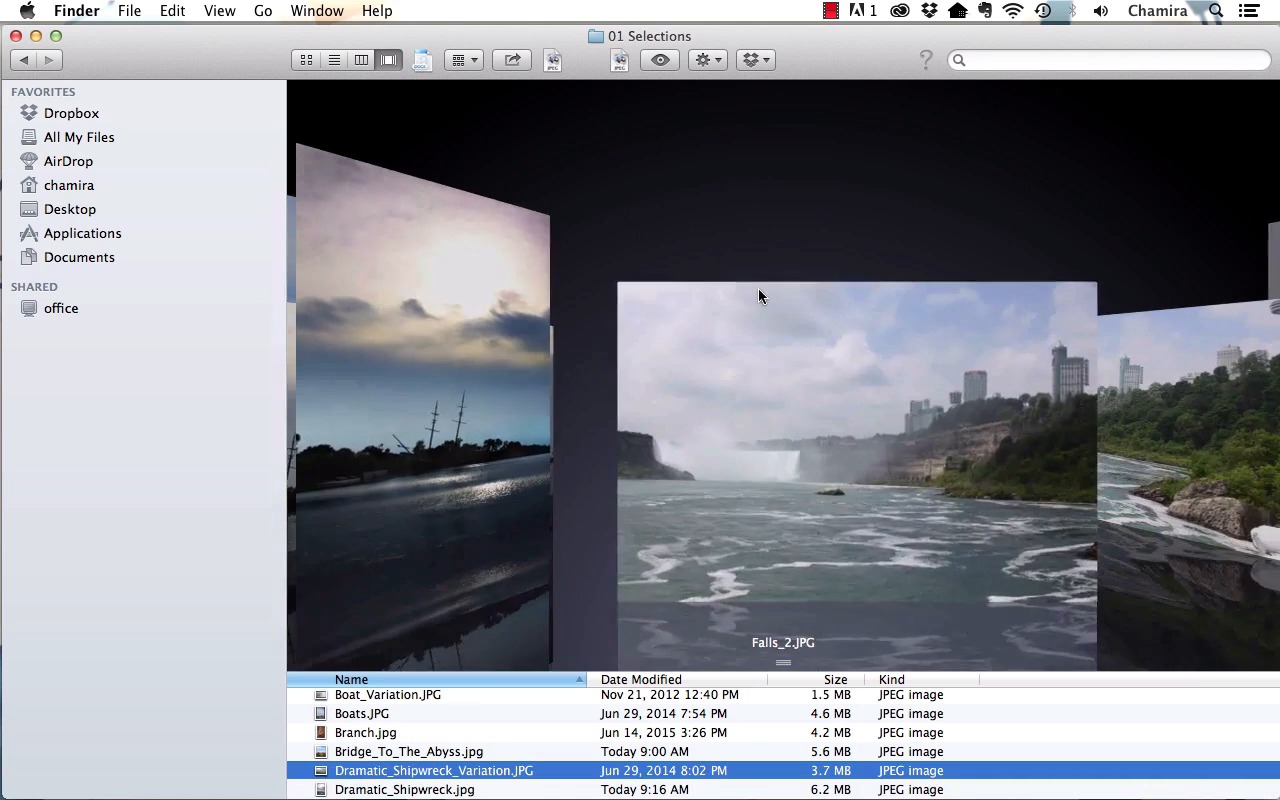

- Overview
- Transcript
2.2 Portfolio Editing: Assemble Your Images
In this lesson you'll learn how to gather your initial photos that have potential and begin evaluating them against our goals and objectives for your portfolio. We will also take into consideration how to decide what you need for each portfolio type.
1.Introduction
1.1Introduction04:26
1.2What Is a Portfolio?03:37
1.3Singles vs. Stories04:06
1.4Crafting a Vision For Your Portfolio and Setting Goals05:14
2.I Have Photographs. Now What?
2.1Deciding What Kind of Portfolio to Make, and the Process of Creation05:57
2.2Portfolio Editing: Assemble Your Images05:16
2.3Portfolio Editing: The Rough Cut04:53
2.4Portfolio Editing: The Final Edit06:07
3.Assemble the Portfolio
3.1Get Ready to Assemble06:51
3.2The Web Portfolio06:42
3.3The Tablet Portfolio06:12
3.4The PDF Portfolio04:50
3.5Print Portfolios04:44
4.Conclusion
4.1Presenting Your Portfolio11:32
2.2 Portfolio Editing: Assemble Your Images
In this lesson, we'll gather the photos that have potential and begin evaluating them against our goals and objectives for our portfolio. We'll also take into consideration how to decide what we need for each portfolio type. This can be one of the most trying aspects of creating your portfolio, but with a few methodical steps it does not have to be that daunting. As I walk through the steps of selecting photos that I like and narrowing them down from there, absolutely feel free to do these steps right along with me, using your own photos in whatever chosen subject matter. Having an organized system is key. However you choose to do this, make sure you're consistent and that your photos are easy to find later. In my case, I like to create a master portfolio folder. And from there, I have my portfolios broken down by subject. And so here we have my photography portfolios, because many of us will have more than one portfolio that we put together. And then, from there, I have my Nature and Travel folder, Portraits, and Weddings. In this course, I'll be working with my Nature and Travel folder. I have a folder with a handful of images ready to go, here in Selections. And I've pulled these from one of my external hard drives, which is one of the places where I store my photos. And so here we have the selection of photos that I'll be working with. I'm using a smaller number of photos than normal, just so that you don't have to sit here for hours as I whittle them down. Ideally you would have more images in your portfolio. However, only include what you think are your best photos. Do not include mediocre photos just to bulk up your portfolio. And here on my Mac I'm going to switch the view over so that I can see these in detail. And now we're going to evaluate our photos against our own personal goals and objectives. For this scenario, for this course, my goals and objectives are to work with a travel commercial agency that needs work focusing on artistic, nature and location subject matter. And so I'm going to begin looking through my photos and looking at each individual one seeing which ones best fit that purpose. And as I do this, you need to ask yourself what your primary objective is with the photos in your own portfolio and what you want your desired outcome to be. And as I'm looking at these, I see that I have a group of photos that I feel are pretty good and some are better than others. For example, looking at these two, I would say right off the bat that I like the dramatic nature of this one better than this previous photo. And we have some photos that are similar, which is not necessarily a bad thing as long as they don't become too repetitive. Now another thing I'd like to mention is that when you get your first group of photos together, there may be a few in there that you simply like or are emotionally attached to. That does not mean that they are suitable for your portfolio. Look through your photos and make sure the photos relate to each other. Get a feel for what's there collectively as a whole. And as I continue to look through these photos, I see that I have some landscapes, and I also have some that are more close-up in nature. And there are some that have more of a powerful punch to them, and some that are a little bit lacking, in my personal opinion, compared to the other photos. As I go through these, I really feel myself gravitating towards the more dramatic photos. And it's important that the photos that I end up selecting are on a similar level with each other. And as I do this, I'm making a mental note to myself of which photos I may end up eliminating. For example, I may end up eliminating this photo. And this one is nice and vibrant, I really like that one. And again, you should be evaluating your own photos based on your own criteria. Also, some photographers like to print out their photos and evaluate them. You can do that if you wish. For example, you could start with, say, 75 to 100 photos with the intention of getting them down to a much smaller number, let's say 25 high-quality shots. And I'll just continue flipping through my photos. This is another high-impact one that I really like. And I actually like this one better than this other similar shot. And you may run into a case where as you go through the photos, let's say you like the composition of a particular shot. In this case, this one, you may need to go back into whatever editing program you're using, for example, Photoshop, and bring the photo up to the same level as the other photos if you would like to include it in your portfolio. And here's another one that I would really like to include. It really has that dramatic impact along with this one as well. And this one not so much. And so what I did there was I just looked through the photos in general to get an overall feel of what's there. I have not eliminated any yet. I'm getting a sense of how all the photos work together. And so that brings us to the end of our lesson. In this lesson we gathered our initial group of photos and took an initial overall look at them while mentally reviewing the end result we want with our portfolio. In our next lesson we'll go ahead and begin removing the shots that we don't need.


