- Overview
- Transcript
2.4 Portfolio Editing: The Final Edit
In this lesson you will learn to further refine your selection by choosing to keep the best finalists for your portfolio. You'll also learn how to look over your remaining photos one more time to make sure you are are satisfied with the selections.
1.Introduction4 lessons, 17:23
1.1Introduction04:26
1.2What Is a Portfolio?03:37
1.3Singles vs. Stories04:06
1.4Crafting a Vision For Your Portfolio and Setting Goals05:14
2.I Have Photographs. Now What?4 lessons, 22:13
2.1Deciding What Kind of Portfolio to Make, and the Process of Creation05:57
2.2Portfolio Editing: Assemble Your Images05:16
2.3Portfolio Editing: The Rough Cut04:53
2.4Portfolio Editing: The Final Edit06:07
3.Assemble the Portfolio5 lessons, 29:19
3.1Get Ready to Assemble06:51
3.2The Web Portfolio06:42
3.3The Tablet Portfolio06:12
3.4The PDF Portfolio04:50
3.5Print Portfolios04:44
4.Conclusion1 lesson, 11:32
4.1Presenting Your Portfolio11:32
2.4 Portfolio Editing: The Final Edit
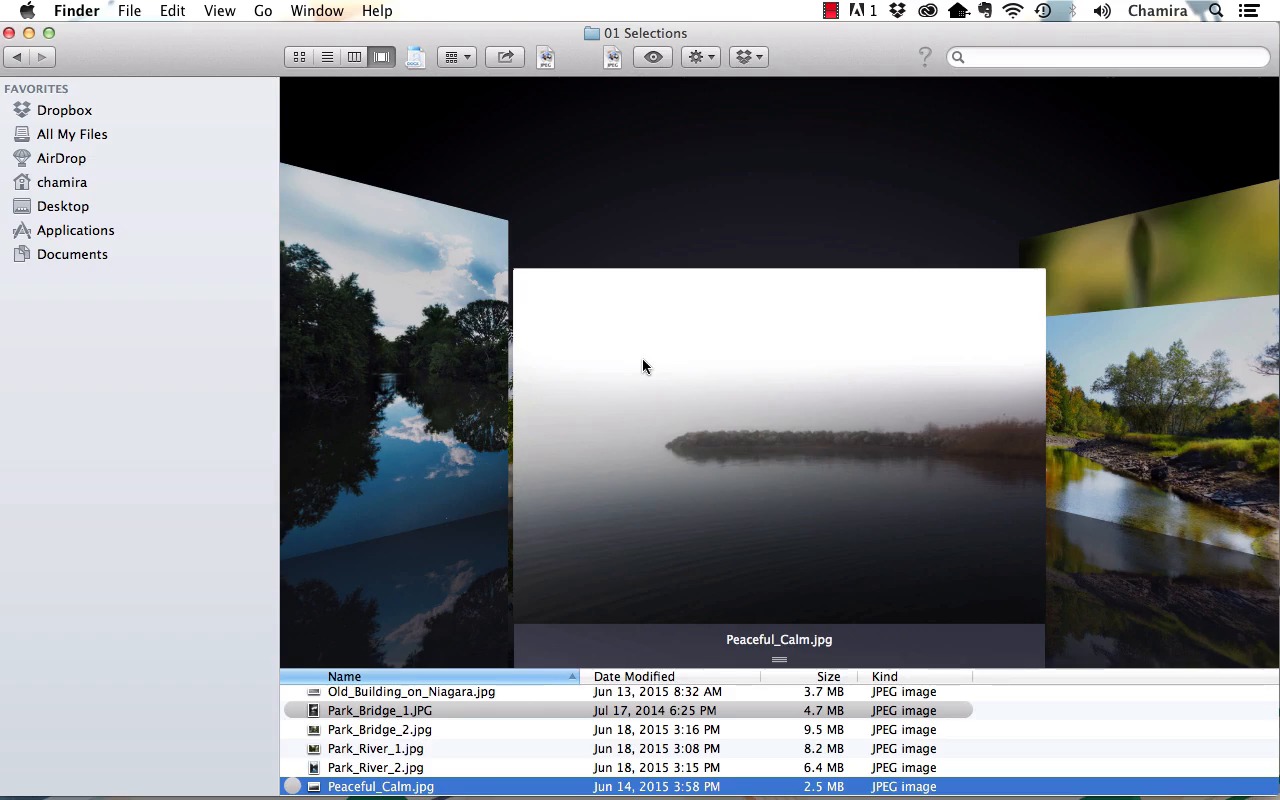
In this lesson, we will further refine our selection by choosing to keep the best finalists for our portfolio. And we'll also look through everything one more time and remove any images that we don't want to include. Remember, I'm putting together a portfolio that focuses on nature and travel. And so, it's important to keep your objective and style in mind. And so here we are with my two folders. In folder number one, I have my selections. The photos that so far, I'm going to include In my portfolio. In folder number two, I have the photos that I've rejected. Either because they don't fit into my objectives for the portfolio or because I feel they're just not the best photos. And you want to include your best photos in your portfolio. And so inevitably, you end up letting some photos go. So let's take another look at the Selections Folder and we're going to go through each photo one by one and further narrow down our selection. I want to remove any remaining photos that I feel are not the best or that don't fit in with the level of my other photos. And as I'm cycling through, you can see that I'm going for photos that have a high impact. And so actually, as I get to this photo here, I'm going to mark it in gray. Because as I look at it compared to the other photos, it doesn't seem to have as high an impact. And I'm going to continue on, really going for a dramatic feel. And actually, here is another one that I'm going to mark in gray, because it's a little more subdued. And for the purposes of this course I did throw in some photos that are not at the same level. Just so that it's a little more obvious as to why I'm narrowing them down. And continuing on, I'm going to mark this photo in gray so that I consider getting rid of it, because I have another waterfall shot that is similar but also much more dramatic. And I like the other one better. And for this photo, I'm also going to mark it in gray and consider it for elimination. In this one as well, I'm going to consider eliminating, and so we'll mark this in gray. And sometimes it can be a difficult decision trying to figure out which photos you want to get rid of. And that can involve going through them again and again. Or it can involve stepping away from your computer for half an hour, for an hour, just so that you can come back at it with fresh eyes and really evaluate your images fairly. And we'll continue on. And this photo here is actually one of my favorite photos. However, I don't think it completely fits in with the high dramatic impact photos that I'm including in this particular portfolio. And so I'm going to mark this photo in gray, and consider eliminating it from this portfolio. However, this is a photo that I would include in one of my other portfolios. And so while I'm not going to use it here, I would probably end up using it in the future. So for example, I could use this photo in a nautical themed portfolio or a fine art portfolio. And so moving on, I'm going to review the remaining images. And here we've reached the end. And so, quickly, I'm going to cycle back through and look everything over again and see if I really left anything out. And so I'm reviewing the images that I've marked in grey, as well as the images that I feel can make the cut. And as I go through these, I'm feeling really comfortable with my decision so far. And when I've reached my first photo again, I'm going to change up the view and select the images that I've marked in grey. And I'm going to press Command on my keyboard, just to gather those all up. And I'm going to quickly click and drag them into my rejected folder. At this point, I should only have the photos remaining that I want to use. And so again, I'm going to flip through these and make sure they are all at the same level. And, so far, it's looking like they are. And I think these would all look really good next to each other on a web portfolio, or a tablet portfolio, or a print portfolio. And so, in my rejected folder I have the images that didn't quite make the cut. And I'm gonna look through those again as well, just to make sure I didn't get rid of anything I should actually keep. And as I'm flipping through these I'm not seeing anything yet. And sometimes it can be a matter of re-touching as well. You may see a photo where you see potential. And you may want to re-touch it up to the level of your other photos. This photo is a good example where it would pair well with the other river photo that I have. But first, it would need some additional retouching. Again, for the sake of this course, I'm keeping the group of photos small that I'm going to use. Just so that you don't have to watch me do this for hours. But always keep an eye open for potential In your photos. And here we have just a handful more. And I think those are well selected. And so here in my folder number one I have seventeen photos that are ready to go. And so at this point, I would really begin thinking about what type of portfolio I would want to make for myself. And it gives me much more clarity now that I know the specific group of photos that I plan on using. Again, this does not have to be a scary process. And it's actually a great time for self-exploration as you review your work, and see where your strengths and weaknesses are. This brings us to the end of our lesson. In this lesson, we further narrowed our group of photos down, leaving only our final selections for our portfolio. That brings us to the end of this chapter as well. In this chapter, we discussed the most common types of portfolios. We also assembled an initial group of photos and then narrowed them down to the final ones that we'll include in our portfolio. In our next chapter, we'll take a look at what goes into constructing each kind of portfolio.


