
 Lessons: 14Length: 1.3 hours
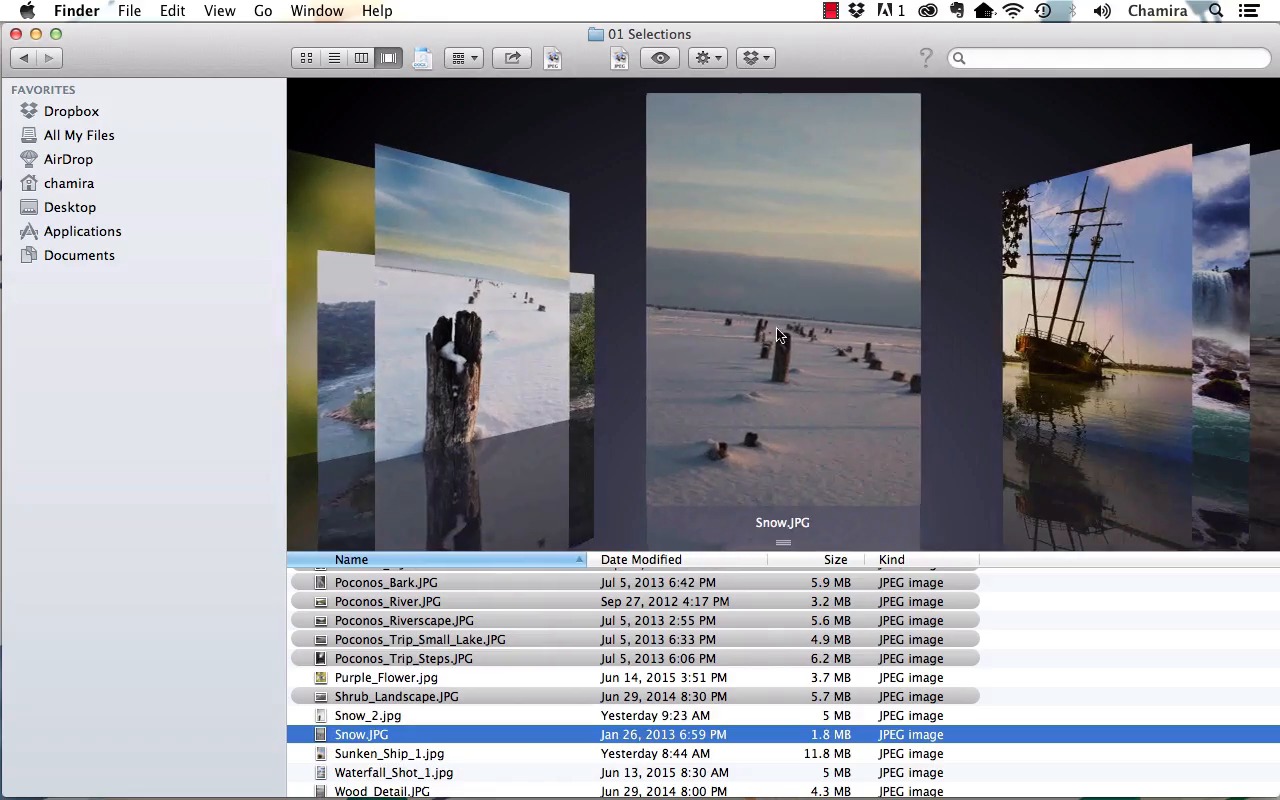

- Overview
- Transcript
2.3 Portfolio Editing: The Rough Cut
In this lesson you will learn how to begin eliminating the photos that do not fit into your portfolio’s goals, leaving only the images that adequately represent your message. We will also explore the benefits of getting help during this stage of the process.
1.Introduction
1.1Introduction04:26
1.2What Is a Portfolio?03:37
1.3Singles vs. Stories04:06
1.4Crafting a Vision For Your Portfolio and Setting Goals05:14
2.I Have Photographs. Now What?
2.1Deciding What Kind of Portfolio to Make, and the Process of Creation05:57
2.2Portfolio Editing: Assemble Your Images05:16
2.3Portfolio Editing: The Rough Cut04:53
2.4Portfolio Editing: The Final Edit06:07
3.Assemble the Portfolio
3.1Get Ready to Assemble06:51
3.2The Web Portfolio06:42
3.3The Tablet Portfolio06:12
3.4The PDF Portfolio04:50
3.5Print Portfolios04:44
4.Conclusion
4.1Presenting Your Portfolio11:32
2.3 Portfolio Editing: The Rough Cut
In this lesson we'll make a rough cut of our group of images by eliminating the photos that are not the best. In our previous lesson, we generally looked these over. Now it's time to take some action. We'll also explore the benefits of getting help during this stage of the process. So I'm going to begin by marking the photos that I feel are not top tier in grey. Here on my Mac, I'm going to control click, and then under the Label designation I'm going to select grey. And depending on the computer that you're on, the process may be a little bit different, but the key concept is that you want to mark those photos that are not the best in some way so that you can come back and remove them later. And, so, I am going to look through each shot and mark the ones that I think won't be a good fit for my portfolio. You'll want to get rid of any shots that are not of the highest quality, no matter how attached to them you are. You'll also want to get rid of any photos that are out of focus, as well. And so here you can see I'm marking different photos that are lacking impact for me, and so looking at these two photos, you'll find that they're similar, but this one definitely has more impact than this one, in my opinion. So I'll mark this one in gray, just to make a note to myself that I probably won't include it. And looking at these two photos, I would say this one has the least impact, and so I'll mark that one in gray as well. And you don't wanna spend too much time at this point. You're really just going through and marking the ones that your gut is telling you may not be up to par. And I see that these two are very similar and really, there's no reason to include both. And so I'm going to mark this one in grey. I'll leave this waterfall one for now. I'll leave this for now as well. And let's see, I might mark this one in gray as well. And the same with this one. Now, this stage of the process may be a little bit tough because you may be attached to the photos, but you have to remember that you want to show your best to whoever is looking at your photos. And these two are similar, but this one has greater impact. And this one not as much. And so, I will mark this one. Okay, let's discuss why it's so beneficial to get help when going through this stage. It's hard to be objective with your own work because we're so emotionally tied to it. We know the back story. And while the storytelling element is important in an image, you can't let that mask your judgment when weeding out mediocre photos. That's when involving a third party can be so beneficial because they can look at your work objectively and give you their first impressions of it. And if you're able to work with them in person, you can also observe them and see how they react. This could be with a teacher or a friend or even an honest family member. You can have them sit down with you at your computer and cycle through the photos. Or you can print your photos off and review them that way. So I'm going to switch views. And just take a look at the photos that we've marked in gray. These are the lowest quality photos in my opinion, and so I'm going to move them to another folder. On your end, you should be selecting your images that you think don't quite make the cut, and marking those in some form, either with a color label or any other way that's easy for you, so that you know that you're not planning to include them in your portfolio. And as you can see, I've created another folder within my Nature and Travel portfolio folder and I've called it Rejects. And so now I'm going to select command and gather all of the photos that are marked in gray. And then I'm going to move them to the Rejects folder. And I'll click and drag them into Rejects, and so you see right off the bat we've eliminated 20 photos. While you're doing this process, I recommend that you take short breaks, get away from your computer, and then comeback and re-review those photos that you marked as rejects. Because looking at it with fresh eyes sometimes gives you more perspective. And then you may find that perhaps you removed a photo that you should use in your portfolio. In which case, you would just move it back into the selections folder and remove the gray label. And so here we have our remaining photos. This brings us to the end of our lesson. In this lesson, we eliminated a good handful of photos that we knew right off the bat we were not going to use. In our next lesson, we'll make our final edit and isolate the best photos for our portfolio.


