
 Lessons: 9Length: 1 hour
- Overview
- Transcript
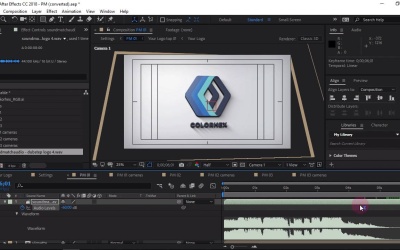
3.3 Adding Music
Music and SFX can really make a logo sting pop, but the project doesnít come with any music to work with. In this lesson you’ll learn where to find an appropriate sting, and how to place it in your project!
Related Links
- Dubstep Logo on Envato Market
- Glitch Logo on Envato Market
- Audio logos and idents category on Envato Market
1.Introduction
1.1Introduction01:10
1.1
Introduction
01:10
1.2Project Files02:54
1.2
Project Files
02:54
2.Getting Started
2.1After Effects Tour10:01
2.1
After Effects Tour
10:01
2.2Layers, Comps, and Precomps08:57
2.2
Layers, Comps, and Precomps
08:57
3.Customize!
3.1Logo Replacement14:40
3.1
Logo Replacement
14:40
3.2Color Tweaks03:54
3.2
Color Tweaks
03:54
3.3Adding Music09:13
3.3
Adding Music
09:13
4.Wrapping Up
4.1Exporting08:06
4.1
Exporting
08:06
4.2Conclusion03:17
4.2
Conclusion
03:17


