
 Lessons: 9Length: 1 hour
- Overview
- Transcript
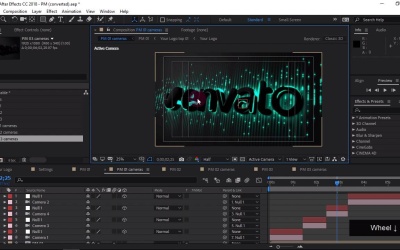
2.1 After Effects Tour
In this lesson you are going to open up the project, get a quick tour of the After Effects interface, and learn how the project is organized. After Effects is a massive application, but this lesson is only going to focus on what you need to know to work with this logo sting project!
1.Introduction
1.1Introduction01:10
1.1
Introduction
01:10
1.2Project Files02:54
1.2
Project Files
02:54
2.Getting Started
2.1After Effects Tour10:01
2.1
After Effects Tour
10:01
2.2Layers, Comps, and Precomps08:57
2.2
Layers, Comps, and Precomps
08:57
3.Customize!
3.1Logo Replacement14:40
3.1
Logo Replacement
14:40
3.2Color Tweaks03:54
3.2
Color Tweaks
03:54
3.3Adding Music09:13
3.3
Adding Music
09:13
4.Wrapping Up
4.1Exporting08:06
4.1
Exporting
08:06
4.2Conclusion03:17
4.2
Conclusion
03:17


