
 Lessons: 15Length: 1.4 hours
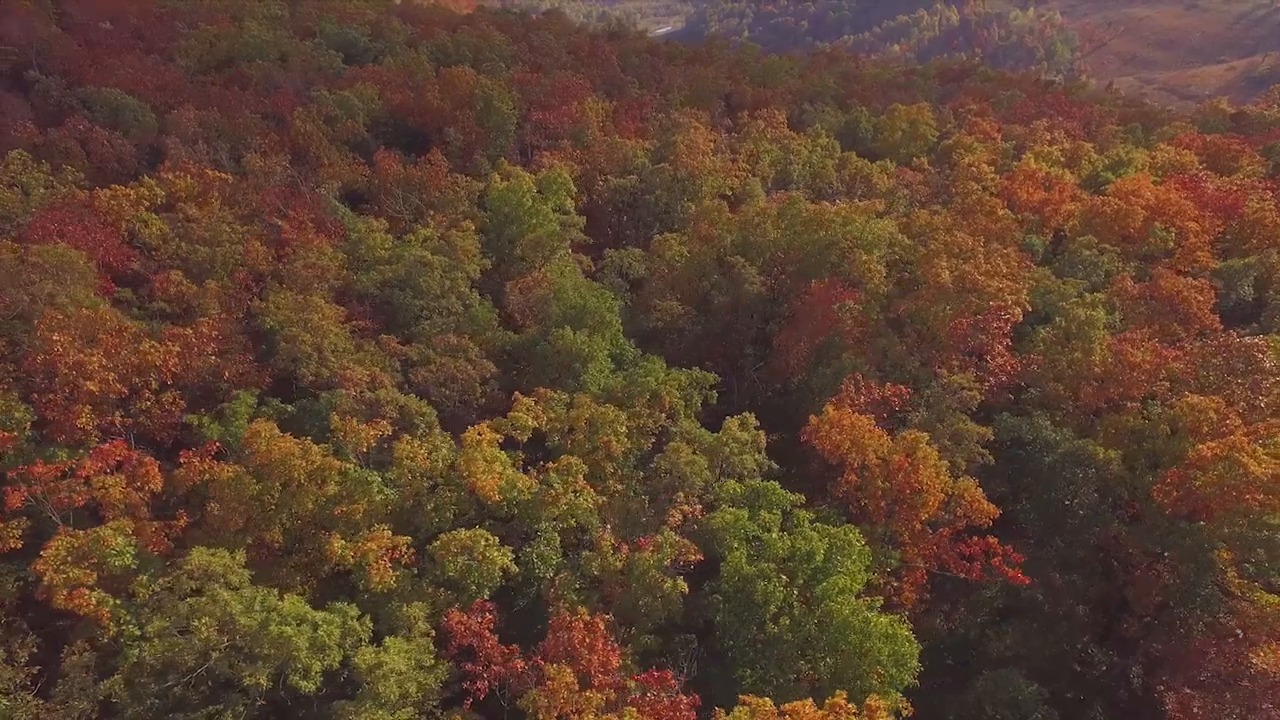
- Overview
- Transcript
10.1 Conclusion
In this lesson, we’ll go through a final wrap-up of course points, and I’ll give you some extra tips.
Related Links
My Recommended Music Tracks on AudioJungle
Music Tracks Used During the Course
1.Introduction
1.1Introduction01:28
2.Preparation
2.1Camera Settings05:49
2.2UAV Preparations04:24
3.Optical Fixes
3.1Reducing 'Jello' Effects in Post08:28
3.2Lens Distortion Removal05:17
4.Color Correcting Aerial Footage
4.1Basic Color Correction07:04
5.Footage Speed
5.1Slow Motion02:23
5.2Speed Ramping08:32
5.3Faux Slow Motion03:48
5.4Adding Motion Blur03:36
6.Stabilization
6.1Stabilizing a Shot10:41
7.Zooming in Post
7.1How to add a Faux Zoom to a Shot04:45
8.Color Grading Aerial Footage
8.1Color Grading11:26
9.3D Camera Tracking Aerial Footage
9.13D Camera Tracking07:43
10.Conclusion
10.1Conclusion00:59
10.1 Conclusion
I wanna thank you again for checking out this course, and hopefully the things I covered will help you create great looking aerial videos. Again, I encourage you to download the project files for this course. There are lots of goodies in there, including aerial clips to practice on, color grading lets, pdf guide sheets and more. As a final tip, make sure you include some quality music to go along with the visuals of your aerial videos. Typically, I recommend just using instrumental tracks, since they tend to be less distracting. You can let the viewers focus more on the visuals, while providing a nice atmosphere. [MUSIC] I use a lot of the tracks from the website AudioJungle. And I'll provide some links for some of my favorite tracks to accompany with aerial footage. [MUSIC] Again, I'm Charles Yeager for Tuts+. Feel free to contact me with any questions about this course. I wanna thank you for watching.


