
 Lessons: 13Length: 1.6 hours
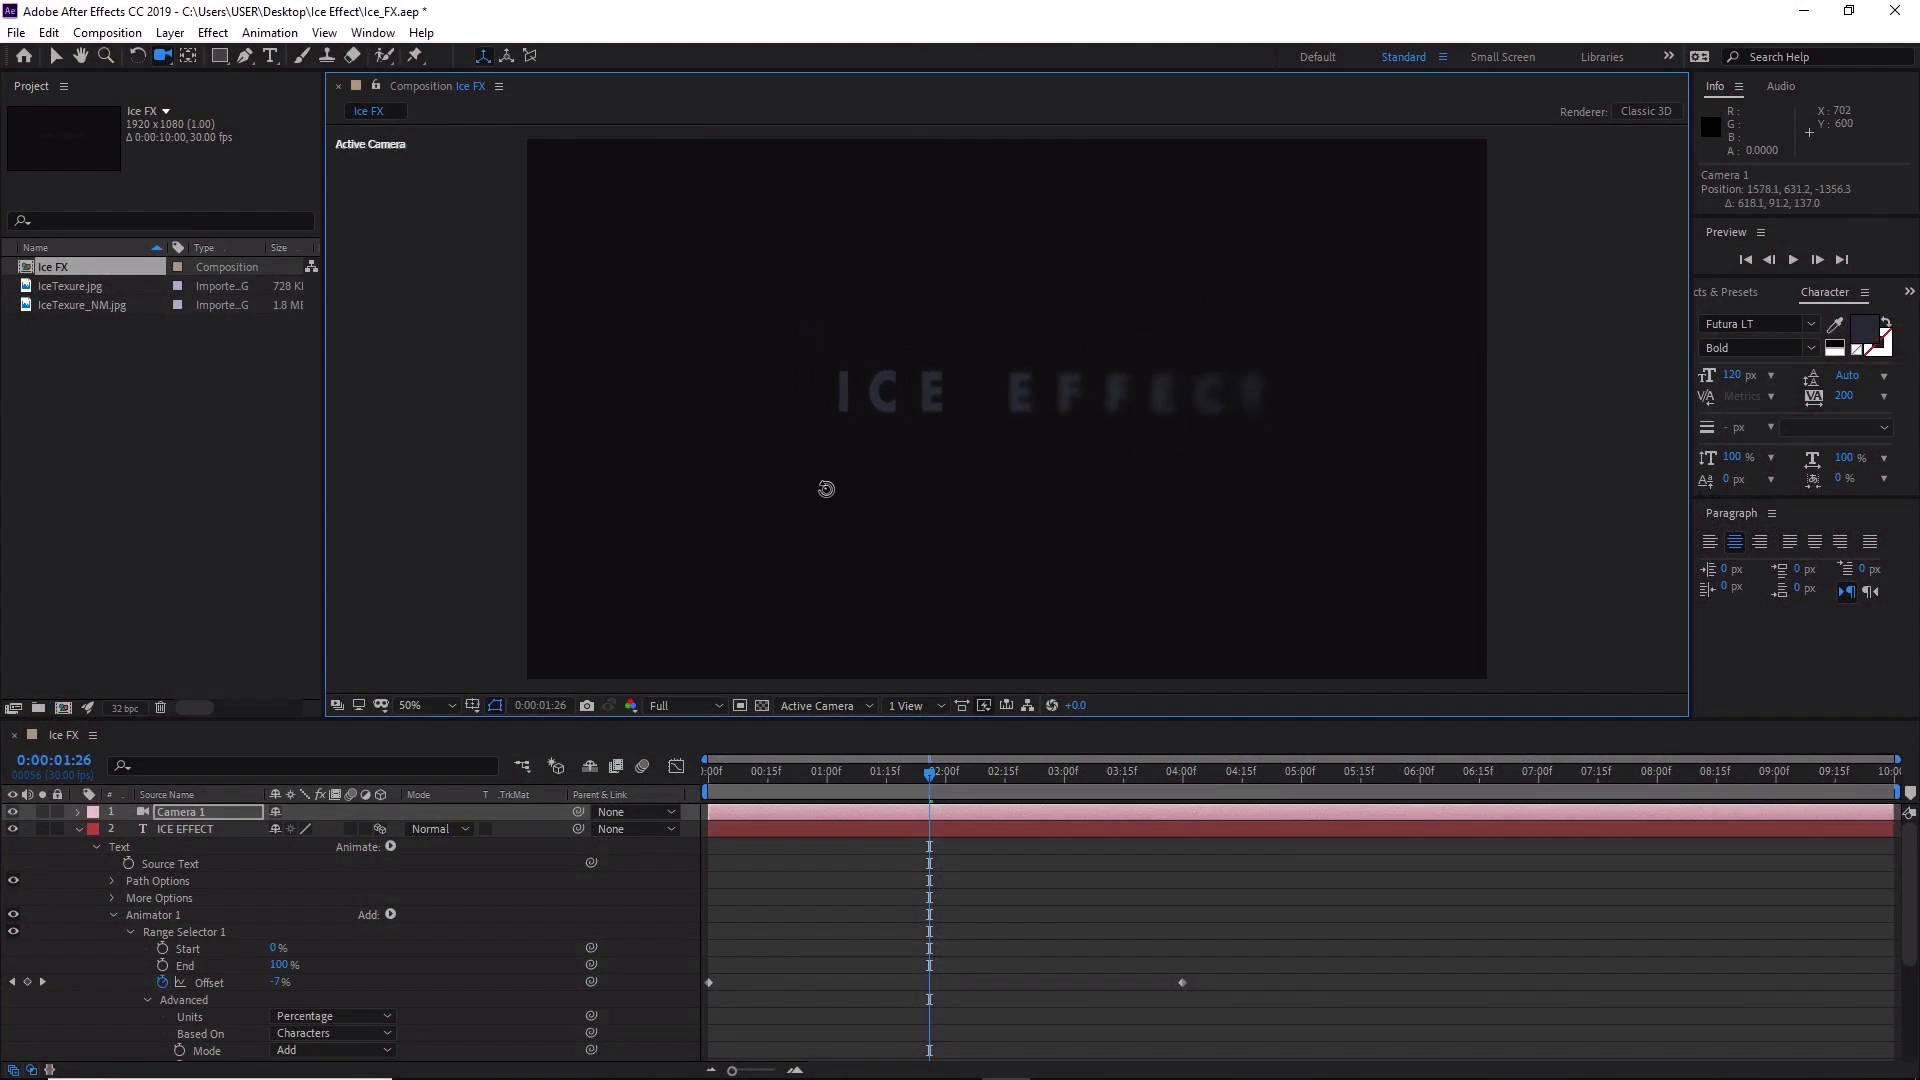
- Overview
- Transcript
6.1 Conclusion
In this video, we’ll go through what we’ve learned in the course and my final thoughts on the process of creating the Cool Ice Effect animation in Adobe After Effects. I hope you’ve learned something during this course! My name’s Jonathan Lam, and from all of us here at Envato Tuts+, thanks for watching.
1.Introduction
1.1Welcome to the Course00:48
2.After Effects Tools
2.1After Effects Setup06:04
2.2Importing Files05:54
3.Ice Text Animation
3.1How to Add a Blur Effect07:33
3.2How to Animate the Text05:22
4.Creating Translucent Ice
4.1How to Displace Text07:09
4.2How to Create an Ice Layer11:07
4.3How to Create Depth13:09
5.Final Touches
5.1How to Create Snow15:01
5.2How to Create Camera Angles11:59
5.3How to Compile the Animation and Change Text07:51
5.4How to Render Your Video02:04
6.Conclusion
6.1Conclusion00:42
6.1 Conclusion
So with that we've come to the end of the create a cool ice animation in After Effects course. Now that you understand the basics of how to create an ice animation, you can experiment with different animations of your own. Such as using different ice textures from Envato Elements and changing the color or changing the angle and direction of the animation. I hope you've learned lot in this demo and that you can apply these skills to your own workflows. I hope you've learned something new and that's you can use them to create your own future animations and designs. I had a lot of fun creating this course, so thanks for watching. Good luck creating your own cool ice animations and I'll see you next time on Tuts+.


