- Overview
- Transcript
2.6 Consistency in Lightroom
One of the joys of film is consistency. Presets in Lightroom bring some of that to digital photography. In this lesson we'll look at the how same preset interacts with a few other photos.
1.Introduction4 lessons, 13:06
1.1Introduction01:29
1.2What You'll Need02:26
1.3The Kodak Gold 100 Look04:41
1.4Intention and Consistency04:30
2.Lightroom, VSCO and Emulation6 lessons, 39:49
2.1Assess the Image04:33
2.2Bring the Image to Neutral05:54
2.3Apply the Preset05:26
2.4Local Adjustments12:30
2.5Finishing Off08:16
2.6Consistency in Lightroom03:10
3.Conclusion1 lesson, 01:51
3.1Conclusion01:51
2.6 Consistency in Lightroom
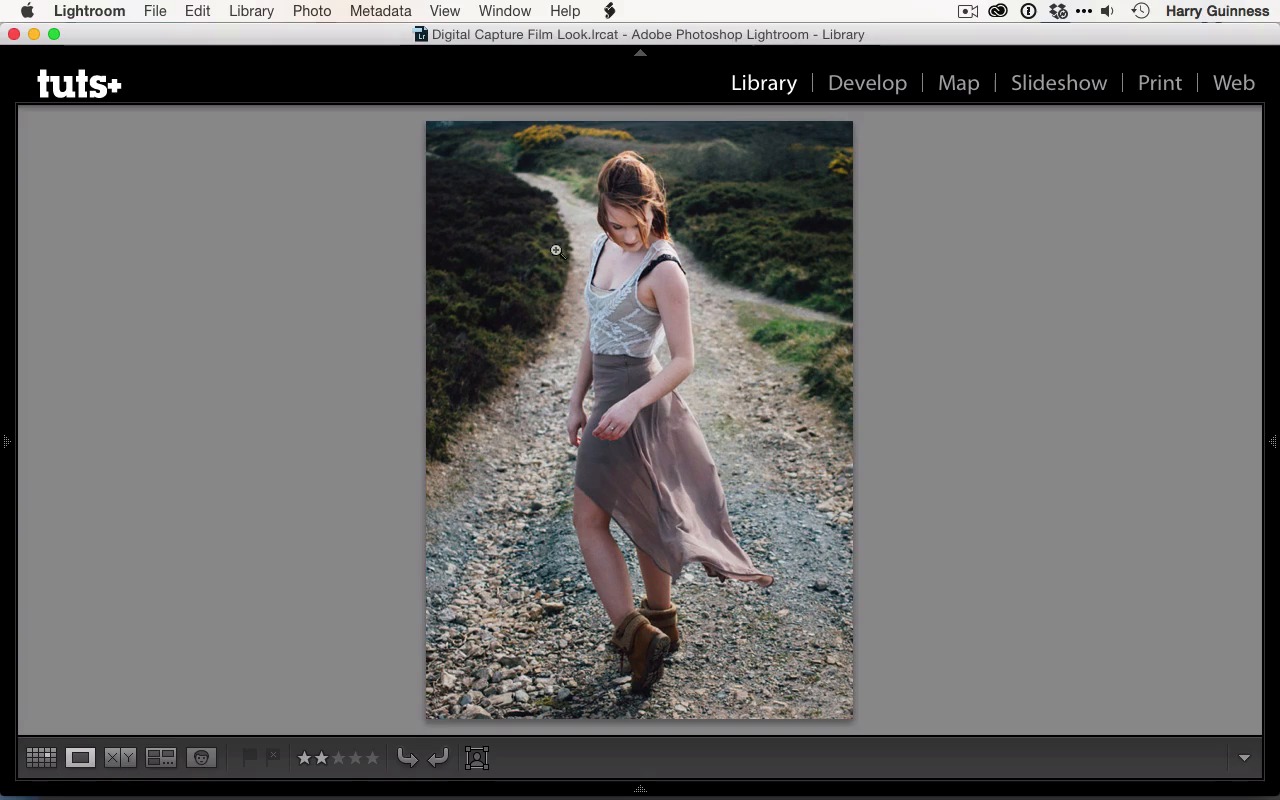
Hi, and welcome back. In the previous couple of movies, we edited the image to reach this point. I think it looks really great. As I mentioned in the first chapter, one of the greatest strengths film has over digital is that it's got a consistent look. You can recreate the consistency of that by following a workflow and using things like presets as a starting point in Lightroom, to get it so that images look related and look at least as if they're part of the same body of work. First we're gonna have a look at some other images that I approached with the same three sets and the same style. This is a shot of a model I shot this about three months after I shot the previous image with Allie, and you can see that Allie's was shot in winter, so it's a lot darker. Whereas was shot in the middle of spring, and we're starting to see we've got a lot more spring light and a lot more greens. But the images are quite consistent. Even though the shot with Allie is a lot darker, they're still the same strength of greens and the oranges in the skin that Kodak Gold is known for. And next we got another shot of Allie. This image didn't have anywhere near as much as in the way of greens to begin with. But with the Kodak Gold 100 preset, they've been pulled in. And what's really being emphasized in this shot is the oranges. There's a little bit of orange brought into the path here, in Allie's skin, on her hair looks great in this. And so you can see that again, while it's a different look, and a different photo to the previous two, it still has many things in common, and if you were to see these on a wall beside each other, you would consider them to be related, rather than three totally different unrelated images. Finally, I've got another shot of Allie,, and this was shot on the same day as the previous one. And you can see, she's heavily back lit from the sun. But as you can see, again, that the greens are really being emphasized in the highlights there and the oranges in her skin and in her hair and in the light. You can see that even though it's, again, a different shot and different style of image, it still has elements that link it with the previous images. By using presets, or working in the same way, you can emulate this which came for free with film, but with digital you've gotta work for. So finally, let's just revisit the image that we've made for one last time. I'm really happy with this shot. I think it's really nice. I think the Kodak Gold 100 is a preset that really works and created a really solid base, and the local adjustments and all the global changes we made have really pulled this out and made it into a great shot. In the next chapter, I'm gonna review that everything I've said and wrap things up.


