
 Lessons: 18Length: 1.8 hours
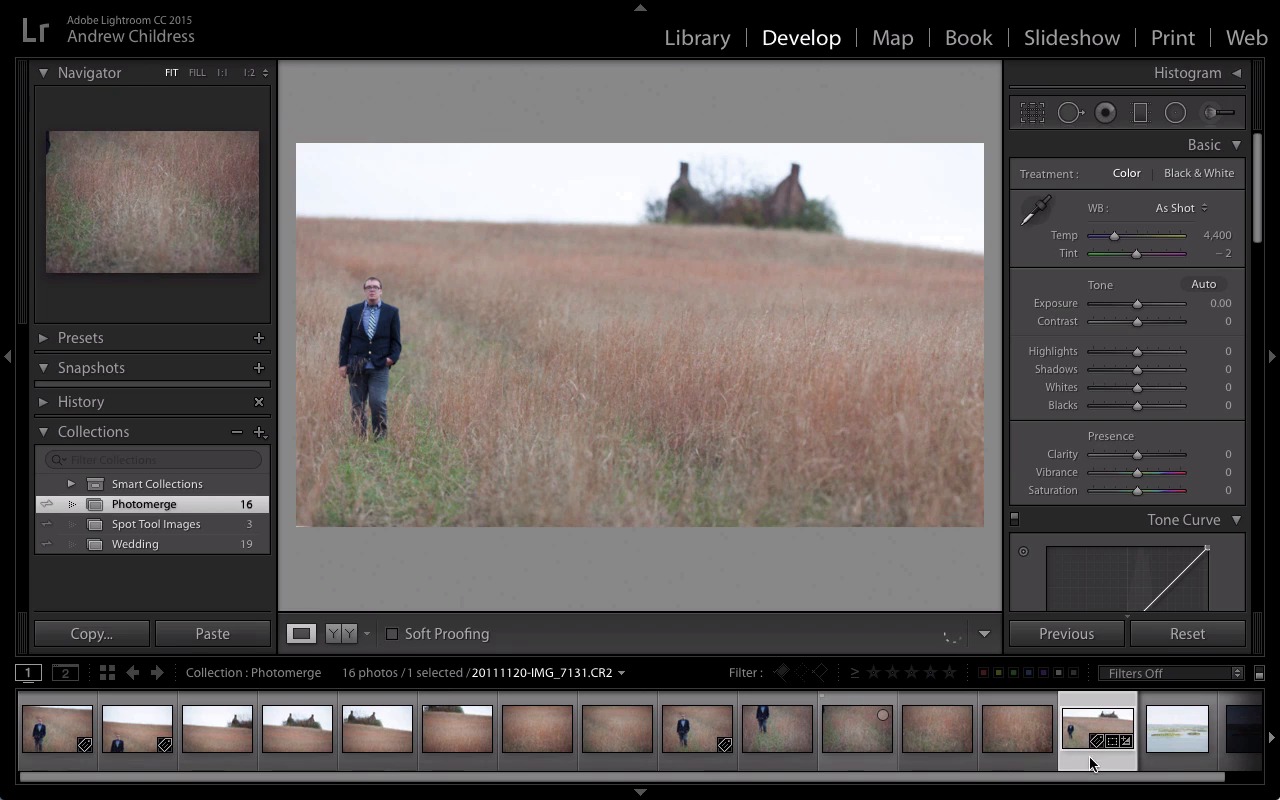

- Overview
- Transcript
3.5 Photomerge: HDR and Panorama
Another great new feature in Lightroom is the ability to "photomerge" images without leaving the application. Learn how to create panoramas and high dynamic range images with the photomerge feature.
1.Consolidate and Import
1.1Introduction01:00
1.2The Ideal Configuration03:05
1.3Import Your Images11:00
1.4Customize Lightroom's Appearance09:17
1.5A Flexible Workflow06:35
2.Manage Your Collection
2.1Collections and Culling10:18
2.2Star Ratings and Color Labels04:31
2.3Keyword Tagging05:39
2.4People Tags02:56
2.5Find and Filter04:07
3.Correct and Perfect
3.1Essentials of Image Correction06:45
3.2Image Adjustment10:02
3.3Correct Your Crop04:15
3.4Batch Processes Made Easy06:13
3.5Photomerge: HDR and Panorama04:43
3.6Spot Correction08:43
4.Out of Lightroom
4.1Concluding the Edit05:43
5.A Holistic Workflow
5.1Make Lightroom Work for You04:06
3.5 Photomerge: HDR and Panorama
One of my favorite features in the new edition of Lightroom is the addition of photo merge features for both panoramic images and high dynamic range images. Panoramic images are of course, the ones where we take lots of frames and merge them into a single large frame. While HDR images combine a series of different exposures to create one image with more exposure range. These features are historically features that we've had to use plugins or external editors for, but they're now located directly in Lightroom. And I'm gonna show you how to use each of them. The first thing that I wanna encourage you to do is make sure that if you have a GPU in your computer or a dedicated graphics card that its available for Lightroom to use. If you come tot he Lightroom menu, and choose Preferences and choose Performance, you can see here that my computer uses a dedicated graphics card and that it's automatically turned on. The reason that we do this is because Lightroom's performance will be much enhanced if we do have a dedicated GPU with this ticked. If you don't have a dedicated GPU, you can still absolutely use these features, they just may not be as fast. I'm gonna go ahead and close this box, and you can see here that I have a series of images shot that I'm gonna merge into a panorama. This is what's called a Boca Panorama and it uses a series of images with a shallow depth of field merged together for a super shallow depth of field final product. I'm gonna select them all by first selecting the first image and then shift clicking down to the last image. I can Ctrl+Click on these images or right-click on a Windows computer, and choose Photo Merge > Panorama. Lightroom is gonna generate a panorama preview in just a couple of seconds so that I can see what my final product will look like. Now, in my tests so far, I leave the Spherical option set by default. And I always tick the Auto Crop box so that Lightroom automatically trims the edges that can't be used. You can see here the final image is gonna be this super shallow depth of field image. And it looks like Lightroom's done a great job of stitching the images together. Once I click merge, Lightroom will start working on it in the background. And when it finished, I'll have a new panorama images. I used 15 frames for this so it'll take Lightroom a little while to merge them together. All right, so after a couple minutes, Lightroom has now built the panorama image. And we see it down here at the end of our filmstrip after the images we used as the source. You can see here that Lightroom has actually created a new image a .dng file. So this isn't some kind of virtual copy or something that takes place inside of Lightroom. It actually creates a whole new file outside of Lightroom as well, but the beauty of this is that, one we don't have to leave Lightroom, we can use it more as a comprehensive editor. And of course, the second major benefit is that all of our normal sliders, presets, and basically anything we've covered during the course of this lesson will work with panoramas as well. I think this is an awesome feature and I'm thrilled to see it in Lightroom CC. And another feature that I'm thrilled to see, is the ability to convert a couple of images of varying exposure levels into a high dynamic range image. And the beauty of the way that Light Room has implemented this is that they request you use fewer images than the traditional HDR process. So you can use a number of different frames with Lightroom's CC HDR option but because we're working with raw images, I'm actually gonna use just two which is the recommended use case. So with HDR of course, I had this over exposed image that's basically too bright, and then an under exposed image that helps us capture the shadow detail. We're gonna merge these two into a natural high dynamic range image. I'm gonna pick both of them. I'm gonna hold Cmd on my keyboard. You can use Ctrl on Windows and pick both. And then Ctrl+Click on Mac, right-click on Windows and choose photo merge HDR. And again, just like the panorama option, Lightroom's gonna generate and HDR preview here so that we can see what we're creating. You can see here that the image that Lightroom's gonna create is a natural looking HDR. It's not cartoonish or over the top. Instead, it really brings the best of both exposures. We get great shadow detail in the darker areas of the frame, and all of the sky detail at the top as well. I usually leave Auto Align and Auto Tone ticked. And if there's any ghosting aka if the images aren't perfectly aligned or there's some drag effect, you can just play with these settings. And again, so far in my testing, I found that the default settings are pretty great. Let's go ahead and click Merge. And just as the pano process created a new image so too did the HDR. It created a new dng file as well. And again, the benefit here is that we can also play with the sliders as well, and tweak the blacks or the clarity of the image. And we've removed the need to use a plugin or external application to work with HDR. So two great new features about how we can marry more functionality within Lightroom without leaving-


