
 Lessons: 19Length: 2.6 hours
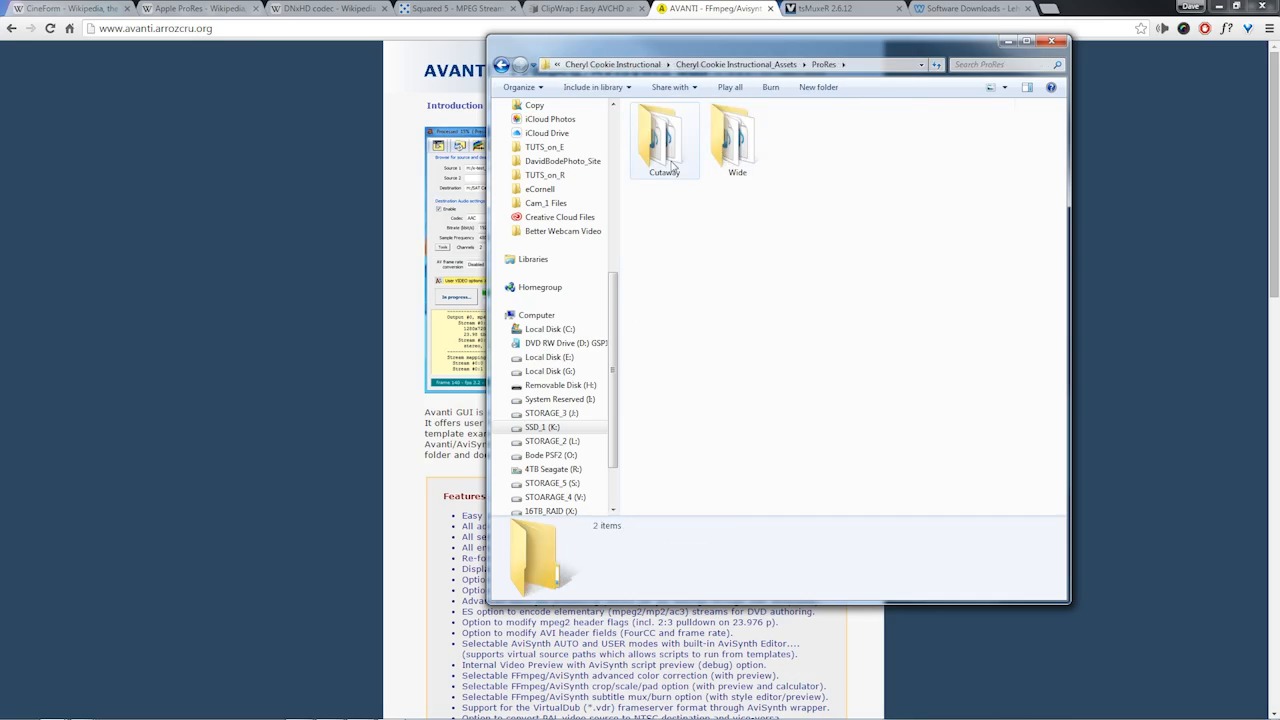
- Overview
- Transcript
3.1 Proxies and Transcoding
Depending on your computer hardware, you might need to transcode your footage for best performance. In this lesson you will learn what, why, and how to do it.
1.Introduction
1.1Introduction01:10
1.2What You Need05:03
2.Getting Started
2.1File Structure09:39
2.2A Quick Tour of HitFilm09:30
2.3Import and Organize09:53
3.Set Up Your Project
3.1Proxies and Transcoding09:24
3.2What Is Video Editing?09:50
4.Editing Basics
4.1The First Cuts Are the Deepest10:02
4.2Add Clips to the Timeline07:37
4.3Refine the Edit, Part 110:20
4.4Refine the Edit, Part 208:51
4.5Add a Cutaway Shot08:19
4.6Build on the Basic Edit12:37
5.After the Edit
5.1Color Correct and Grade09:39
5.2Sweeten the Audio08:03
5.3Video Effects and Transitions08:53
5.4Export04:35
5.5Compression09:06
6.Conclusion
6.1Conclusion01:08
3.1 Proxies and Transcoding
Depending on your video files and your computer hardware, you may need to transcode your footage for best performance. In this lesson, you will learn what, why, and how to do it. So before we go too much further, I'm going to take a few of these folders here that I've created and just get rid of them by selecting them and then deleting them. Now, if I jump into one of these folders, and pull out a clip on the timeline here, I just wanna show you what I'm talking about when it comes to performance. So if you look at these file names here, you'll see that all of them have a .mpeg4 file extension. And all of these have been encoded to that AVCHD format. It's a flavor of H.264. And HitFilm does not perform very well with these kind of files. You'll notice as I'm scrubbing along the timeline here with this current time indicator by just clicking and dragging, the playback is a little bit stuttery. The CTI right here, or the current time indicator, is not keeping up with my mouse. And so, trying to use these types of files in edit process would be very tedious because HitFilm would constantly be lagging behind and it would just be really frustrating to try and use. So the solution to this is to transcode the footage into something that's easier for HitFilm to work with. Now, the transcoding process takes this highly compressed AVCHD video file and turns that into something that's much easier to work with. The end result is that you get a video file that essentially looks indistinguishable from the original. It plays back much faster, but is much, much larger in terms of the file size. So I'm gonna get rid of this for now. And I wanna show you just a few of the options you have for transcoding your footage. Now, you need to know what you're going to transcode it to. So I have some tabs open here and I wanna walk you through some of the types of codex that you are going to want to transcode your footage to. There are a few industry standards that have very good quality, and they work well with all kinds of editors. One of those is CineForm, which is now owned by GoPro. Another is Apple's ProRes. And the third is Avid's DNxHD. All three of these provide a very high quality video type that's very fast to use but they all will result in making your files much, much bigger. Now, you're not going to be destroying your original files, you're just going to be creating new much larger, much easier to work with copies of them. Now, to do this, you're gonna need some application to take your original video files and transcode them to one of these codecs. There are a few free and a few commercial examples. I just wanna show you a few that I have up here, one of them is called MPEG Streamclip. Back several years ago, this was very popular to use for Macintosh users to get DSLR footage or AVCHD footage to work with Final Cut. And I know many of my friends who use Macs have had success with this. So that's one option you can check out. Another is from a company called Divergent Media, and that's a product called ClipWrap. I believe this used to be free, now it's a commercial product. And this works very well if you're on a Mac. Unfortunately, there is no PC version of this, but there are many other free encoders for PC that will work just fine. One of those for PC that works that I've had pretty good success with is an application called Avanti. Avanti is a GUI, which stands for graphic user interface. It's kind of the front end for a software library called FFmpeg. FFmpeg is the software library that does all of the work to the multimedia files. And Avanti is the application that makes it easy to use because you can use FFmpeg from a command line, but that's not super easy for most folks to do. Getting Avanti to work is pretty simple. There's just a few files you have to download and there's kinda a guided install process, it's really not a big deal. And there's going to be a link that you can find in the course notes that will link you to a tutorial where I walk you through installing all of these files, setting up the ProRes codec and transcoding your files. Again, it's not an overly complicated process. But it's a little bit more involved than what I can cover in this lesson. So I've already gone ahead and transcoded the video here, and I put in in a new folder called ProRes and I have the same folders that I did before. And if I right-click on one of these, I wanna open it up in an application called MediaInfo so you can see the settings that I used here. You can see that the codec is ProRes, it's 172 Mbps for the video. And I believe that the overall bit rate for the video and the audio works out to be around 174 or 175 Mbps. Now, megabits per second is a data rate. And that will give you some indication of the difference in the file size. So for example, this intro clip, which I believe is the longest clip that I'm using here, in ProRes is now 2.21 GB. But if I look at the Mpeg -4 version, the one that's been encoded to AVCHD, that is around 16 megabits. You can see AVCHD, I believe it's the same exact audio because I just copied it. And that bit rate is somewhere around 14 to 16 depending on the file. But if you look at the file size, this is 193 MB and this is 2.2 GB for the same exact length of video. So transcoding it to these intermediate codex will blow the file sizes up significantly upwards of ten times or more depending on what your original files or in. So you're definitely going to need some space for this to work. But everything else is going to be a much better experience because once we get these imported into HitFilm things are gonna work much better. And if I pull that same intro clip on another timeline, if I scrub with this, you'll see that the performance is much, much, much, much faster. The current time indicator here is keeping right up with my mouse. And so, these transcoded clips are gonna be much faster to work with inside HitFilm. Now, there is a way that you can kinda do the same thing in HitFilm. And that's called making a proxy. Now, a proxy is a very high quality version of your video, but it's done inside the software. And basically what you do is you select your video and you can right-click and choose Make Proxy. And you can do this with one video or multiple videos. And when you do HitFilm gets to work doing a very similar thing. It's transcoding the video into a high quality format that's going to be easier for it to read. And if I pull up the processor panel here, you can see it's getting to work on this file. Now, in my experience, creating proxies inside of HitFilm is not nearly as efficient. For one thing, it's way slower because it does not utilize all of your CPU power to create these proxies. So it's pretty slow. And the performance difference in these proxies compared to these ProRes transcoded files is not quite as good. It's better than these original AVCHD files, but it's not nearly as fast as these ProRes files that I've transcoded. But down the road you may experiment with using these proxies for things like composite shots where creating a proxy is basically going to do a pre-render of all of your fancy visual effects and that's gonna make it much easier for HitFilm to work with. So for now, I'm gonna stop this from being created. If I let it go through basically what would happen is it would replace this video file and every time it was used throughout any shot that I put together in HitFilm, this CCI_Intro_Wide.mp4 would be replaced with that proxy. And the performance should improve a little bit. But for now, I'm just gonna get rid of all my mp4 files. So I only have these nice ProRes files to work with. Now, I did mention before that I was going to talk about how to join up your spanned AVCHD video clips. The ones that had been broken up in a smaller parts by your video camera. But what I wanna do instead is point you to a tutorial that I put together that specifically deals with how to do that. Because it's a little bit outside the scope of this video course here. But you can find a link to that in the course notes. And that will show you exactly how to join up those AVCHD video clips. In the next section of this course, you're gonna dive in and start learning what it is to edit video. You're gonna learn about emotion, story, rhythm, pacing. How to trim up your clips, how to add those clips to the timeline, how to refine your edit, and much, much more. So check that out coming up next.


