
 Lessons: 19Length: 2.6 hours
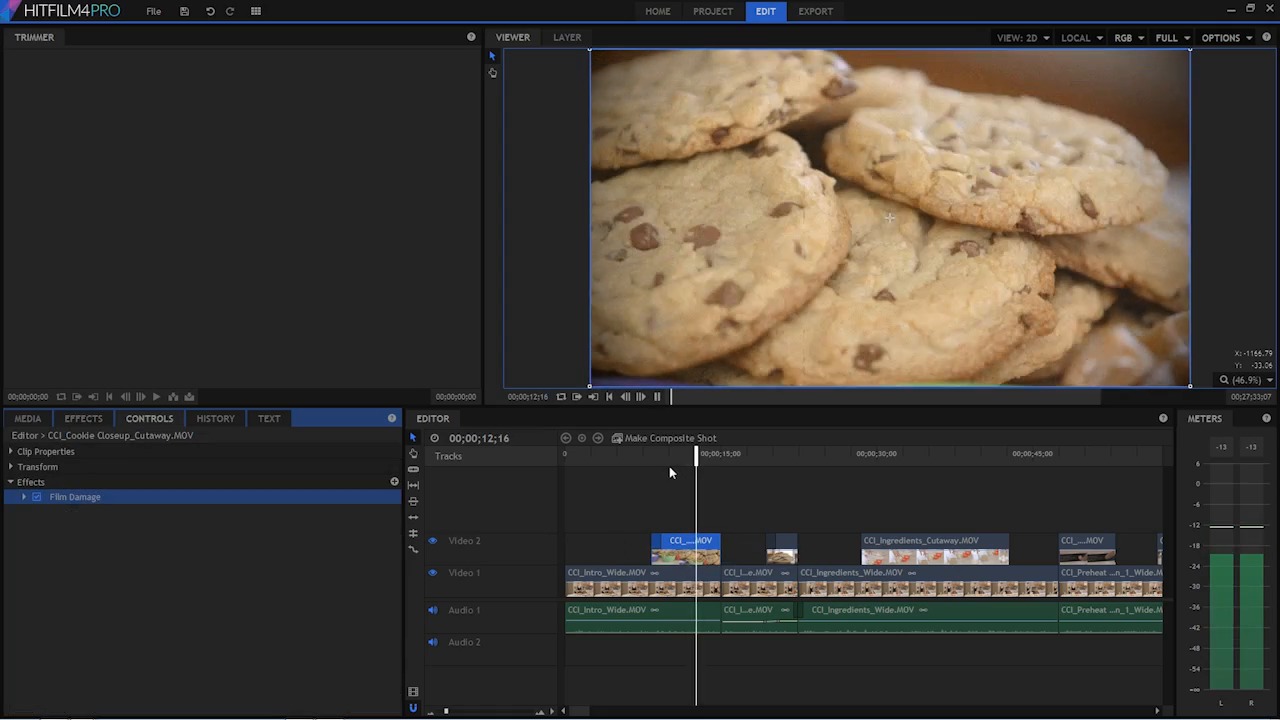
- Overview
- Transcript
5.3 Video Effects and Transitions
In this lesson you will learn about video effects and transitions you can add to your video.
1.Introduction
1.1Introduction01:10
1.2What You Need05:03
2.Getting Started
2.1File Structure09:39
2.2A Quick Tour of HitFilm09:30
2.3Import and Organize09:53
3.Set Up Your Project
3.1Proxies and Transcoding09:24
3.2What Is Video Editing?09:50
4.Editing Basics
4.1The First Cuts Are the Deepest10:02
4.2Add Clips to the Timeline07:37
4.3Refine the Edit, Part 110:20
4.4Refine the Edit, Part 208:51
4.5Add a Cutaway Shot08:19
4.6Build on the Basic Edit12:37
5.After the Edit
5.1Color Correct and Grade09:39
5.2Sweeten the Audio08:03
5.3Video Effects and Transitions08:53
5.4Export04:35
5.5Compression09:06
6.Conclusion
6.1Conclusion01:08
5.3 Video Effects and Transitions
In this lesson, you will learn about the video effects, and transitions you can add to your video. Hit film comes with a huge amount of video effects. Some of them you can use in the editor, here. A bunch of them you can use in the compositing side of this application and do some really advanced particle simulations, and three d animations, and do some really, really impressive looking stuff. What I want to show you here are more of the standard video effects that you'll be using all the time. Now we looked at some of those in the color correction and color grading lesson. But there are many, many more video effects and transitions that you may want to look at and experiment with. So let's look at a few transitions first. If I scroll down here to transitions, you can see there is an audio transition and a video transitions. I do want to show you an audio transition. In fact, there's only one. There's a fade. This is very useful to use between clips. So let me play you just a portion of this sequence here, and listen to the audio. It's gonna be more clear if you have headphones. But you still should get the idea if you don't. >> Hi. My name is Cheryl Ziegler, and in this video, I'm going to show you how to make big bakery style chocolate chip cookies. First let's go. >> So right here, between this clip and the next clip, there's a little bit of a shift in the background audio. And one thing that'll make that really smooth is a fade, so what I could do is just bring this fade out here and drop it right on these two clips, and now listen to the transition. >> Chocolate chip cookies. First let's go over the ingredients. You. >> It brought the audio down at the end of this clip and kind of brought it up in the next clip. So that may be helpful from time to time. You can also use that fade at the end of a clip and it'll just fade it down for you. >> It barely melted. And that's helpful too. You can use the trim tool and just make this longer. >> I can set a time until it's barely melted. >> So that can be very, very useful if you don't want to draw key frames. Because you can also just draw two key frames here and do the same sort of thing. But sometimes it's faster just to add this fade effect, and that way you don't accidentally Bumped the level of your audio track here. Now how about video transitions? If we take a look here we have just a few there's a motion folder, there's a white folder, there's a zoom folder. There's a fade to color, an iris transition. I tend to like more simple things like a cross dissolve,and so I'm just gonna drag one of those out here. >> You how to make big bakery style chocolate chip cookies. >> So that just basically faded this clip up, but you could also use a cross dissolve between two clips. For example, let me turn off this video track here and I'll come back and throw a cross-dissolve in between these two clips right here. >> And best of all, easy. Hi, my name is Cheryl Bigler. >> Now that may not be the most appropriate >> Here but it just shows you how the cross dissolve works. It phased down the opacity of this clip, while simultaneously fading up the opacity of the next clip. And there are several more transitions that you can experiment with. There's a light leak dissolve transition, turn this video, track back on and apply that to this clip right here. >> Just the right recipe. Not flat, not too dry- >> Super bright exposure, hyper saturated kind of colory thing. I must admit, I do kind of like those. There's also a number of other basic effects, things like blurs. Blurs are very, very useful for building different elements, and there's a bunch of different styles of blurs. So they have a basic blur and you can make all sorts of adjustments. There is this kind of diffused blur which gives you that kind of old Hollywood diffusion lens filter. You can throw it here and see what that's gonna do. Gives you kind of that misty kind of look. So lot's of diffused blurs and they are very, very handy to have. There's some interesting things down here in Grunge. These are certainly more kind of stylized but. If you were doing something and you needed kind of an old filmy type of thing. This is a really cool plugin that combines Grain, Stains, Dust, Scratches, Shake, Vignette, Flicker and Defocus. Really cool kind of multi-affect, affect that's got many different elements in there. In a lot of these you can find the single type version of those in some of these other folders. So you have the flicker, the grain, lens dirt, I'm not sure if that's in there, the shake. You can also kind of build those things custom, or you can just put the effect on there and you can enable or disable the stuff that you think looks good. We have some sharpening filters here. That's also very useful. Sometimes that'll be done in the color correction or the color grading phase. It really depends on kind of your style and what kind of gear you're shooting with. I don't often find that I need to sharpen too much of my footage, but back when I was shooting a lot with DSLR's and other sorts of cameras, those definitely did need to be sharpened because they have a very soft look to them. So they're are two affects here, you have your basic sharpen and there's going to be kind of the strength here. And that looks to actually be quite a subtle affect, let's bump into 100% here to get the full effect. But you can see that this is all the way down, and as we push that up it is starting to sharpen. And it does look like it's doing a pretty nice job. Under video cleanup, there are a few interesting filters here that you may want to look at. There's one called grain removal. So if you're shooting footage that's excessively grainy, and you don't like that, that's probably an affect that you want to experiment with. There's a denoise affect. That again is going to be an affect that will help you to clean up your footage. Now all of this footage that you're working with here is pretty nice looking. Doesn't have a lot of grain, doesn't have a lot of noise, but that's not always the case with certain cameras. If you shoot in real low light, you're almost certainly going to have quite a bit of noise. And so denoising or grain removal can help to fix that. The rolling shutter effect can be useful to clean up footage that has some rolling shutter warped distortion. You can experiment with that. There's also some interesting effects in here under color correction. You may have seen there's one called pro skin retouch. By default this is a little bit drastic but this is basically a selective blur, so you can pick a color of skin tone. And it probably works better if I uncheck it. And I'll pick the color of Cheryl's skin here. And then what I can do is I can re-enable it. And then I can blur it just a little bit. Now for this particular scene, that does not work incredibly well because a lot of the other tones in here are the same or similar color. But you can kind of adjust that with some of the settings here. One effect that I use quite a lot is a glow and I think this is a cool effect. Now it's probably not a cool effect for this, but a glow is one of those effects that I don't know if I can live without. I use it all the time for various things. I use it on text, as a special effect. Glow is a very cool effect. The effects that you're seeing here, some of them are exclusive to Hit Film. They have some really great effects, but many of them are effects that you're gonna find in other editors. So if you decide to move up to Premiere or Avid, or Final Cut, or some other editing application down the road. These are the effects that you're going to use. These are standard affects that's used in all kinds of video editing. These blurs, and color corrections, and color wheels, exposure adjustments, sharpening, noise, grain, denoising, all those sorts of things. And remember, you can add affects to your heart's content. We can add tons of things and make it look as wacky and as crazy as you want. Maybe that works for your particular video. Maybe you just wanna experiment. It doesn't really matter, you can have fun. Because nothing that you were doing is altering those original files. At any point in time you could just go to the particular clip and remove the effects. Now that you have learned the basics about video effects and and transitions. You are ready to move onto the next lesson in this course where you're going to learn about exporting.


