
 Lessons: 22Length: 3.6 hours
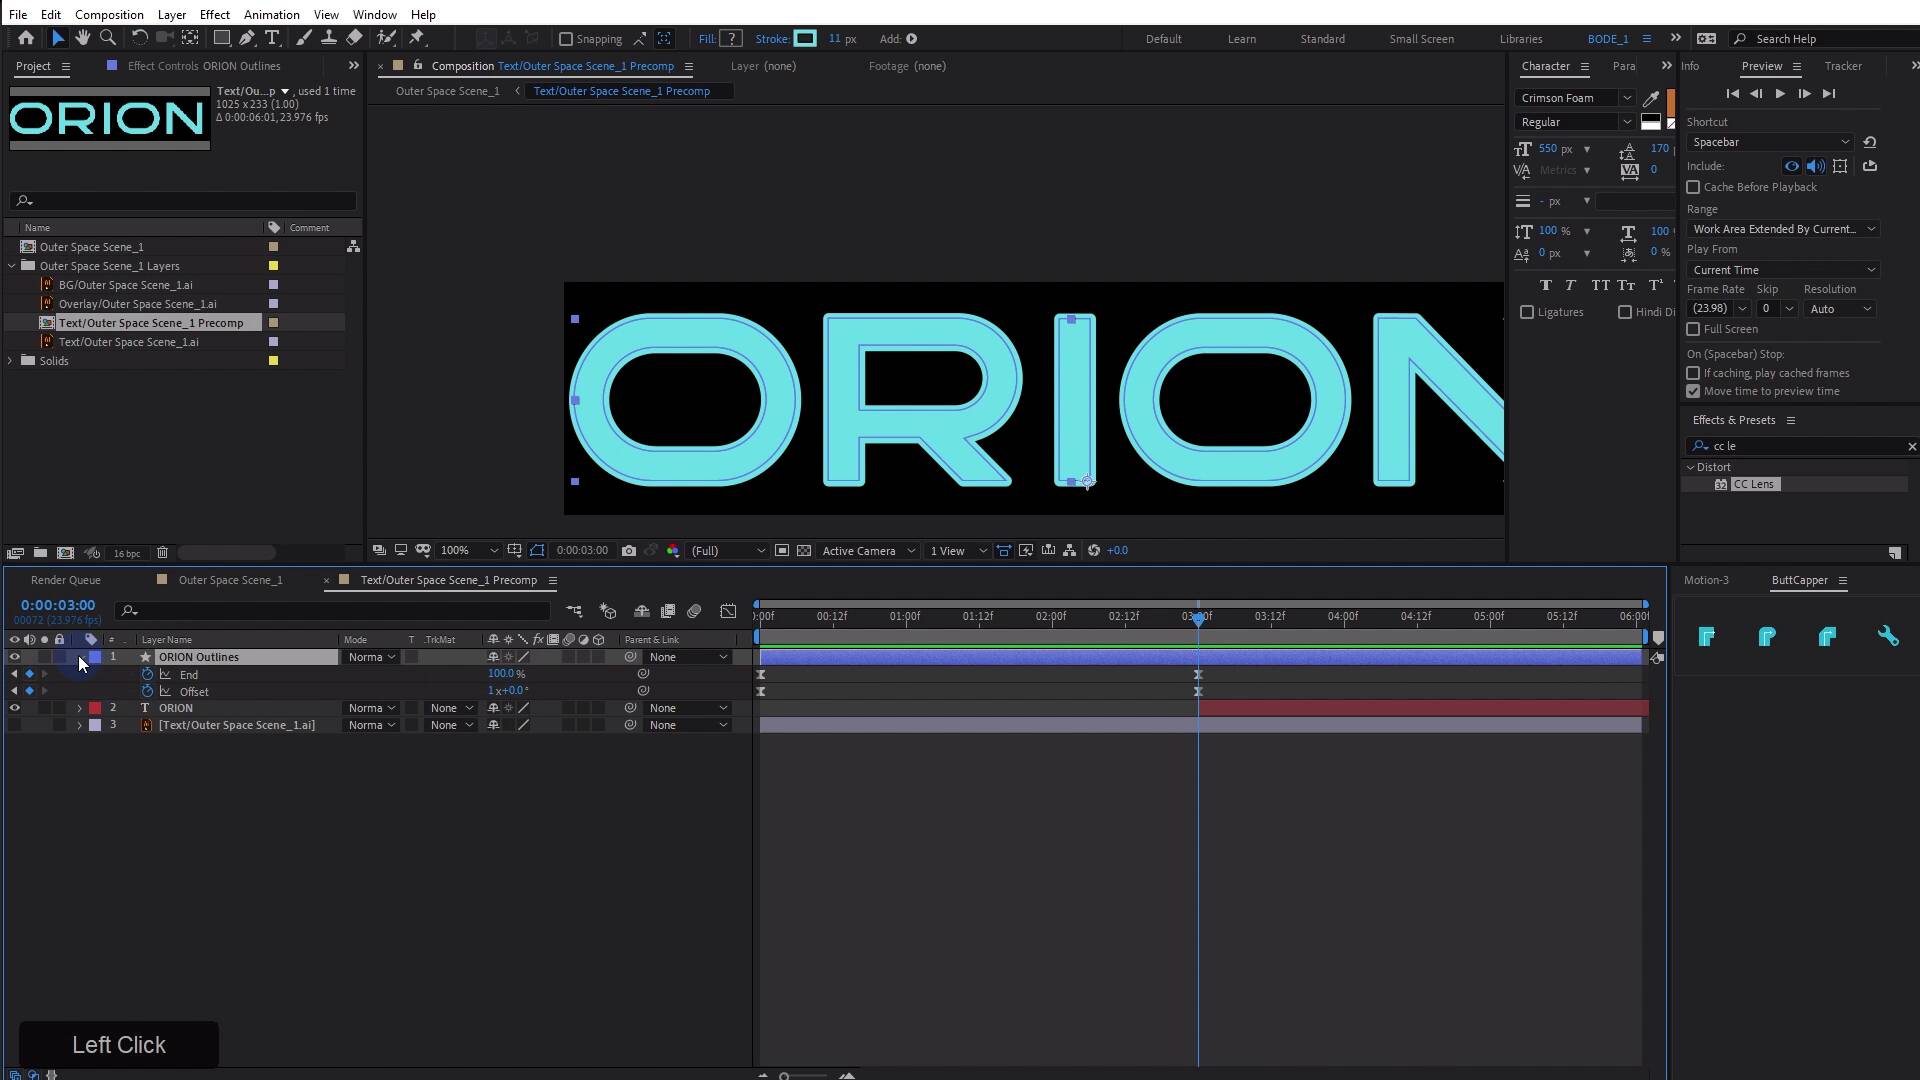
- Overview
- Transcript
4.2 Outer Space: Animating Strokes & Glow Effects
In this lesson, you will learn how to punch up the text by animating strokes and working with glow effects to give this a fantastic look!
Related Links
- Gempire Font (#63d8e5)
- Futuristic Background
- FX Console
1.Introduction
1.1Introduction02:55
2.Basics
2.1Keyframe Basics14:03
2.2Reveal Text With Masks and Shape Layers12:08
2.3Basic Text Box Reveal08:57
2.4Bounding Box Reveal11:48
2.5Text Reveal Rectangles: Part 113:02
2.6Text Reveal Rectangles: Part 208:44
3.Burger Logo Reveal
3.1Burger Logo: Prepare the Artwork11:54
3.2Burger Logo: Animate the Layers11:04
3.3Burger Logo: Final Touches10:46
4.Outer Space Intro
4.1Outer Space: Animate With CC Lens09:53
4.2Outer Space: Animating Strokes & Glow Effects13:42
4.3Outer Space: Lens Flares08:44
4.4Outer Space: Noise & Grain12:14
5.Boutique Text Effect
5.1Boutique Text: Prepare the Artwork06:59
5.2Boutique Text: Create the Layout06:14
5.3Boutique Text: Inertial Bounce Expression11:20
5.4Boutique Text: Wiggle Expression06:06
5.5Boutique Text: Layer Control06:07
5.6Boutique Text: Handwritten Text13:07
5.7Boutique Text: Final Touches11:38
6.Conclusion
6.1Conclusion02:09
4.2 Outer Space: Animating Strokes & Glow Effects
[MUSIC] In this lesson, we're gonna punch up this text with some cool text effects, and give it a really cool kind of electronicy look. All right, I'm gonna jump over to my project panel here. I'm gonna select my text layer in the outer space scene, underscore one layers. These are the illustrator layers. So I'm gonna select my text here, and then replace with pre-comp. Then I'm gonna double click that to open it. And actually, if we look at this comp right here, you can see that, that layer has been replaced with the text pre-composition. If you double click this, that's gonna open up the same comp here. So what I wanna do in this comp here is animate the text to do something a little bit more interesting. And I wanna get access to the text characters here. So to do that, I'm gonna double click on the text, and I'm gonna copy it from Adobe Illustrator, and then in After Effects, I'm gonna grab the Type tool. Just drop it in anywhere, and then paste, and then press Enter on the numeric keyboard. And now, I have that text exactly as it appeared in Adobe Illustrator. Any kind of weird formatting that might have been done in Illustrator, transfers over to After Effects, it's very handy that way. Now, what I'd like to do is convert this text to shape layers. Now, you may be wondering, why I just didn't take the text layer here, and choose create shapes from vector layer. And that's because for whatever reason, it doesn't work with some text layers, so I'll just paste the text from illustrator, and that works totally fine. So on my text layer now, I'm going to right click, choose Create, and then create shapes from text. Now if I didn't mention this before, this GEMPIRE font is from Envato elements, tons of great fonts there, and this is one of them. So let's look at this shape layer that I just created. I'm gonna drill down, it looks exactly like the text, but what I wanna do is give it kind of a stroke effect. And I wanna animate the strokes around the text, and then have the fill kind of flash in. And I'm gonna do that on a few separate layers here. So the first thing that I wanna do is, I'm going to expand all of these layers here. In fact, I'll just hit the tilde key, so I can see what I'm doing. And I'm gonna grab all the fills and strokes and delete them. Now you could just turn them off up here, but that's gonna get a little bit confusing down the road. So I'm just gonna delete them. Then I'm gonna come over here, and with the content selected, I'm gonna choose Add and then stroke, and that's gonna put a stroke down at the bottom of this stack. And that way, I can control one stroke for the entire layer, all the shapes will have this stroke, and it just makes it easier to animate. So let me hit the tilde key again, and let's look at what is going on here. So that's too much stroke, I can tell. I'm also going to have the stroke match the color of the text. So I'll just use the eyedropper tool there, perfect. Then what I would like to do is, I would like to add a trim paths. So I'll just select contents and then Trim path, which is just off the screen there, let me just pull this up so you can see, trim paths. Okay, and that put the trim paths at the bottom of all of these groups, which means that the trim paths will essentially affect everything that's above it. And if I just pulled down the end, I can kind of see what I want it to do. So there's two things that I wanna animate here, and I'll just animate them right now. I'm gonna come back to the beginning of the comp here, I'll drop a key frame on end and offset, then I'll go to about three seconds. I'll put the end at 100%, and I'll put the offset to one, which will do essentially one full revolution or rotation of the offset. And then when I play this, you can see what it's gonna do. It's got this really cool kind of wrapping line effect. Now, if you pay attention to what's happening in the O right here, something strange is going on. It looks like the line sort of stops right here, and then it draws the middle line. It completes the middle line, and then it goes back to the outer line, and then it starts taking away some from the middle, and then putting some back. It's very sort of busy and I don't like it. And what I discovered is that, the reason it's doing this is because, the O is made up of two groups here. So we have a path on this group, and a path or two separate paths rather. And each one of these paths then has a merge path applied to it, and the merge path is basically to subtract this middle bit from the outer bit here. So that when it's filled, it doesn't look like just one oval. Well, it's got a hole in the middle, but you see, I don't actually need the fill. So what I'm going to do is get rid of this merge path here in the O, the R and then the other O. And now when this plays, you're gonna see that the lines do what they should do, and that's continually move without stopping. Which I think you will agree it looks a lot better especially for the O. Now, would you actually be able to notice that it's doing this weird thing with the O and the R, and the O? I don't know, maybe, I don't like it, so I'm gonna get rid of those merge paths. Finally, I'm going to select to the key frames here, and just apply some easy Es with the F9 key, let's see what we have. Okay, not bad, I also might like to change the line cap here from the, well, this butt cap to a round cap. So I'm just gonna select the layer here, and then I'm gonna use the butt capper script which is free to change all of the caps, super easy. Now, if you don't like the 90 degree or hard kind of corner here, you can also change the line, join style to round by alt clicking using this, and that has a nice look as well. [SOUND] Okay, so right at three seconds, what I would like is for the fill on this layer to come in, I love fill, he's a great guy. And then on my stroke layer here, I'm going to animate the stroke with, from whatever it is down to 0, like this. So it's gonna come in like this. It's gonna wrap around about a boom, and then it's gonna go down to 0. Now, I think that was probably too slow, and this could probably go more like two seconds I think. I think that'll look good, but we'll look at it in a second. So make some small adjustments there, just on timing. Let's jump back to the scene and check out what I have so far. Yes, that feels right I think, that looks right. Now, it doesn't have quite the right look to it at the moment, I want it to have kind of a glow sense about it, something that indicates that it's maybe giving off some light. So a couple different ways that we can do that one, I can set this to additive blend mode, and that will give it, well, sort of, this kind of light type properties to it. I can also add a glow, I'm gonna set that back to normal. So with my effects console here, I'm just going to add a glow, that's the same as just coming over here to the effects and presets, and typing in glow, it's just a little bit faster. The FX console is a free plugin from video copilot, and if you use After Effects, you should definitely check it out. So I'm gonna jack up this glow here, and I'm gonna turn up the glow radius and maybe, the threshold, I wanted to kind of almost be looking like it's going to white, and the glow is more bluish, I don't know, something like that, maybe. Sometimes it takes multiple glows, so you may have to kind of stack this, and then you might shrink this down. This one might be like this, and then you might adjust the intensity of the glow to get it to look how you want. I think that actually looks pretty good just like that. There are some third-party glows that are pretty cool looking as well, I'm gonna show you that in this comp here, in fact, I will make this comp much bigger like that. And I'm gonna show you a third party glow called Deep Glow, which I now see is not going to work, cuz I need to apply it on this layer, and deep glow looks really, really cool. It's got a different way of applying the glow, and it has this look to it that I think is fantastic. Now if I wanted to get this to work, right? I would have to increase the height here, maybe lose some of the width, there we go. And I think that just looks really fantastic. And that's just in its kind of stock iteration here. If I copy that to my lines, that would look even crazier. It might just pull down the radius there, I think that has a really great look to it. But this is a third party effect, it does cost, I believe, $50. You can find it on aescripts.com. I think it looks a fair bit better than the stock glow, but let's just stick with the stock glow for now. And I think this is looking pretty good so far, I like this. Now, one thing that I wanna make sure is happening is that, this stroke layer here, which I pulled down to the bottom is gonna be completely off. So actually, when it goes down to zero, I'm just gonna trim it up, so that I know that it's out and it's not gonna be having any stuff or junk hanging over, and messing with the overall width of my text. So this is looking cool. We can also turn on the motion blur, not the 3 switch, the motion blur for this stroke. I'm not sure that'll translate a tremendous amount, Yeah, then I know. I might also be able to punch up this section here. What we might be able to do is, kind of fake some more intense glowing by duplicating this outline layer here. I'll hit U, and I'll go to where the stroke is being animated right here. And I wanted to start a little smaller, in fact, I want this to be almost white like this. And so I want this to just kind of be kind of a white inner part here. In fact, I can probably go about them, maybe a stroke with a four, and then I'm gonna come to my effects console, and I'm gonna do a Ghazi and blur. And I'm gonna blur this out a little bit, and I think that should work. Maybe we'll bump this up a little bit more, something like that. I think that looks pretty good. And I may be able to set this to like, additive mode. Yeah, that I think looks cool. In that case, I'll pull that back down, and then increase the blur a little bit more. And now, it really kind of has a little bit more of a neon sort of effect to it. The other thing that I wanna make sure is that, it completely disappears here, yeah, okay, cool. So now, let's check out how that looks in the mix here. And I think it may be just a little bit too much, so I might pull it down just a hair, because this glow right now, I think is a little bit too intense. And I may want to adjust or animate the glow intensity, and maybe punch it up right here, and then I'll pull it down just a little bit here Maybe I will just go one frame before then, and then punch it in like this. Yes, I like that. Now overall, I think this has a pretty good look to it, but I think we can punch it up a little bit more with some lens flares. And you're gonna see that coming up in the next lesson.


