
 Lessons: 22Length: 3.6 hours
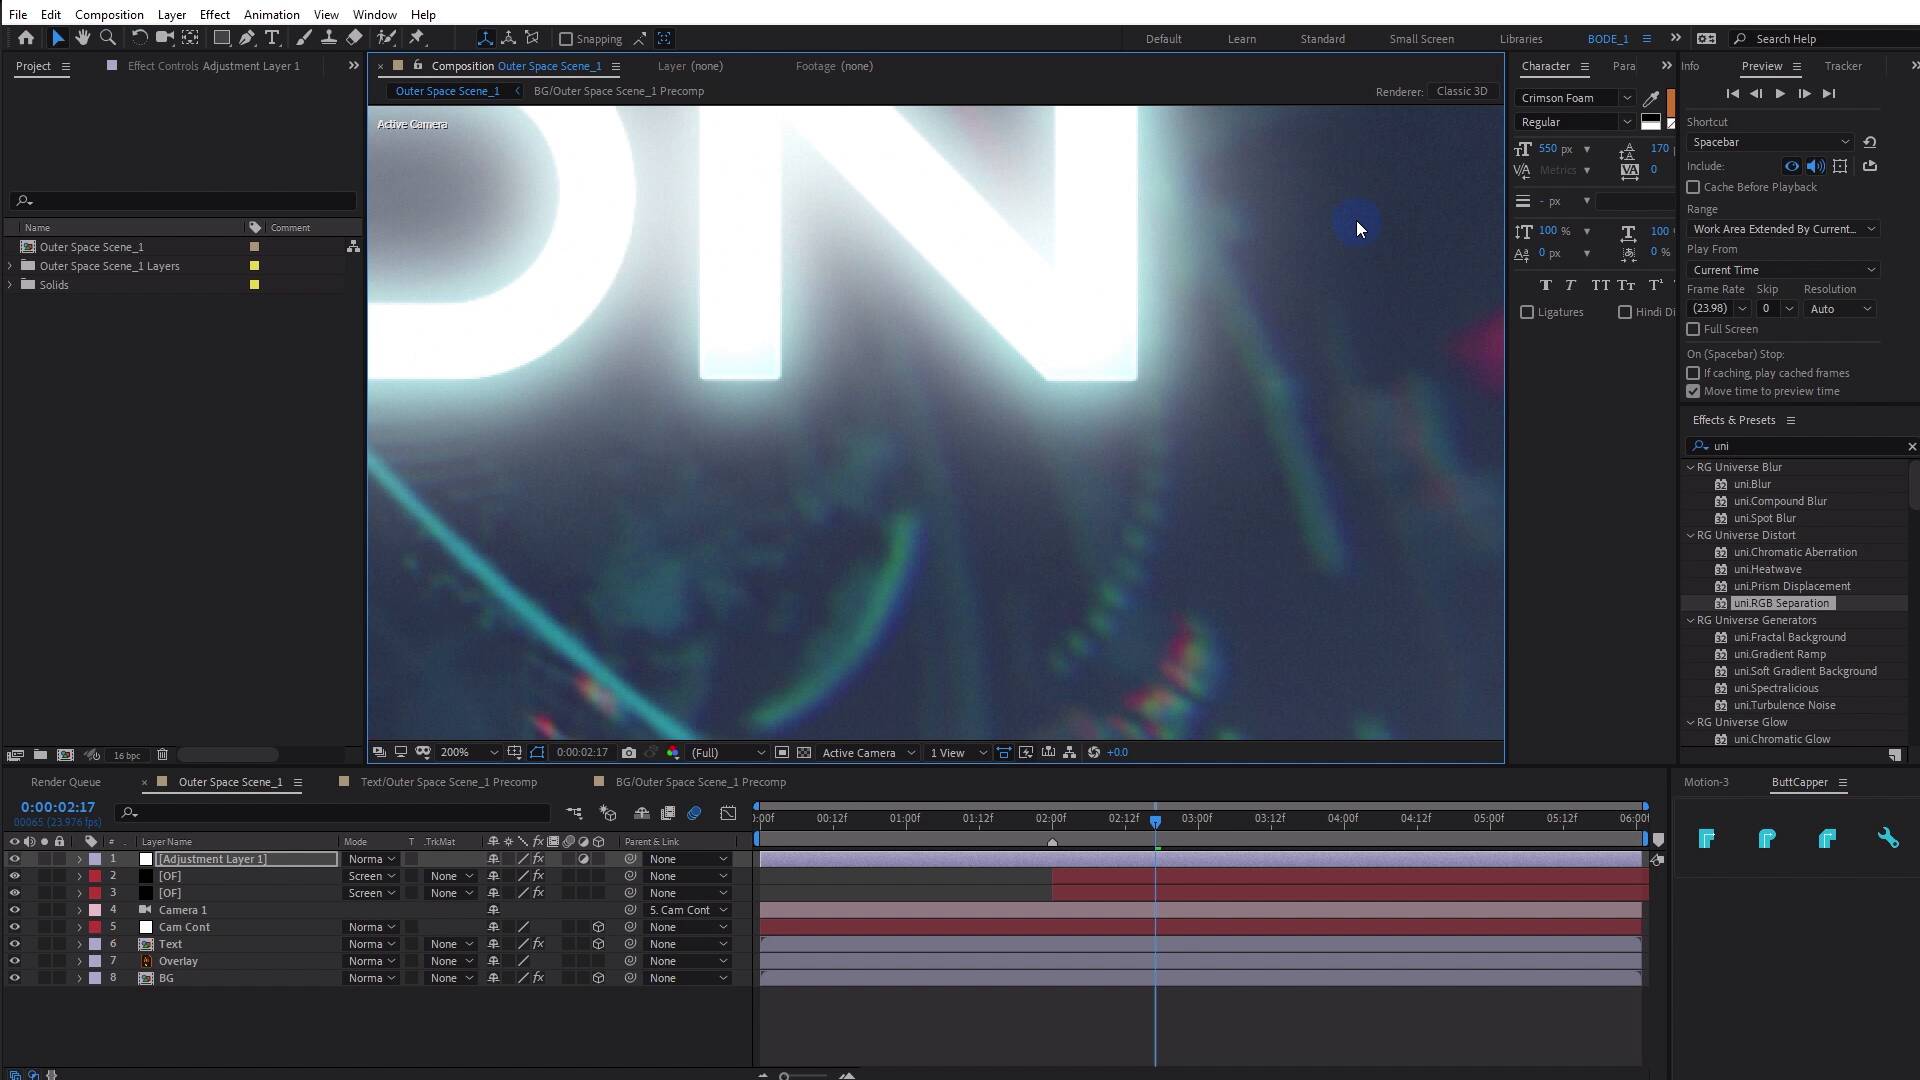
- Overview
- Transcript
4.4 Outer Space: Noise & Grain
In this lesson, you will learn the secret to using noise and grain to make sure you don’t have banding in your final renders.
Related Links
- Gempire Font (#63d8e5)
- Futuristic Background
1.Introduction
1.1Introduction02:55
2.Basics
2.1Keyframe Basics14:03
2.2Reveal Text With Masks and Shape Layers12:08
2.3Basic Text Box Reveal08:57
2.4Bounding Box Reveal11:48
2.5Text Reveal Rectangles: Part 113:02
2.6Text Reveal Rectangles: Part 208:44
3.Burger Logo Reveal
3.1Burger Logo: Prepare the Artwork11:54
3.2Burger Logo: Animate the Layers11:04
3.3Burger Logo: Final Touches10:46
4.Outer Space Intro
4.1Outer Space: Animate With CC Lens09:53
4.2Outer Space: Animating Strokes & Glow Effects13:42
4.3Outer Space: Lens Flares08:44
4.4Outer Space: Noise & Grain12:14
5.Boutique Text Effect
5.1Boutique Text: Prepare the Artwork06:59
5.2Boutique Text: Create the Layout06:14
5.3Boutique Text: Inertial Bounce Expression11:20
5.4Boutique Text: Wiggle Expression06:06
5.5Boutique Text: Layer Control06:07
5.6Boutique Text: Handwritten Text13:07
5.7Boutique Text: Final Touches11:38
6.Conclusion
6.1Conclusion02:09
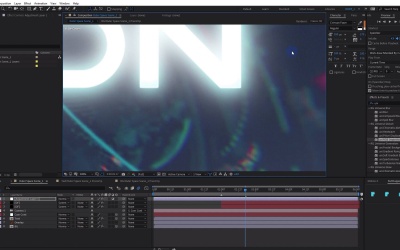
4.4 Outer Space: Noise & Grain
[MUSIC] In this lesson, you're gonna learn about a pro-tip that will help your lens flares and gradations look fantastic when you export. [MUSIC] Now, here's a bit of a pro-tip, all right? We've been looking at this for a while. Right now, my project is in 16 bits per channel color depth. Now, the default in After Effects is 8 bits per channel and you're thinking, okay and what's your point? I'm following you, but why does it matter? Well, it matters because of banding. Anytime that you have gradients, and in particular lens flares, we just solo up these flares for a second here. Well, you will see and this is going to be subtle, because of the compression that will be done to this video, but you can see hopefully there is some banding going on in here. There we go. We're seeing it stronger here as the gradient gets less bright. And that is because in 8 bit per channel color mode, the red, the blue, the green, and the alpha channel only have 256 values to work with. And if this were a full kind of black to white gradient, we could come up with a pretty smooth gradient over the distance of the corner to maybe the center of the screen something like that. We could get a pretty good gradient there. However, as the gradient gets smaller in terms of its contrast, so instead of going from black in the middle to white at the edge. If we go from more of a light gray to more of a just slightly brighter gray, then we have a lot less colors in between these two to work with. And the result is banding which is what you are seeing right now. The banding is not inherent in the plugin for optical flares, it's just the reality of working in 8 bit per channel color mode. Now, if you alt click on this and you jump up to 16 bits per channel, well you'll see as this gets better, but still there is some banding if we go to 32 bits per channel. You may also see a little bit of banding it should be better, particularly against the background. However, 32 bits per channel is gonna really screw up anything with glows on it. So let's go back to 16 bits per channel, and we'll zoom way in here and see if we can detect any banding. Sometimes, you can't detect it with your eye but when you go and compress this you will see more banding. Because some of the color compression, when you export your project, is going to average the colors out. It's gonna say, well, I know this is a gradient, but when you save space here, so we got to throw away some of this color information. And so, the banding comes back in, because ultimately you'll probably be delivering this in an 8 bit codec of some sort. So, I can see some banding right up here in the corner. I don't think you will be able to, after this gets compressed, even in 16 bit per channel color depth. So the way to fix this and I do this with almost all of my After Effects projects and this is like super secret, top secret pro information, [SOUND] is with noise. [SOUND] It sounds crazy because in the world of cameras we think of noise as being bad, right? You want a camera with less noise. However, noise is a magical thing. If you think about what's happening here with this gradation between the lights and the darks, and we'll go back to 8 bit mode, so that you can hopefully see some of these banding artifacts even more. Is if I take this adjustment layer that I just added and I drop a noise effect on it, and then I turn up the noise at some point, That banding is going to go away. Now, that's too much noise for sure. But on top of all of the other layers, it may be enough to kill some of that banding. Plus, what we can do is we can kind of stack this noise effect by. So instead of just adding it to the adjustment layer, I'm gonna copy this and I'm gonna add it to this layer right here. And I'm gonna turn it way down. Maybe 1%, and I'll copy this and I'll add it to this other optical frame. Oops, that's down here. So now, I have two little tiny grains, and you can see it. If I can zoom way in, you should be able to see it. There's definitely noise there, right? If I click off one of these, you're gonna see it reduce. However, if we're looking at 100%, you can just barely make it out. And by the time this gets compressed, you're not really going to see it. And then, we add the top layer of grain on top of this and I may add just like 2%. It's very, very small. And then, here's the magic in After Effects, we're gonna go from 8 bit to16 bit per channel and check this out. There's no banding, like even if we zoom way in, you can't see any banding, is just gone. Now, there may be just the very slightest bit of banding there. And I'm being honest with you, I don't see it. However, when this gets compressed, you may be seeing some banding but in real life, it's not there. We're thinking yeah, but this looks grainy. Well, look at it context of everything, first of all the noise I think looks cool. So there is that, I think it adds a nice grit and a sort of overall just blend to this, which I think looks really nice. Secondly, when this gets compressed especially for the web, a lot of that noise will get sort of compressed out, all this little detail here. The H3264 won't really handle that, especially if this is going to YouTube or something. This kind of individual, every pixel is different. Sort of look, a lot of detail gets thrown away. And so, adding noise can really help things. You could also add grain to this as well. So instead of noise, which is a very, very fine effect, so the noise is a very fine effect and I'm going to turn it off, these two layers here. You don't have to stack it either because you can see that, the banding is mostly gone with just this top level noise here. Sometimes, I find it helpful to put just a tiny bit of noise on the optical flares layer, but you can see that it's pretty much gone here. I'm not seeing any banding right now, but another effect that can give it a nice overall look is the Add Grain effect. So, right over here, we'll just pop in Add Grain. Now, if you think your computer is fast, go ahead and set this to final output. Then, you may wanna turn down the intensity to something like 0.5. Yeah, just 0.5 for intensity, which is a nice effect, maybe even 0.3 or something like that. This is applying a nice grain effect and you can see the noise is off right now, but it is adding a little bit of something. In fact, I'm gonna jack this up to 0.6, so that you can see it more once this gets compressed, but watch how long this takes to render just one frame, okay? It looks like it's going actually pretty fast. Let me put this at a 100%. You're saying well, yes, it's kind of it gets going. But consider that the machine that I'm running this on is a 16 core AMD Ryzen 3950X 128GHz of RAM. This is not a slouch computer, but if you're trying to use add grain on any slower computer, maybe, a laptop, it's going to put a real hurt on your laptop. So if you like the look of this add grain effect, a better way and a faster way to use it is actually to pre-render it. And I wanna show you that right now, I'm gonna create a new composition. I'm going to name it Grain. I'm gonna make it 1920 by 1080, 29.97 frames per second, 5 seconds long, click OK. I'm going to add a gray solid to this, and I wanna make sure that it has no hue, no saturation. It's 50% gray, and I'm gonna click OK. And then, I'm going to add the grain effect instead to final output. And that's it for me, I like the look of this grain it does look a little soft. But if I want more high frequency, finer detail in the noise texture, I can just use the noise effect. So this works fine. I'm gonna add that to the render queue, queue that up and there it is right there. I'm gonna use the GoPro CineForm YUV 10-bit preset. One of the Apple Pro as presets would also work, and I'm just gonna render that out. Now, I've already rendered that out. So I'm gonna double-click in my project panel to import that. Switch back over to my outer space scene and I'm gonna pull that down into my composition here. Now, right away you can see that it doesn't look the same and that's because I need to apply a blending mode to this. The two blending modes that work really well with grain at least for me, is overlay and linear light. Linear light looks super aggressive. However, if you just turn down the opacity, it works pretty well. It is a little bit sort of gritty looking, that can work. Sometimes, overlay is a nice alternative. It's a little more subtle and you're going to have to jack up the opacity to be able to see it, but you can see even at 100% opacity, it is pretty subtle. Final thing that you may have noticed is that, this green clip is too short. Now, if I was using this green clip in Premiere, what I would do is just make a sequence. And then, I just copy and paste this like 50 or 60 or 80 or a 100 times to be as long as I needed this grand clip. And then, I can use that subsequence as a layer and set that to a blending mode to work in Premiere. However, in After Effects, there's a much easier solution. I'll just take this layer right here, hit Ctrl+Alt+T on the keyboard or you can right-click and come up here to time and choose enable Time Remapping. Once you've enabled time remapping, I'm going to apply a very simple expression, I'm gonna alt click on the time remap and type loop. And it's gonna prompt me right here. I wanna loop out. So, there we go. And then, I'm going to put cycle in quotes. And again, if I type quotes, it's gonna prompt me and I wanna choose cycle. So, this is the expression, loop out, cycle in quotes. If you just click a way there, we can extend the out point of this layer, and it's going to loop indefinitely. I'll just turn the opacity up here and play the grain. And you can see exactly what it's gonna do. It's just gonna loop and you can use this loop-out cycle expression on a bunch of different properties. It's a good one to know. Pull this back down. Now, it renders and it's moving much faster than it did before with that add grain effect. I think that looks fantastic. Coming up in the next several lessons, we're gonna be looking at a much more complicated animation working with another design using more expressions. Learning some new expressions like the wiggle expression, keyframe animation, and more. [MUSIC]


