
 Lessons: 22Length: 3.6 hours
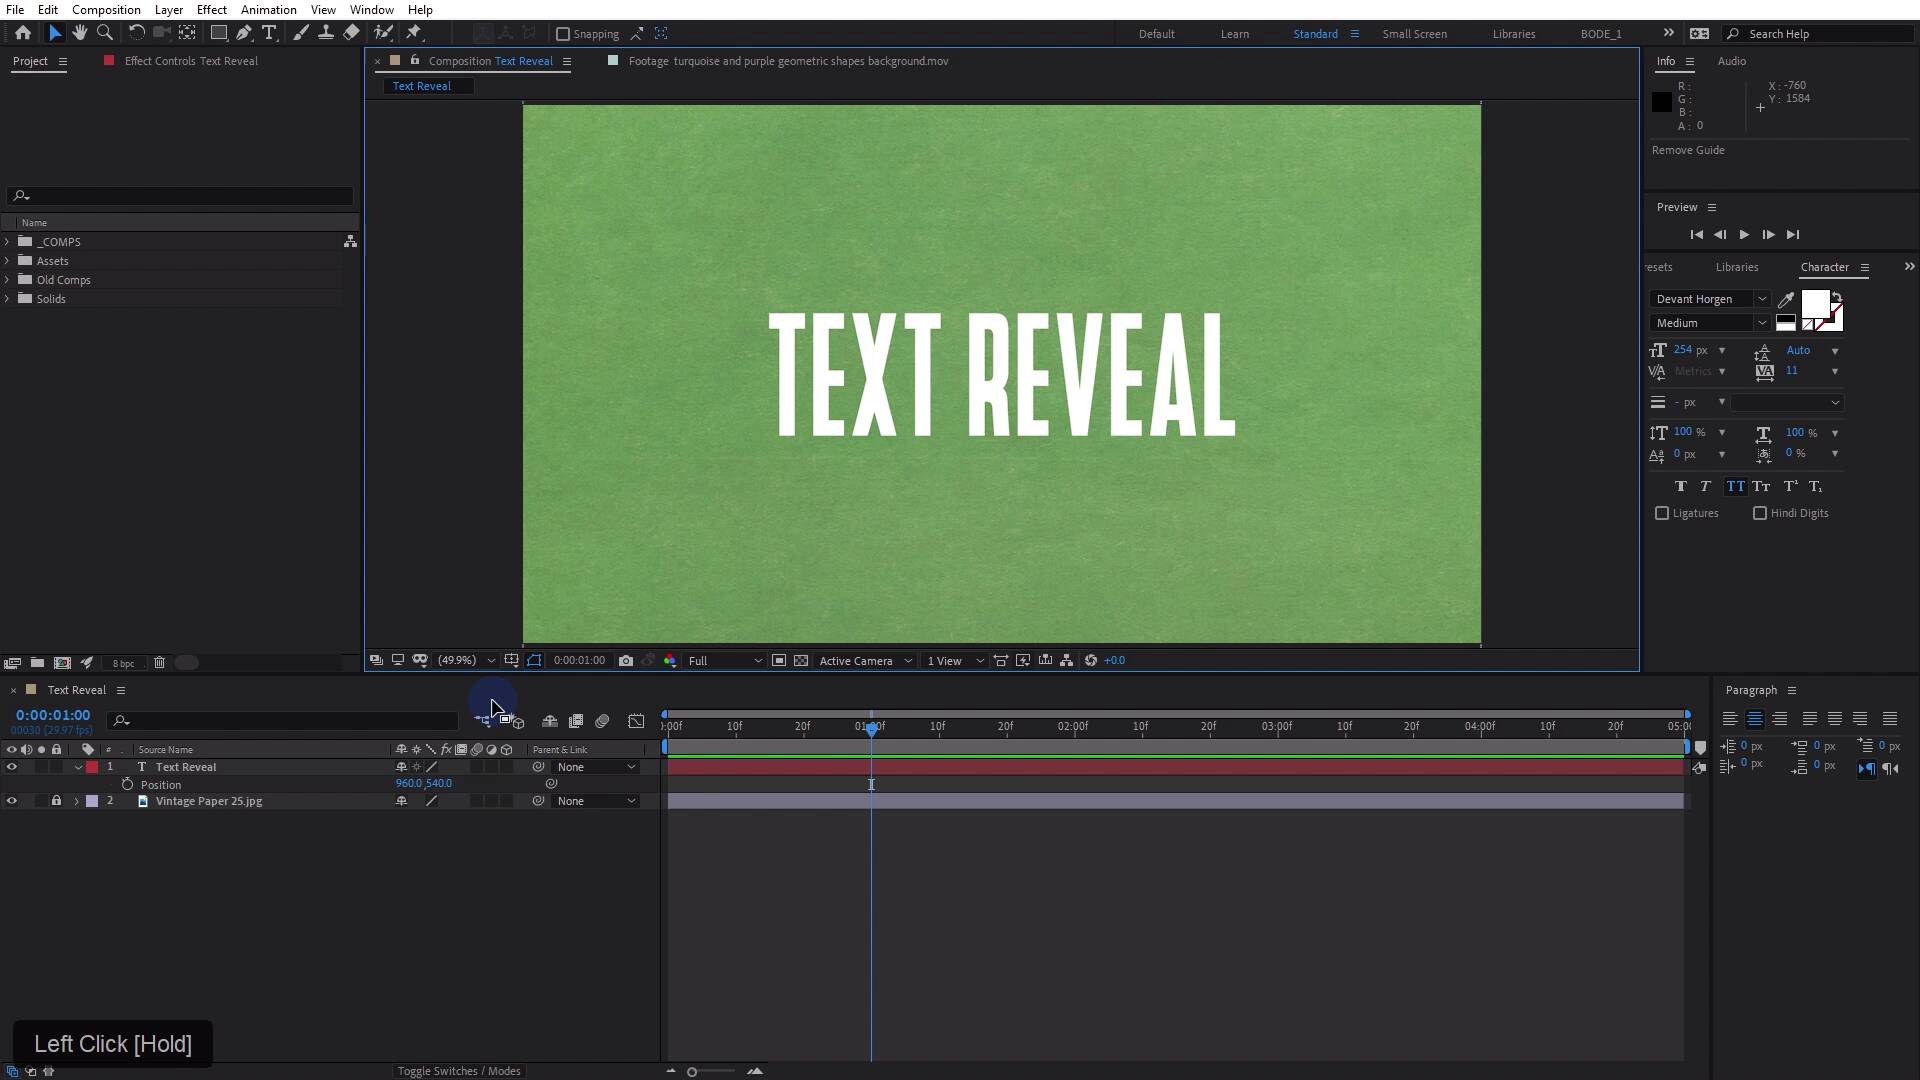
- Overview
- Transcript
2.2 Reveal Text With Masks and Shape Layers
In this lesson, you will learn how to reveal text with masks and use shape layers as track mattes.
Related Links
- Fonts on Envato Elements
- Devant Horgen Font on Envato Elements
- Creative Titles Package for Premiere Pro on Envato Elements
1.Introduction
1.1Introduction02:55
2.Basics
2.1Keyframe Basics14:03
2.2Reveal Text With Masks and Shape Layers12:08
2.3Basic Text Box Reveal08:57
2.4Bounding Box Reveal11:48
2.5Text Reveal Rectangles: Part 113:02
2.6Text Reveal Rectangles: Part 208:44
3.Burger Logo Reveal
3.1Burger Logo: Prepare the Artwork11:54
3.2Burger Logo: Animate the Layers11:04
3.3Burger Logo: Final Touches10:46
4.Outer Space Intro
4.1Outer Space: Animate With CC Lens09:53
4.2Outer Space: Animating Strokes & Glow Effects13:42
4.3Outer Space: Lens Flares08:44
4.4Outer Space: Noise & Grain12:14
5.Boutique Text Effect
5.1Boutique Text: Prepare the Artwork06:59
5.2Boutique Text: Create the Layout06:14
5.3Boutique Text: Inertial Bounce Expression11:20
5.4Boutique Text: Wiggle Expression06:06
5.5Boutique Text: Layer Control06:07
5.6Boutique Text: Handwritten Text13:07
5.7Boutique Text: Final Touches11:38
6.Conclusion
6.1Conclusion02:09
2.2 Reveal Text With Masks and Shape Layers
In this lesson, you are gonna learn how to do some really simple text reveals, which is gonna come in really handy for the rest of your After Effects journey working with text. [MUSIC] Now, if I didn't mention it before, all of the assets including the fonts have come from Envato Elements. If you didn't know that Envato Elements had fonts, check this out. If you go to Envato Elements and you click on the fonts right here, you'll see tons of great looking fonts. I mean, these are really fantastic looking fonts, and you can sort by sarif, sans serif, hand written or script, decorative. And you can even sort by different spacing types normal, monospace, condensed expanded, and more. This particular font is called devant horgen or maybe it's devant horgen. I don't know exactly how it's pronounced, pronunciation is not one of my is not one of my skill sets. But you can search it up on Envato Elements. All right, let us talk about some masks and track mattes, because really that's primarily I think how you are going to be doing a lot of different text reveals in After Effects. This is kind of the bread and butter of doing really basic text animations. If I wanna put a mask on this text layer here, I just select my text layer over here and I can come up to Layer > Mask > New Mask. I can also use the keyboard shortcut Ctrl+Shift+N. Sometimes what you'll find with masks, depending on the font is that you'll have maybe a curvy font like an S, C and O, or maybe even an r that has a little bit of aliasing, or a few pixels that go above basically the top of the text layer. And the mask will actually chop it off a little bit sometimes. It's very subtle and you have to be really detail oriented to even notice. This particular font does not do that, but I just wanna show you what I do whenever I apply a mask to a text layer, is I will double-click it and that brings up these transform handles here. I'll grab this center kind of bottom one here, I'll click and then hold CTRL and just drag it down a tiny little bit to give myself a little bit of padding on the top and the bottom and I'll do the same to the right and the left here just a little bit. Now, some of you know a little bit about masks will say, what he just did there is absurd because you can actually add something called Mask Expansion right here underneath the Masks Properties. And yeah, I know you can do that But I can't see the mask expansion. When you add mask expansion, you don't really know where it ends. And so by modifying the path of the mask, I can see exactly where it is. And that just gives me confidence that I'm not messing up a company's corporate font by chopping it off a little bit, because you can guarantee that someone on their staff will see it and they'll say that looks weird and that'll be on you. So the more you know, right? So let's talk about how to animate this mask, and do a text reveal. It's really pretty simple, to bring up the mask properties, at least the mask path. With your layer selected, you can just press M on the keyboard. You can see that brings up the mask and the mask path. Right now this is set to add and I would say 99% of the time this is how I work with a mask on a text. There's other mask modes subtract intersect, light and darken difference, but add will work for me. The add mode means that anything inside this rectangular shape here is opaque. Anything outside is completely transparent, although you can modify the mask's opacity to change that. But really simply, this is gonna work for us. So I'm gonna press M on the keyboard, and I'm gonna drop a mask path key frame right at one second. I'm gonna go to the beginning of my comp, I'll double-click my mask. And I'll modify it. I'm just gonna squish it down all the way to the right side. And now if I play this, boom, check that out. Very nice, I get a nice little mask, reveal here from right to left. If I further modify this by bringing up the position dropping the position keyframe, and to make this a little bit easier I'm going to, in my comp viewer, I'm going to hit Ctrl+R to bring up rulers. I'm going to drag out a guide when I reselect my layer here, press U on the keyboard and when I go all the way to the beginning and then I'm just gonna pull over the position here to right about there. And now look we have, check that out. We're getting a nice little text reveal that looks like it's coming out of kind of this edge of the text. You can do that backwards and have it come kind of left to right, or bottom to topper or top to bottom. Any number of those four different variations or something completely different, I don't know. If we select all the key frames and hit F9 on the keyboard, jump into the graph editor select these key frames right here and pull out that handle. And if you need to see that again to figure out exactly what I did, go ahead and click and rewind, but I'm just showing you how but what I would normally do. Now we've transformed that kind of boring animation into something that looks really pretty nice. We can add motion blur to this, I'll hit F4 on the keyboard and just enable motion blur. Check that out, that looks fantastic. So that's one way that you can do a very simple text reveal. Doing that is somewhat tedious, especially if you're doing that over multiple different text layers. But it's very basic, it's tried and true and it works, It's ised all the time. Let me show you another method. So I'm gonna get rid of my mask here and delete my position, keyframes. I'm also gonna get rid of my rulers and get rid of my mask here. Another way that you can do a text reveal is to use some kind of track matte. Now track matte works in a similar way to a mask except it's not necessarily linked to your text layer. So what I can do is grab the rectangle tool and I can deselect all of my layers, and then I can just over here in my comp viewer, click and drag a rectangle that covers up my text. Now, it doesn't matter what the color is because I can apply a track matte using the alpha which is the transparency of the layer directly above my text layer. So if you hit F4 on the keyboard, that'll toggle between some of these switches here. And what you're looking for is the track matte which you can see right here. And for my text layer, if I go over here to this drop-down and I select alpha matte, you can see that. Check that out, the layer directly above has been turned off, the visibility switch as been turned off and now it says alpha. Gonna switch back to my selection tool here. And now we can see the text. But if I move the text, check that out. Anything that falls outside of this layers alpha channel, meaning right now if I turn this back on these pixels are 100% opaque and well there are no pixels over here. So if I move my text layer over here, we can do all kinds of different text reveals with this track matte, and just reset the position there. So we can do something somewhat similar to the example I just showed. Without moving my shape layer here, I'll just drop a position key frame, go to the beginning of the comp and then I'll just move my text over here. Easy, ease that, grab this handle here, bada boom. I get basically the same exact animation, but it's using a different technique. It's using a track matte, which is this layer right here. This affords us some different options because there is a way to link the size of this shape layer to the size of the rectangle generated by this text here using an expression. But even without the expression we can really quickly just adjust the size of this shape layer here by going into the properties and adjusting the size. Right now, the size is coming out from the center but that actually works pretty well because I am using center aligned text here. So if I increased my letters in my text like I just add the word super right in the middle. That's no problem, I can just zip. Check that out, really quickly with like a couple of clicks I can have a resized animation here that does the exact same thing. Now doing that same thing with a mask would be a lot more tedious would be kind of re lining things up and messing with the mask shape. And you could additionally do things like well, we can animate the size of this shape layer here and maybe at two seconds, we just put this down to zero, And we have something that looks like this. Check that out. Very, very cool, right? There's a number of different things you can do. We can apply some blurring to this. So if I jump over to the effects and presets and I grab a gauzy and blur, and I apply that to my matte layer which I should name this. It's always good to name your mattes and any of your layers so you they make sense to you and I apply some blurring to this. Check this out, now I have kind of a blurry edge to my text here which also has kind of a different look to it. So there's a ton of different things you can do. Now, it's just a personal preference of mine to use a shape layer as a track matte. But you can just as easily use a solid, and many people like to use solids instead. So if I set this to alpha matte again, now it's using this solid layer. And to get a kind of tighter matte because right now you can see the size of my black solid here is the same size as my composition. I can get a tighter map by just adjusting the scale of this like that in I'll get a similar effect that I just had before with that shape layer, or I can apply a mask to this layer. Ctrl+Shift+N, I can double-click on my mask and I can pull that down here. And so now, I'm using a mask on this solid in a similar way that I was before with the mask on my text layer, except they're no longer kind of positionally linked. It's just another option that I wanted to show you when you get into maybe using other After Effects templates from Envato, or really anywhere. You may see a solid being used as a track matte so I just wanted to show you that. Lots of different options and as we go along in this course, you're gonna see these put to use. Coming up in the next lesson, you are going to learn how to build one of these text treatments in this creative titles package for Premiere Pro. I wanted to use this as an example because it's got a lot of very simple but very, very useful text animations. Things where we're doing some very simple kind of text reveals with boxes and lines. These are things that you see used all the time in kinds of different projects, but you may not know how to create them. So in the next few lessons, I'm gonna break down exactly how to create these types of animations. So check that out coming up next.


