
 Lessons: 43Length: 6.5 hours
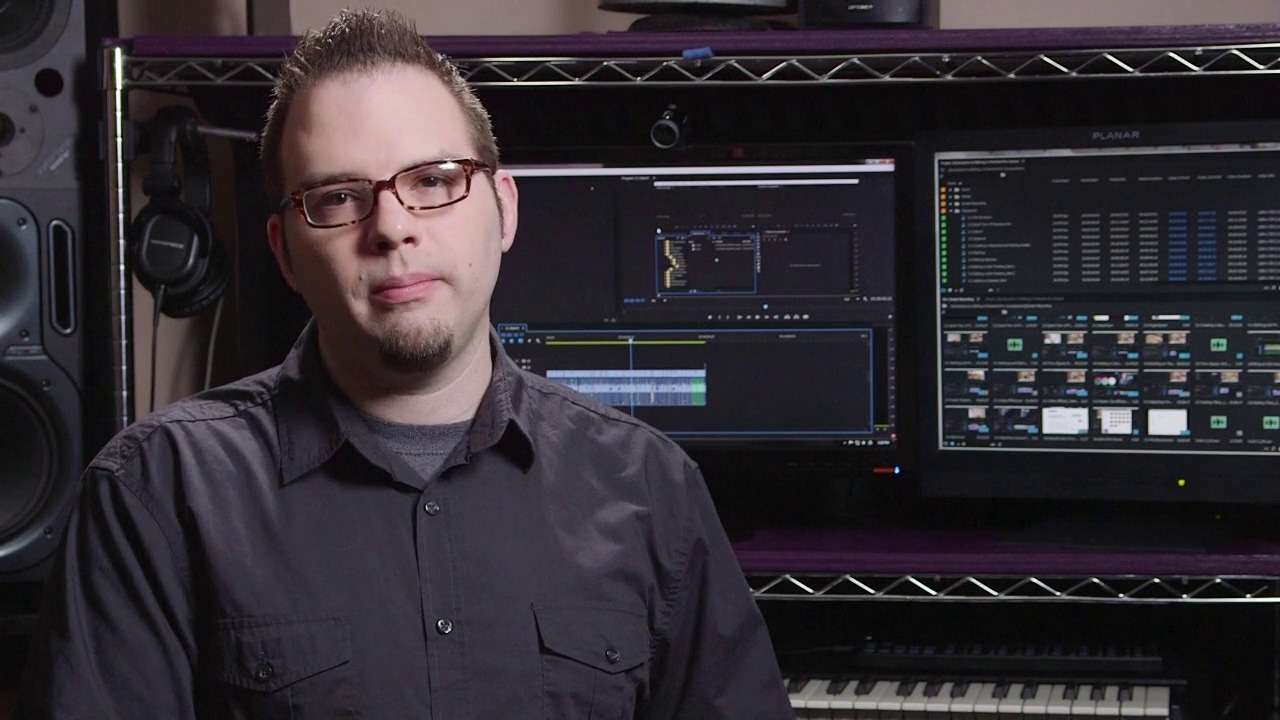
- Overview
- Transcript
7.1 Conclusion
In this lesson you will get some final tips and tricks to make all your editing projects a success!
Related Links
1.Introduction
1.1Introduction01:12
1.2What You Need07:14
2.Getting Started
2.1File Structure06:07
2.2Quick Tour of Premiere Pro11:14
3.Set Up Your Project
3.1Import09:55
3.2Organize08:39
4.Editing Basics
4.1Creating a Sequence10:07
4.2Cuts06:26
4.3Subclips06:46
4.4Editing in the Timeline, Part One11:27
4.5Editing in the Timeline, Part Two07:19
5.Beyond Basic Editing
5.1Adding a Cutaway Shot10:06
5.2Building on the Basic Edit, Part 107:09
5.3Building on the Basic Edit, Part 209:09
5.4Audio Transitions11:22
6.Fine-Tuning the Look and Sound
6.1Video Effects10:48
6.2Master Clip Effects10:47
6.3Adjusting the Volume of Your Tracks09:46
6.4Audio Effects11:17
6.5Adding Titles11:16
6.6Exporting12:10
7.Conclusion
7.1Conclusion02:33
8.Frequently Asked Questions
8.1FAQ Introduction01:22
9.Sharing
9.1Dynamic Link to After Effects12:44
9.2Exporting to HEVC for Faster Sharing Online06:39
9.3How to Export ProRes Video and Other Professional Formats07:17
10.New Audio Workflows
10.1Using the Essential Sound Panel for Dialogue: Part 111:58
10.2Using the Essential Sound Panel for Dialogue: Part 206:35
10.3Using the Essential Sound Panel for SFX and Ambience07:59
10.4Using the Essential Sound Panel for Music08:35
10.5Send Audio to Audition for Editing From Premiere Pro13:59
10.6Mixing Audio With Killer Effects Inside Premiere12:57
11.Essential Graphics Panel
11.1Use the Essential Graphics Panel to Create Basic Titles12:30
11.2Use the Essential Graphics Panel to Create a Motion Graphic Title in Premiere13:23
11.3Make Your Own Templates for the Essential Graphics Panel03:51
11.4How To Use Title Templates in the Essential Graphics Panel: Part 107:14
11.5How To Use Title Templates in the Essential Graphics Panel: Part 207:09
11.6How To Use Transition Templates in the Essential Graphics Panel08:26
12.Real-World Projects
12.1Use Proxies for Faster Editing13:42
12.2Create Multiple Camera Shots From a Single Camera10:56
13.New Features
13.1Using the Freeform View09:36
13.2Use Auto-Reframe to Crop Your Video09:36
13.3How to Work With Captions13:41
7.1 Conclusion
In this lesson, you will get some final tips and tricks for making all your editing projects a success. In this course, we covered a lot of ground and you should be ready to start tackling some video editing projects. However, the skills that you learn in this course are just the beginning. And there's a lot more that Premiere Pro and its sister apps like After Effects, Photoshop, Audition and SpeedGrade have to offer. For video editing, Premiere is the hub. But it will be beneficial for you to be able to use some of those other applications once you get some basic editing experience. And there's a lot more training on these other apps right here on tutsplus.com. Another great resource is the Adobe Premiere Pro help file. The Premiere help file is a 445 page document full of useful information. You don't have to read the entire thing, but it's a great tool for when you don't understand how a specific function or tool works. It will also help you explore areas that I didn't cover in great detail in this course. Something we didn't talk about in this course is acoustic treatment in your space. If you're doing a lot of audio tweaking in your projects and you find that you can't quite dial it in, it could be because your room is not treated. By treated I don't mean acoustically isolated from the outside sounds because that's usually extremely expensive to do. Acoustically treating your space means controlling the sound reflections from your ceiling, walls, and floor, so that you are hearing a more accurate representation of the sound coming from your speakers. This can make a huge difference in what you're hearing. And for more information on this, you can check out a course called the art of voice recording, in which you will learn how to treat your space with acoustic panels. Lastly, I wanted to reiterate the importance of file in a project organization. This is something that many people, myself included, have learned the hard way. If I look back at projects that I worked on four or five years ago, they are a little bit of a mess compared to how I organize my projects now. A few times, I've had to go back into those old projects for clients, and it has taken me valuable time to figure out what I was even looking at. A little time at the beginning of the project can save you hours later. Keeping your files and your project assets organized is cheap insurance against potential future problems. I hope the skills you learned in this course will help you to create great looking videos. Again, my name is Dave Bode for Tuts+. Thanks so much for watching, and I'll see you around.


