
 Lessons: 43Length: 6.5 hours
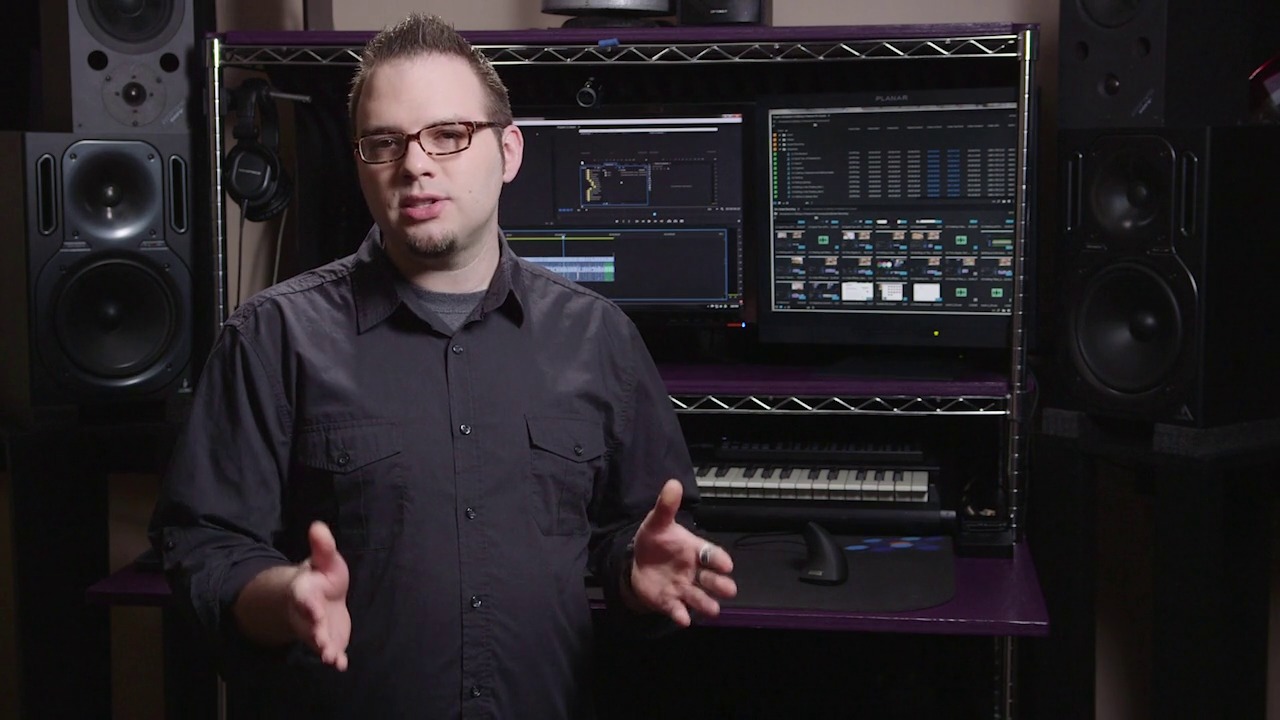
- Overview
- Transcript
1.2 What You Need
In this lesson you will find out what you need to get started editing in Premiere Pro CC!
Related Links
1.Introduction
1.1Introduction01:12
1.2What You Need07:14
2.Getting Started
2.1File Structure06:07
2.2Quick Tour of Premiere Pro11:14
3.Set Up Your Project
3.1Import09:55
3.2Organize08:39
4.Editing Basics
4.1Creating a Sequence10:07
4.2Cuts06:26
4.3Subclips06:46
4.4Editing in the Timeline, Part One11:27
4.5Editing in the Timeline, Part Two07:19
5.Beyond Basic Editing
5.1Adding a Cutaway Shot10:06
5.2Building on the Basic Edit, Part 107:09
5.3Building on the Basic Edit, Part 209:09
5.4Audio Transitions11:22
6.Fine-Tuning the Look and Sound
6.1Video Effects10:48
6.2Master Clip Effects10:47
6.3Adjusting the Volume of Your Tracks09:46
6.4Audio Effects11:17
6.5Adding Titles11:16
6.6Exporting12:10
7.Conclusion
7.1Conclusion02:33
8.Frequently Asked Questions
8.1FAQ Introduction01:22
9.Sharing
9.1Dynamic Link to After Effects12:44
9.2Exporting to HEVC for Faster Sharing Online06:39
9.3How to Export ProRes Video and Other Professional Formats07:17
10.New Audio Workflows
10.1Using the Essential Sound Panel for Dialogue: Part 111:58
10.2Using the Essential Sound Panel for Dialogue: Part 206:35
10.3Using the Essential Sound Panel for SFX and Ambience07:59
10.4Using the Essential Sound Panel for Music08:35
10.5Send Audio to Audition for Editing From Premiere Pro13:59
10.6Mixing Audio With Killer Effects Inside Premiere12:57
11.Essential Graphics Panel
11.1Use the Essential Graphics Panel to Create Basic Titles12:30
11.2Use the Essential Graphics Panel to Create a Motion Graphic Title in Premiere13:23
11.3Make Your Own Templates for the Essential Graphics Panel03:51
11.4How To Use Title Templates in the Essential Graphics Panel: Part 107:14
11.5How To Use Title Templates in the Essential Graphics Panel: Part 207:09
11.6How To Use Transition Templates in the Essential Graphics Panel08:26
12.Real-World Projects
12.1Use Proxies for Faster Editing13:42
12.2Create Multiple Camera Shots From a Single Camera10:56
13.New Features
13.1Using the Freeform View09:36
13.2Use Auto-Reframe to Crop Your Video09:36
13.3How to Work With Captions13:41
1.2 What You Need
In this lesson, you will learn what you need to get started editing in Premiere Pro. First, you're going to need to get Adobe Premiere Pro CC. Years ago you could buy Premiere Pro as a standalone product and it would be yours forever. Now, you have to use the Adobe Creative Cloud subscription based payment model. Like it or not, it's here to stay. Getting Premiere Pro will run you about $20 USD per month or if you want more apps, you can get everything Adobe makes for $50 USD per month. The upside of Premiere Pro CC is that it's frequently updated with new features and bug fixes. The next thing you will need is a computer to edit on. All of the new Adobe apps are 64-bit so you will need a 64-bit operating system to run them. On PC that means Windows 7 with Service Pack 1 64-bit or Windows 8 64-bit, on Mac you need OSX 10.8, 10.9,or 10.10. For hardware, you're going to need a little bit of horsepower. You need an Intel Core 2 Duo or AMD Phenom II processor with 64-bit support on PC and a multicore Intel processor with 64-bit support on the Mac. 4 gigabytes of RAM is the minimum requirement, but 8 gigabytes is recommended. You need at least 4 gigabytes of space on your hard disk for installation and a 7200 RPM or faster drive is recommended. A 1280 by 800 pixel resolution display is the bare minimum, but you're definitely gonna want more space than that. On a Mac, there isn't a sound card requirement but on a PC, you need a sound card with the ASIO protocol or the Microsoft Windows driver model. But I think you should be fine with just about any sound card on PC. You also need QuickTime 7.6.6 software and an internet connection. The internet connection is required for registration and for the software to make sure that you have paid your monthly fee. I believe there is a one month grace period if something gets goofed up with your payment, but after that, the software stops working. Finally, if you wanna use any of the GPU accelerated features, and you definitely do, you're going to need an Adobe Certified GPU card with at least one gigabyte of virtual RAM. Those are the basic requirements to get you going, but you will probably want more firepower at your disposal. CPU speeds will help with the real time playback of your files and exporting your projects, so more cores and faster speeds will help. For RAM, more is always better, this is especially true if you're using Premiere with After Effects on core, Prelude, Media Encoder, or Photoshop simultaneously. All of these apps share the same memory pool, so if you have too little RAM, your performance will be crippled. If you want to use any of these apps at the same time, you probably want 16 gigabytes of RAM at the minimum. In my main workstation, I have 24 gigabytes of RAM and in my backup workstation I have 16. Three years ago when I built my main workstation, the Intel i9-76 core CPU and 24 gigabytes of RAM was the most I could stuff into my computer without jumping up the cost by three or four times. It was the sweet spot for performance and price, so that's what I went with. Six months later, this was a different story, but that's how these things work. If you need a system for right now, it doesn't really matter what's coming down the pipe in a few months. For hard drives, it's probably best to have at least two, one for your operating system and apps, and the other to put your project files, media, preview files, and exports on. As you add additional drives, you can start moving things around to optimize your data flow. For example, if you had three drives, you might wanna put your OS and apps on the first, media and project files on the second, and preview files, media cache, and exports on the third. This way, when you go to export your projects, you will be pulling the assets from one drive and writing the rendered video files to another which will speed things up. SSDs are super fast and great to have, but you might want to reserve those for areas where you need the most speed, like your main OS drive and your media cache drive. If you can put your media assets on an SSD, that would be even faster., but video media is gigantic, and that isn't always an option. Just to give you an example, the media files for this course that you're watching right now are somewhere around 170 gigabytes. Once you get a few projects under your belt, the storage of your media assets starts to become an important thing to manage. If you edit video long enough, you're gonna have to start juggling projects from internal to external storage, but this can be as simple as using a hard drive dock and a bunch of drives. To take advantage of some of the recent speed improvements in Premier, you should also have a GPU that will work with Premier's GPU accelerated features. They have a list of approved cards which covers a lot of popular cards, but some cards that are not on the list will also work. For example, I have an Nvidia 970 GTX which isn't on the list and it works just fine. Like I mentioned earlier, the basic monitor requirement is super low and you will probably wanna have at least one, 1920 by 1080 or higher monitor. Two or three monitors would be even better so that you can spread out your panels and have more space to work. You might also wanna consider a monitor calibration tool as well. This is critical when you start doing color correction, because you need to know that your monitor is showing you the proper colors, brightness, and contrast. A basic calibration device starts at around $100 USD, and if you have multiple monitors, and you want them to match, look for a unit that has that feature as well. Another important aspect of editing is audio. It isn't listed anywhere in the requirements but you should have a decent pair of audio monitors and headphones to use when you're editing. Making changes to the audio will require a higher level of speaker quality then you will get with your computer speakers. The PreSonus Eris E5 or the Yamaha HS5 is a good place to start with audio monitors. For headphones, you might wanna check out the Sennheiser HD 280 Pro, Sony MDR-7506, or a super inexpensive option is the Monoprice 8323 which are shockingly good for the price. Whatever hardware you choose, I would recommend aiming for a little bit better than you think you might need. As cameras get better, you're going to need to deal with higher resolutions and higher bitrate codecs. These will put away a lot more strain on your system and a little extra firepower will go a long way to easing that transition. Now that you understand what you need to get started in Premiere Pro, you are ready to learn about file organization which is coming up next.


