
 Lessons: 43Length: 6.5 hours
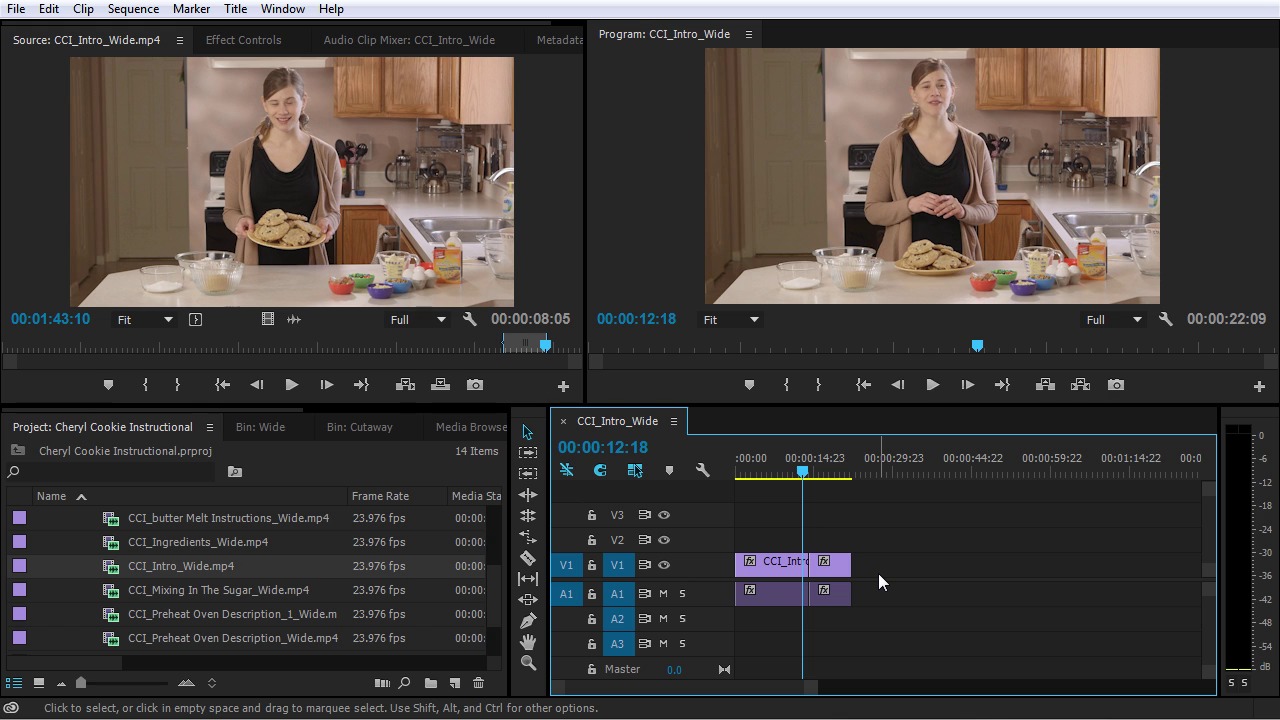
- Overview
- Transcript
4.5 Editing in the Timeline, Part Two
In this lesson you will pick up where you left off and learn a few more techniques for editing clips in the timeline!
1.Introduction
1.1Introduction01:12
1.2What You Need07:14
2.Getting Started
2.1File Structure06:07
2.2Quick Tour of Premiere Pro11:14
3.Set Up Your Project
3.1Import09:55
3.2Organize08:39
4.Editing Basics
4.1Creating a Sequence10:07
4.2Cuts06:26
4.3Subclips06:46
4.4Editing in the Timeline, Part One11:27
4.5Editing in the Timeline, Part Two07:19
5.Beyond Basic Editing
5.1Adding a Cutaway Shot10:06
5.2Building on the Basic Edit, Part 107:09
5.3Building on the Basic Edit, Part 209:09
5.4Audio Transitions11:22
6.Fine-Tuning the Look and Sound
6.1Video Effects10:48
6.2Master Clip Effects10:47
6.3Adjusting the Volume of Your Tracks09:46
6.4Audio Effects11:17
6.5Adding Titles11:16
6.6Exporting12:10
7.Conclusion
7.1Conclusion02:33
8.Frequently Asked Questions
8.1FAQ Introduction01:22
9.Sharing
9.1Dynamic Link to After Effects12:44
9.2Exporting to HEVC for Faster Sharing Online06:39
9.3How to Export ProRes Video and Other Professional Formats07:17
10.New Audio Workflows
10.1Using the Essential Sound Panel for Dialogue: Part 111:58
10.2Using the Essential Sound Panel for Dialogue: Part 206:35
10.3Using the Essential Sound Panel for SFX and Ambience07:59
10.4Using the Essential Sound Panel for Music08:35
10.5Send Audio to Audition for Editing From Premiere Pro13:59
10.6Mixing Audio With Killer Effects Inside Premiere12:57
11.Essential Graphics Panel
11.1Use the Essential Graphics Panel to Create Basic Titles12:30
11.2Use the Essential Graphics Panel to Create a Motion Graphic Title in Premiere13:23
11.3Make Your Own Templates for the Essential Graphics Panel03:51
11.4How To Use Title Templates in the Essential Graphics Panel: Part 107:14
11.5How To Use Title Templates in the Essential Graphics Panel: Part 207:09
11.6How To Use Transition Templates in the Essential Graphics Panel08:26
12.Real-World Projects
12.1Use Proxies for Faster Editing13:42
12.2Create Multiple Camera Shots From a Single Camera10:56
13.New Features
13.1Using the Freeform View09:36
13.2Use Auto-Reframe to Crop Your Video09:36
13.3How to Work With Captions13:41
4.5 Editing in the Timeline, Part Two
In this lesson, you will pick up right where you left off and learn a few more techniques for editing these clips together in the timeline. So picking up from the last lesson. What I'm trying to do here is find the spot where Cheryl says, Hi, my name is Cheryl Ziegler in this first clip, and then get rid of all the stuff that's after that. So let me click and drag and find that spot here. [SOUND] So it's right about here. So to chop off the end of this clip, I have a number of options. I can take the trim tool and just click and drag back right to the play head. And because snapping is on, once I get close to the play head, that action will snap right to the play head which makes it very easy. Let me undo that. I can also slice this clip right here which is another one of these tools. You can see there's a razor tool here if we hit the C key. And I could grab that, and I could slice this clip right here. Then I could change back to the selection tool, and I could make a selection, and then I could just delete this. Does the same exact thing. Let me undo both of those actions. Another way that I can do a very similar thing is with the keyboard shortcut Ctrl + K. Now if I zoom in here, and I move the play head back, you can see that I have added an edit, which did a very similar thing as the razor tool. Now this is a little bit different than grabbing the razor tool and slicing this clip, because Ctrl + K only adds edits on the tracks that are selected. So if you look over here, you can see that V1 and A1, 2, and 3 are all selected. If I undo that last action, and then I deselect V1 and I go to that same point and I hit Ctrl + K again, now look what happened. It only added an edit to the audio portion, which is not what I wanted. So I'm gonna reselect V1, then I'm gonna undo that. If you have a sequence with a lot of media clips in it, you can also select individual clips and then use Ctrl + K to add an edit or split those individual clips. Yet another way that you can add this clip in, is over here in the source monitor, there are two functions right here. There's an insert and an overwrite. This will add this clip to my sequence wherever the playhead is located, and it will add this clip to whichever video and audio track are selected for the source patching. So let me zoom out here and I'll show you what that means. So now you can see my whole clip here. And so I wanna add this clip right here. If I press the Insert button, that's going to insert this clip and everything to the right of this clip is going to get skewed to the right. So it's basically making room or making space for this clip to go, and then it's inserting it on V1 and A1. Let me undo that. If I select A2 and V2, if I hover over, you can see that it says source patching for inserts and overwrites. Now, when I press Insert, it's gonna do the same action but it's going to insert that clip on the second video track and the second audio track because that's where I have this source patching selected here. Let me undo that. I wanna put this back to V1 and A1 here. And let's take a look at what Overwrite does. Overwrite adds the clip to the sequence, but overwrites whatever was there. So now as I play this. >> Well, easy. Hi, my name is Cheryl Ziegler, and in this video. >> It basically took this part of the clip and it overwrote directly over this clip, which is fine. All of these ways are perfectly acceptable. I'm gonna undo that there and show you that there's also keyboard shortcuts for these which just happened to be right under the J, K, L keys, and that's comma and period. In my source window here, if I hit the comma key that's going to perform an overwrite. And it's gonna put that clip right down here. And so now let me play this transition here. >> Easy, hi. >> It's a little bit weird. You can hear there's two breaths there. So let me zoom in on this position and see if I can refine that. >> Easy, hi. >> I think what I'll probably do is take this part of the clip and just pull it to the right just a little bit by holding Ctrl and performing a ripple edit. >> Easy, hi, my. >> That was a little bit too much. Let me scooch that back just a little bit by a few frames. >> Easy, hi, easy. >> Maybe I'll take this clip here and I'll just scooch it back with a ripple edit in this direction. >> All easy. Hi, my name is Cheryl Ziegler. Easy, hi, my name- >> So that's not the smoothest transition, but I'm gonna clean that up by adding a cutaway shot. I can also change where this edit point is by using the rolling edit tool. The rolling edit tool trims the end points of one clip and the out point of the other while leaving the combined duration of the two clips unchanged. To better see that, I'm going to zoom out here. And I could grab the rolling edit tool by pressing N on the keyboard, or I could come over here and actually change the tool by clicking in the Tools panel. But it's also available as a mouse modifier by hovering the mouse right over this edit point and then holding down Ctrl. So if I click on this edit point, and I pull this back, you can see what that's done there. It's moved the edit point, but it hasn't changed the length of these two clips combined. Let me undo that. If I were to perform a ripple edit, I would hold CTRL and just move the mouse over just a little bit. And now when I do a ripple edit, it changes the length because I'm basically changing the out point of this clip and I'm deleting the gap that would have been created between these two clips. So I'm effectively changing the duration of these two combined clips. Let me undo that. If I just perform a regular edit, the combined duration of these clips has changed but there's a gap in the middle. So, to get rid of the gap, I could take this and slide my footage back down and it'll snap to the edge of this other media clip here. Let me undo that. I could also right click in the middle here and choose Ripple Delete, and that'll do a very similar thing. But I am changing the length of these two clips which is not something that I wanna do. So let me undo that. And see where this edit point is now. >> And best of all easy. Hi, my name is Cheryl- >> So I wanna get it right where she says hi- >> And best of all easy- >> Right about here. So I'm gonna hover right over this edit here. I'm gonna hold CTRL + down, which brings up the rolling edit tool. I'm gonna click and drag right to the playhead. All easy. Hi, my name is Cheryl Ziegler. >> And that's right about where I wanna have that edit point. Now I know it doesn't look very smooth, but I'm gonna patch it together with a cutaway shot. And you're gonna learn how to do that coming up next.


